We all have certain dishes or meals that we think of as comfort food because they remind us of our childhood, and this Sweet and Sour Brisket is absolutely one of mine. It’s a classic Eastern European Jewish dish, and when I was young no holiday was complete without it. Some of my happiest, most vivid memories are of days spent in the kitchen helping my mom make enough brisket to feed an army for Rosh Hashanah and Passover. Brisket meant we were expecting a house full of relatives and dear friends, some of whom I only got to see once or twice a year which made it all the more special. Brisket meant celebration, tradition, and most importantly, love. This recipe is such a powerful memory trigger for me that all it takes is one whiff of it simmering away on the stove and I’m instantly transported back to my childhood home and those special times.
The house is gone and we don’t celebrate the holidays the way we used to, but I still make this brisket at least once a year. It’s pretty much the only red meat I’m guaranteed to eat regardless of how plant-heavy or vegetarian-leaning my diet is on a given day. Even back when I was a strict vegetarian and wouldn’t dream of eating the actual brisket, I’d happily make a meal out of the carrots, potatoes, and onion gravy. Yes, I know they’re not technically vegetarian since they simmer with the meat. I consciously ignored that fact and enjoyed every delicious bite.
Every Jewish family has their own twist on this sweet-and-sour style brisket, but there are a few essential ingredients; brown sugar, onions, tomato in some form, vinegar, and a first-cut or flat-cut brisket, which is the meatier cut. Very little else goes into this dish – it’s one of the least complicated things I make, but you’d never know it from the depth of flavor.
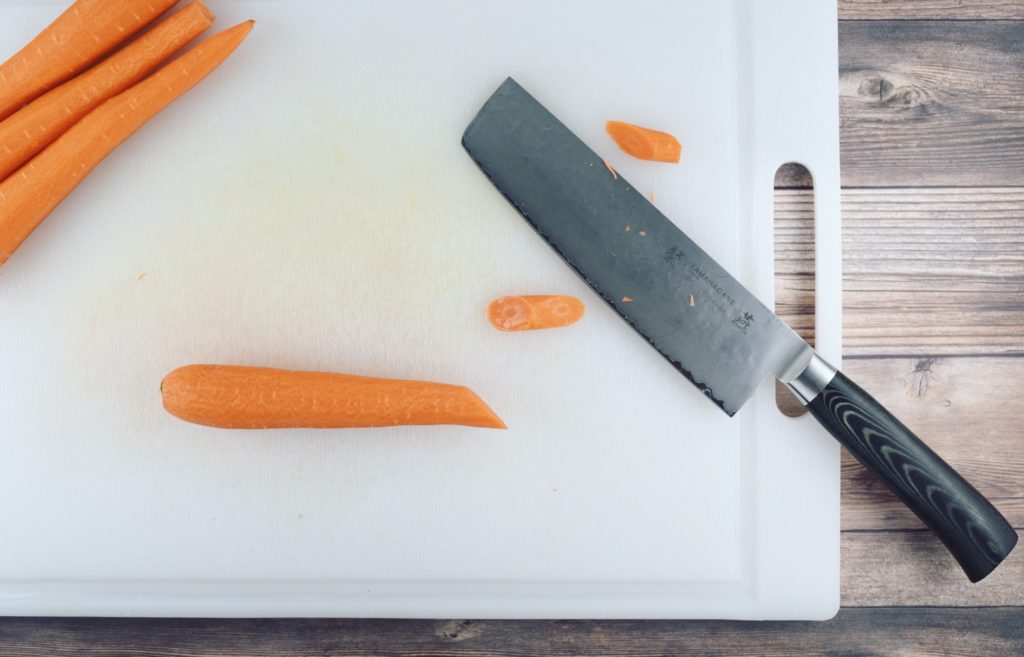
Let’s talk about the sweet element first. Brown sugar is traditional, and I use light brown. (If you want to keep this Paleo, feel free to substitute coconut sugar.) I’ve seen some recipes that call for dried fruit in addition to the brown sugar, but I prefer to keep the sweetness on the tame side to allow the tang of the vinegar to come through. Plus I add a ton of carrots to my brisket and they enhance the sweetness of the dish. When you’re cutting the carrots you want to make the pieces substantial, and relatively uniform in size and thickness. The easiest way to accomplish this is with what’s known as a “roll” or stew cut. It’s pretty simple – you cut a one-inch chunk off the end of the carrot on the diagonal, then roll the carrot away from you a half-turn (about 180 degrees), and repeat the same diagonal cut. Then roll the carrot back toward you 180 degrees, and cut again. Repeat, repeat, repeat, until you get to the end., toss all the pieces into a bowl and continue with the rest of your carrots. Here are some photos to illustrate the process…
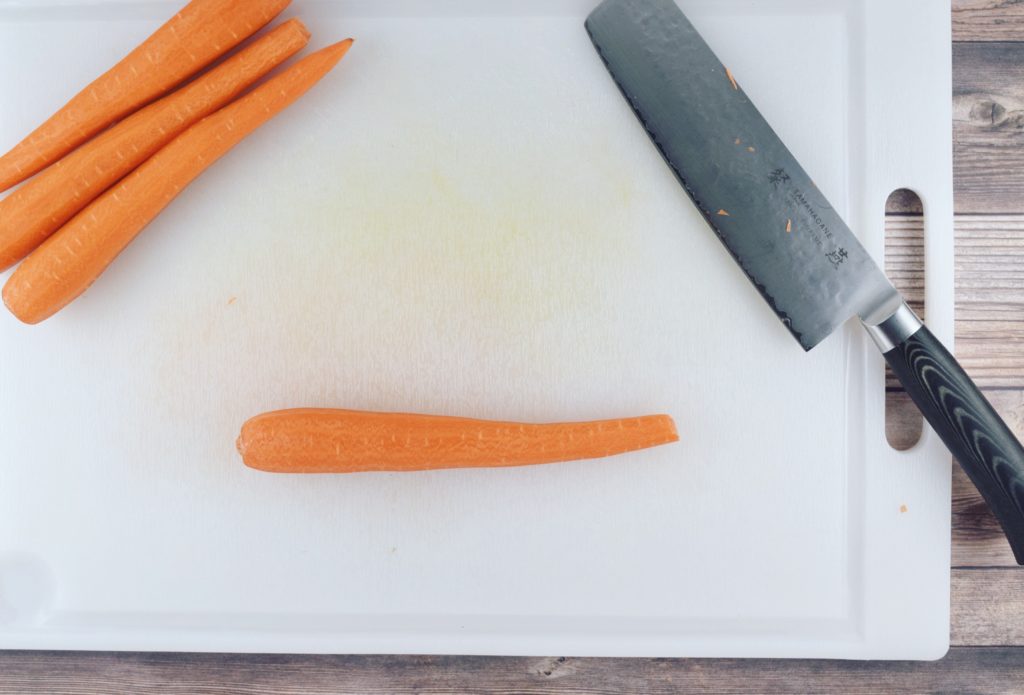
Lay your carrot horizontally on the cutting board.
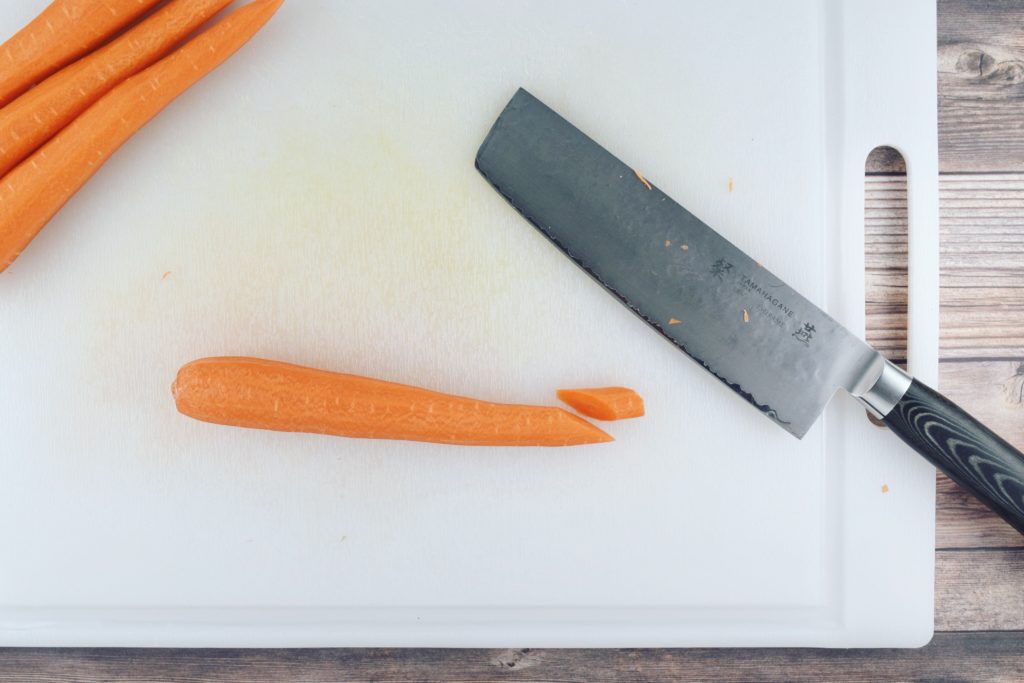
Cutting at an angle (about 45 degrees), slice off the end of the carrot – see how it’s now angled? Notice that the cut surface of the carrot is on the far side, away from your body.
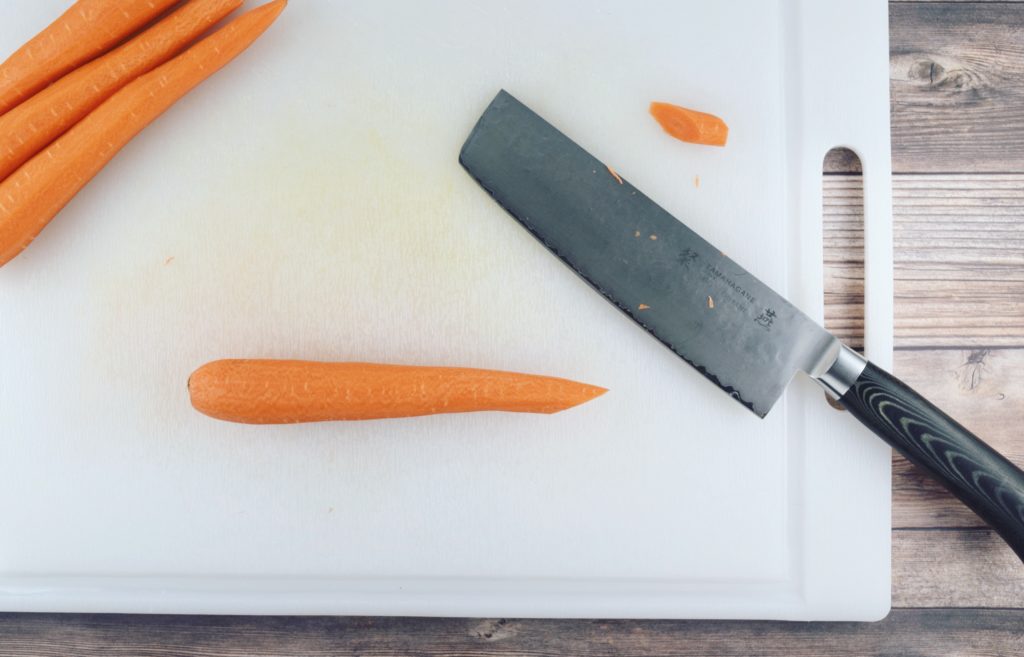
Roll the carrot away from you about a quarter-turn, so the cut surface is now facing you. Once again at a 45-degree angle, cut the end off the carrot, starting at that bottom point of the carrot closest to you.
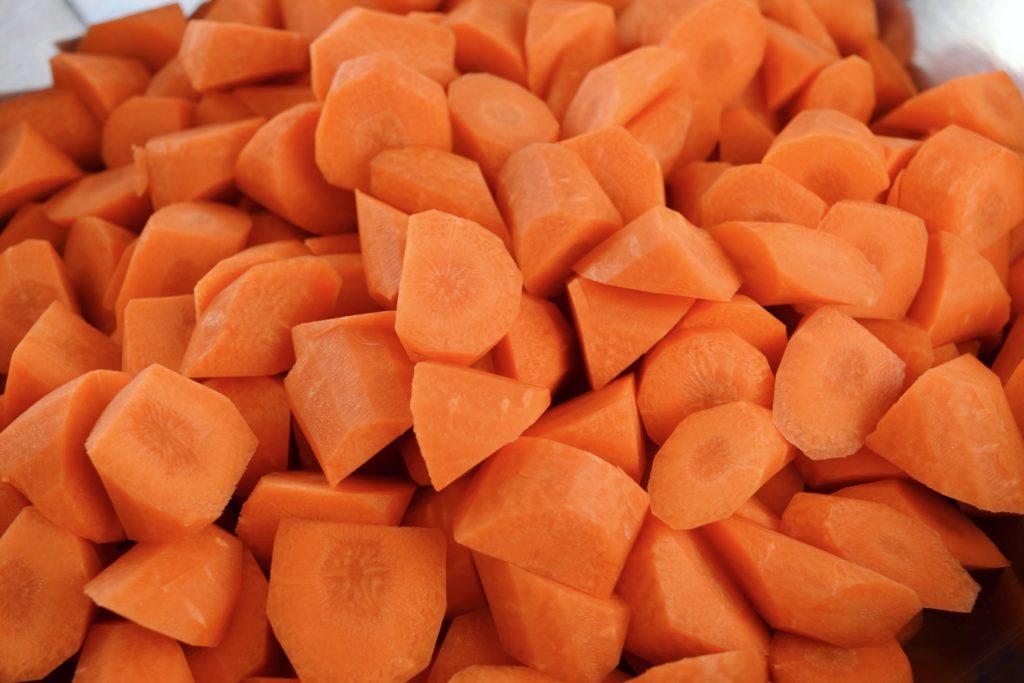
You now have a 3-dimensional chunk of carrot with two exposed surfaces. This is a roll-cut piece. Repeat this method, rolling the carrot away from you for the next cut, then back toward you for the one after that, etcetera, until you get to the end. Repeat with the rest of the carrots.
Here’s my bowl of roll-cut carrots. See how the pieces all have two exposed surfaces and they’re relatively consistent in size/thickness? That’s what you’re going for. It ensures that the carrots cook evenly, and this shape makes for a heartier, more interesting bite than the standard coin.
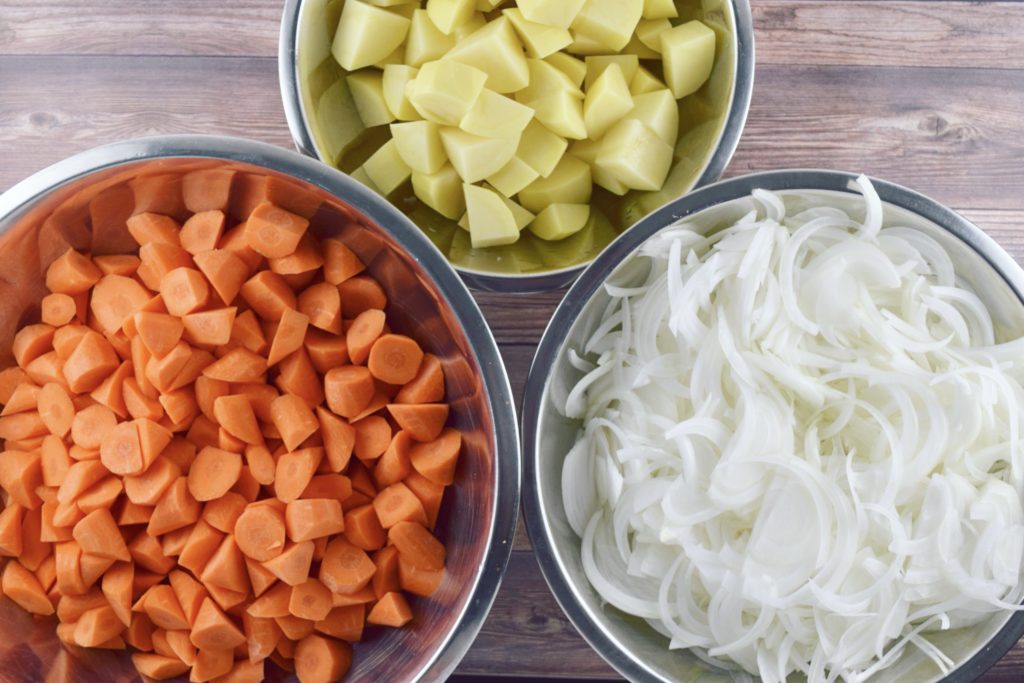
Got it? Great. Now let’s tackle the rest of the vegetables. Onions are a must, and you can use any variety of white or yellow onion for this. Be sure to cut them into sauté slices from root to base, not crosswise. (For a refresher on this, see here.) Make the slices very thin – ⅛ inch or even thinner is ideal. If you have a mandoline this is a great excuse to use it, just watch those fingers! Set aside the onion in a separate bowl from the carrots. (The garlic can go right into the onion bowl since they’ll be sautéed at the same time.) Potatoes aren’t essential to sweet and sour brisket, but Mom always added them so I do too. She used starchy Russet potatoes but I prefer the waxier Yukon Golds for mine because they hold their shape a little better. Use whichever you prefer, and you can add extra potato to yours if you’d like; I tend to keep my meals a little lighter on the starch so I bulk it up with carrots instead. For a Paleo option, omit the potato entirely or use sweet potato instead (if using sweet potato I’d cut back on the sugar by about 10-15%). The potatoes should be generous chunks about 2 inches in size – any smaller and they may disintegrate before the brisket is done.
Here are my veggies all prepped and ready to go. Note the difference in volume – way heavier on the carrots for me, but that’s a matter of personal preference.
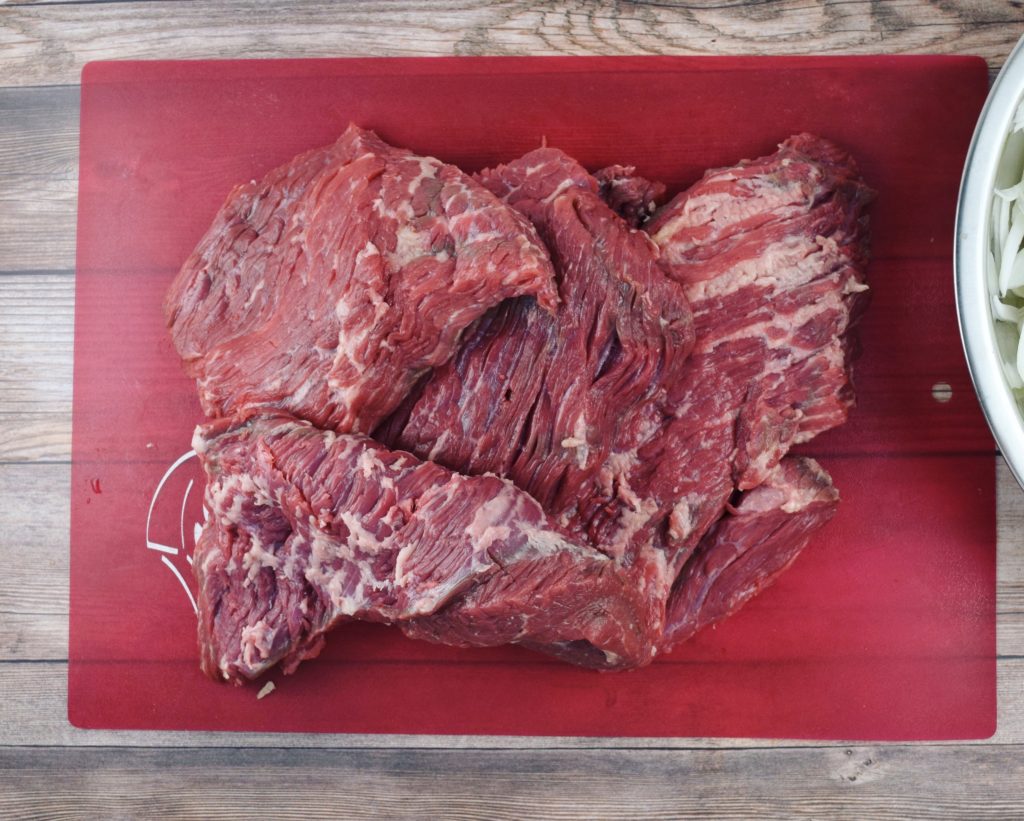
Moving onto the brisket. It’s ideal to start with a single, large slab that you can divide into smaller pieces if need be to accommodate the size of your pot. This time around I accidentally went on a day when the guy who usually butchers it for me to order was off, so I made do with several smaller pieces they had in stock. I always buy grass-fed beef which is inherently leaner, but brisket is a naturally fatty cut so it’s got enough marbling to keep from drying out. I remove most of the fat cap, which I know is blasphemy to some. (My dear departed grandfather the butcher would NOT be pleased.) I’m really not a fan of very fatty meat, and if I leave it on during cooking and it melts into the gravy, I end up skimming it out anyway once the gravy is chilled, which is a hassle. So, trim away all but a very thin layer of fat before you brown the meat. You can even ask the butcher to do it for you. Season it all over with about a teaspoon of the salt and set it aside.
There’s my trimmed brisket. You can see that the meat has plenty of intramuscular marbling so even without the fat cap I’ll be fine.
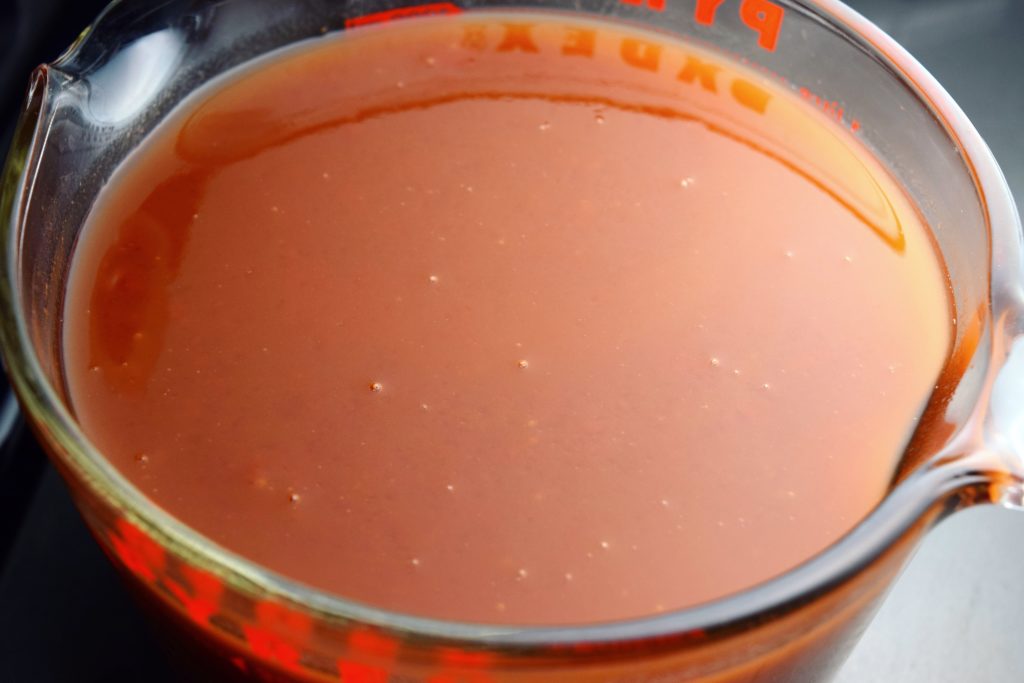
The last step before you start cooking is to measure out and combine the remaining ingredients for the onion gravy. This is where the tomato and vinegar come in, and you’ll whisk them together with the brown sugar and a little water. Believe it or not, the tomato element for this brisket comes in the form of bottled ketchup. Yep, you heard me, bottled, store-bought ketchup! I use a high-quality HFCS-free ketchup, but go with whatever kind you like. (If you’re Paleo, you’ll have to mix up your own ketchup. Message me or leave a comment below and I’ll gladly provide you with a recipe.) The final element is my favorite aspect of this brisket – the sour. I’ve mentioned previously that I’m into powerful, pungent flavors, so I love all things sharp, pungent, spicy and acidic. For that reason, the quantity of vinegar in my recipe is a little more generous than you usually find in a standard sweet and sour brisket. I also use a combination of vinegars – instead of relying solely on the classic white, I enhance it with some apple cider vinegar for a more complex flavor.
Whenever I have several liquids that need to be mixed together, I like to measure them all directly into a single liquid measuring cup. It dirties fewer utensils and is easier to pour when you’re ready to add it to your other ingredients. Squeeze in the ketchup, pour in the vinegars and water, then add the separately measured sugar, salt and pepper and whisk it all together. Now you’re ready to get cooking!
Be sure you have a large Dutch oven – 8 quart capacity – or two smaller vessels of at least 4 quarts each to accommodate everything, and that your pots have lids (in a pinch you can always cover a pot with a sheet pan). If you’re splitting this between two pots, just divide all the ingredients evenly at any given step in the recipe and and add half of whatever is called for to each pot. To brown the brisket you’ll need to make sure there’s enough surface contact and space for heat and air to circulate around the meat, otherwise you’ll end up with a steamed, grey, mushy brisket. If you’re concerned about this, divide the brisket into 3 or 4 pieces of equal size and brown them in batches.
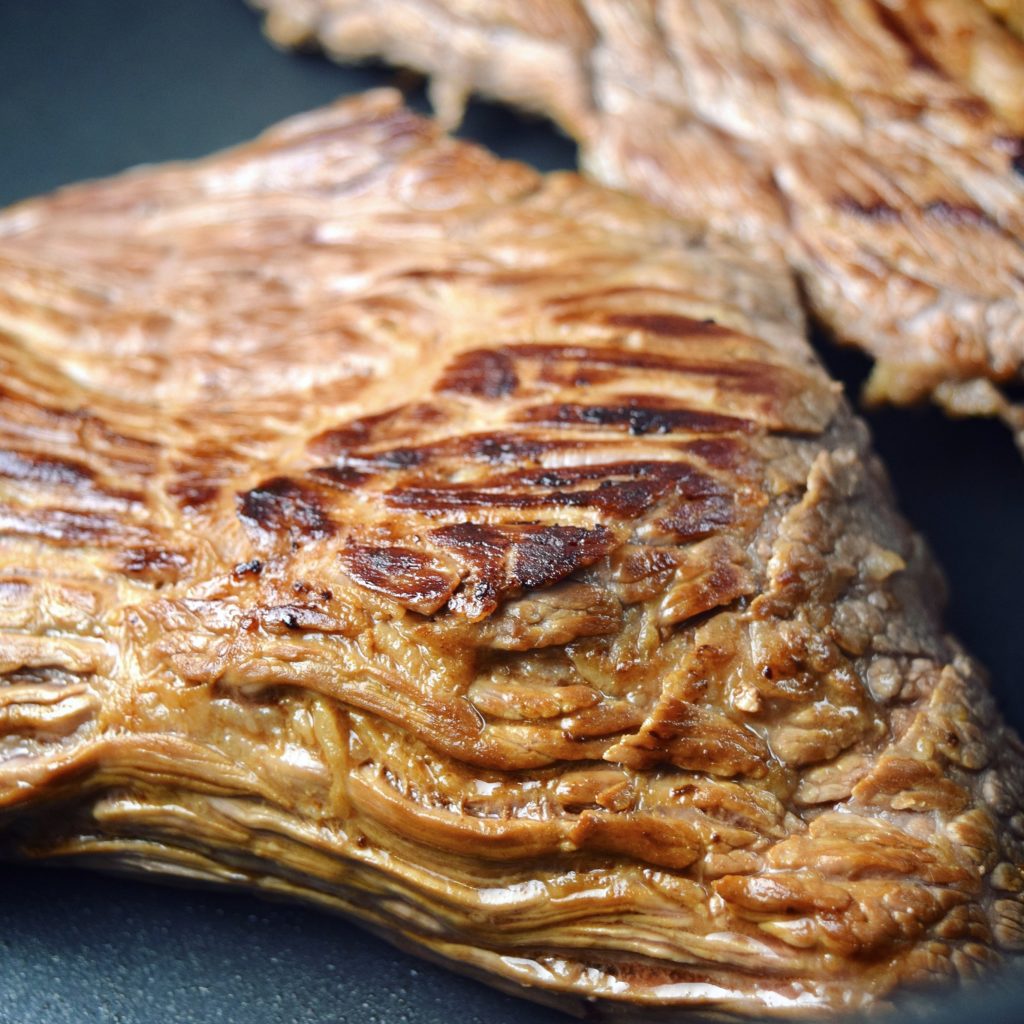
Crank up the heat to medium-high and let the pot get hot before you drop in the meat – you want to hear than nice sizzle when it makes contact. You don’t need any oil here, because the meat will release its own fat as it cooks. Season the brisket with salt and add it to the pot fat side down. Once it’s browned on the first side, flip it over to to do the same thing on the other side. If the ends are thick, brown those as well. All told this will take anywhere from 8-12 minutes.
Hello, gorgeous. Once the brisket is beautifully browned like this, transfer it to a large bowl or a platter that has rimmed sides (you want to catch any juices it releases).
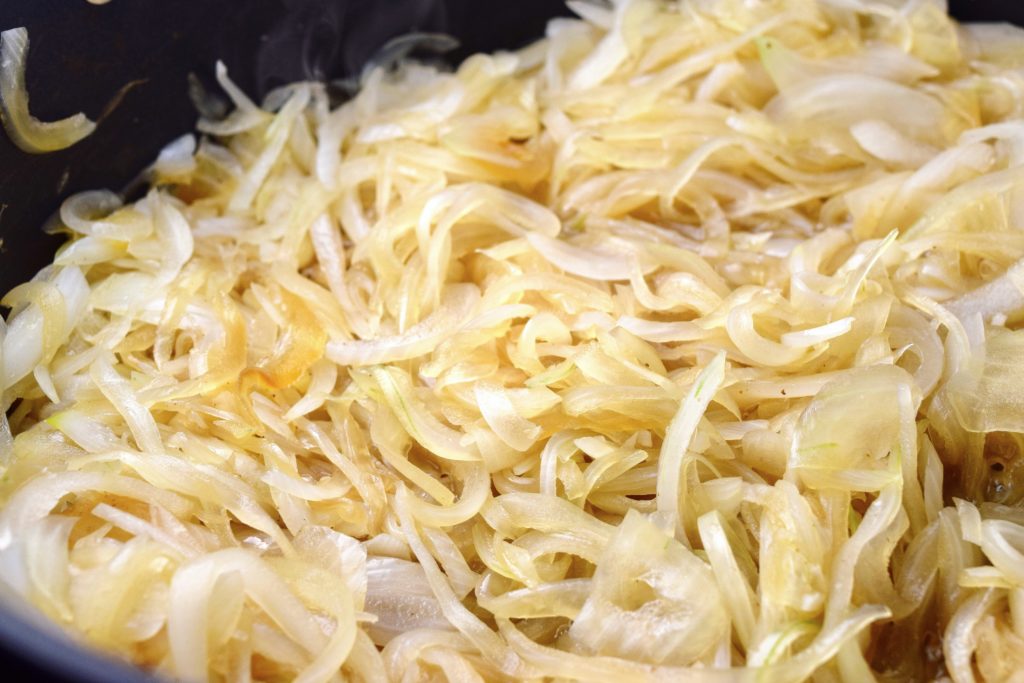
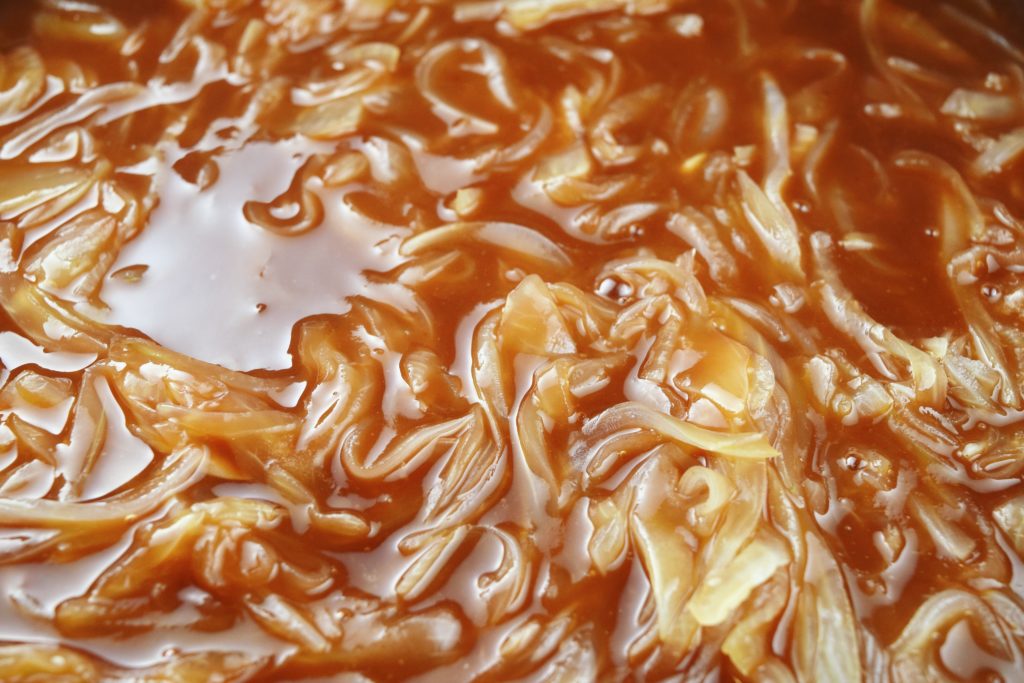
Turn the heat down to medium, and add the onions and garlic to the pot. You’ll cook them for a good 5 or 6 minutes, stirring occasionally, until the onions have softened and started to take on a lovely golden hue.
These onions are nicely softened and turning golden – at this point you can add the remaining ingredients.
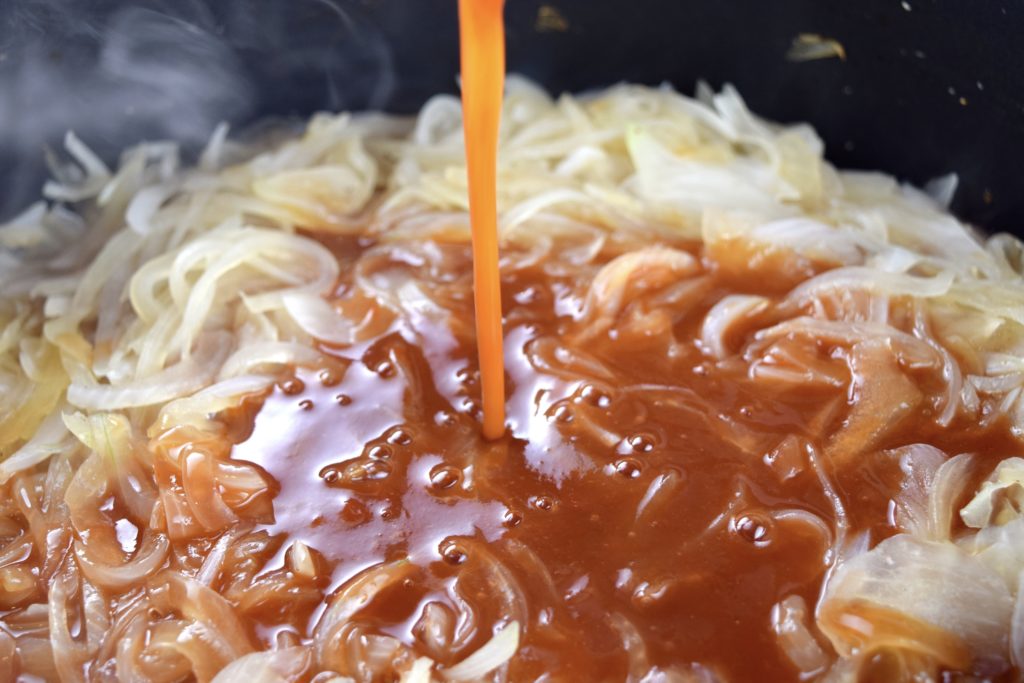
Pour in the gravy base.
Stir to combine evenly with the aromatics.
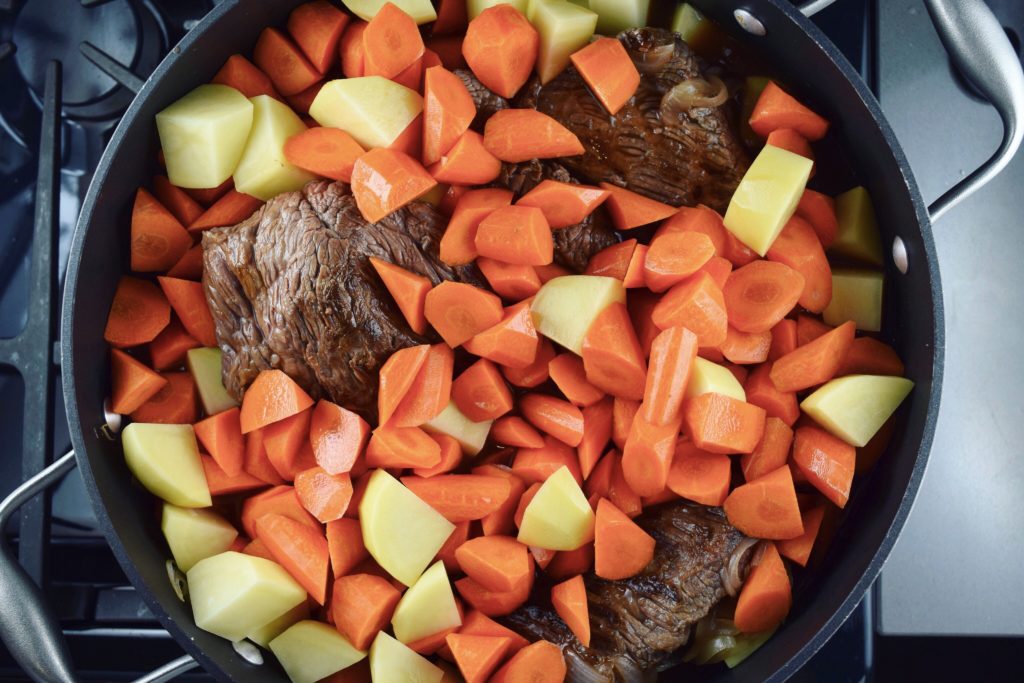
Now add the brisket, and arrange the carrots and potatoes all around and over the meat, being sure to nestle the pieces into every nook and cranny you can find. Believe it or not, my gravy is in the pot in that photo. It may seem like you don’t have enough liquid, but you’ll be amazed at what happens as the vegetables release some of their liquid and the brisket cooks down. Now turn up the heat to medium-high and bring the gravy to a simmer, then cover the pot and reduce the heat to low or medium-low to maintain a simmer. It’s pretty much up to time and heat to do all the work for the next 2 ½ to 3 hours. Give it an occasional stir, and turn or rearrange the brisket every 45 minutes or so to ensure that it cooks evenly.
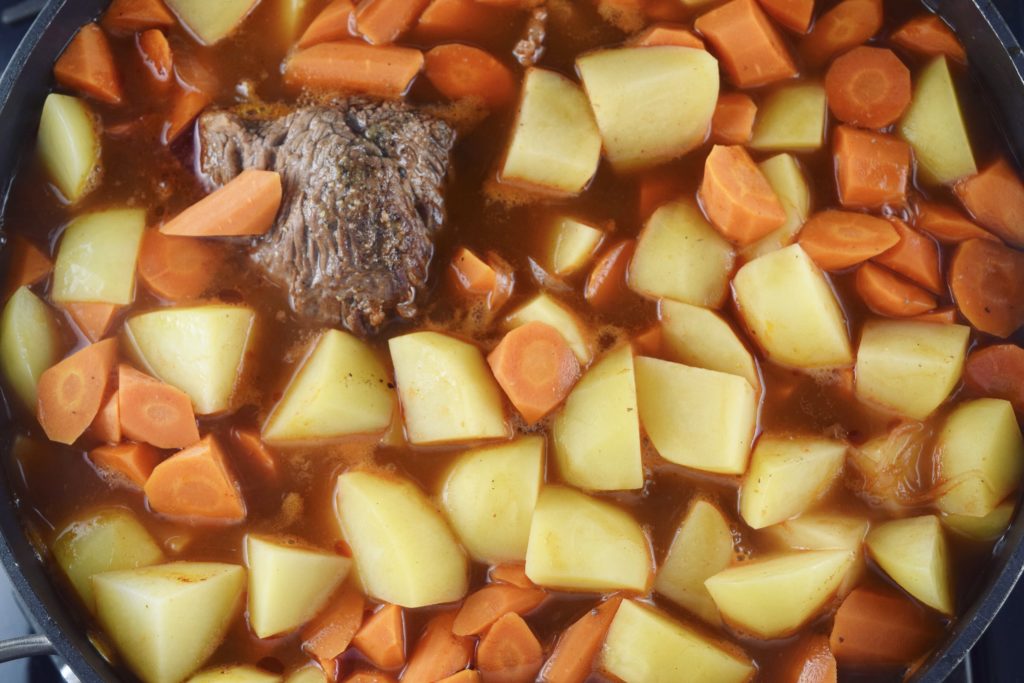
Here’s how mine looks at the one-hour mark. Remember what I said about the liquid? Look at how much is in there now! The carrots release a ton of moisture. At this point I flip over the meat and stir the vegetables around, cover it back up and let it keep cooking. At the two-hour mark, take a look inside again. If your gravy looks watery – similar to that photo above – leave the lid off, turn up the heat a notch, and simmer it uncovered for about 30 minutes to evaporate some of the excess moisture. Give it an occasional stir while it’s uncovered so everything continues to cook at the same rate. Check the brisket at 2 ½ hours, and if it’s falling-apart tender, it’s done. If it still feels a bit tough, let it go for a while longer.
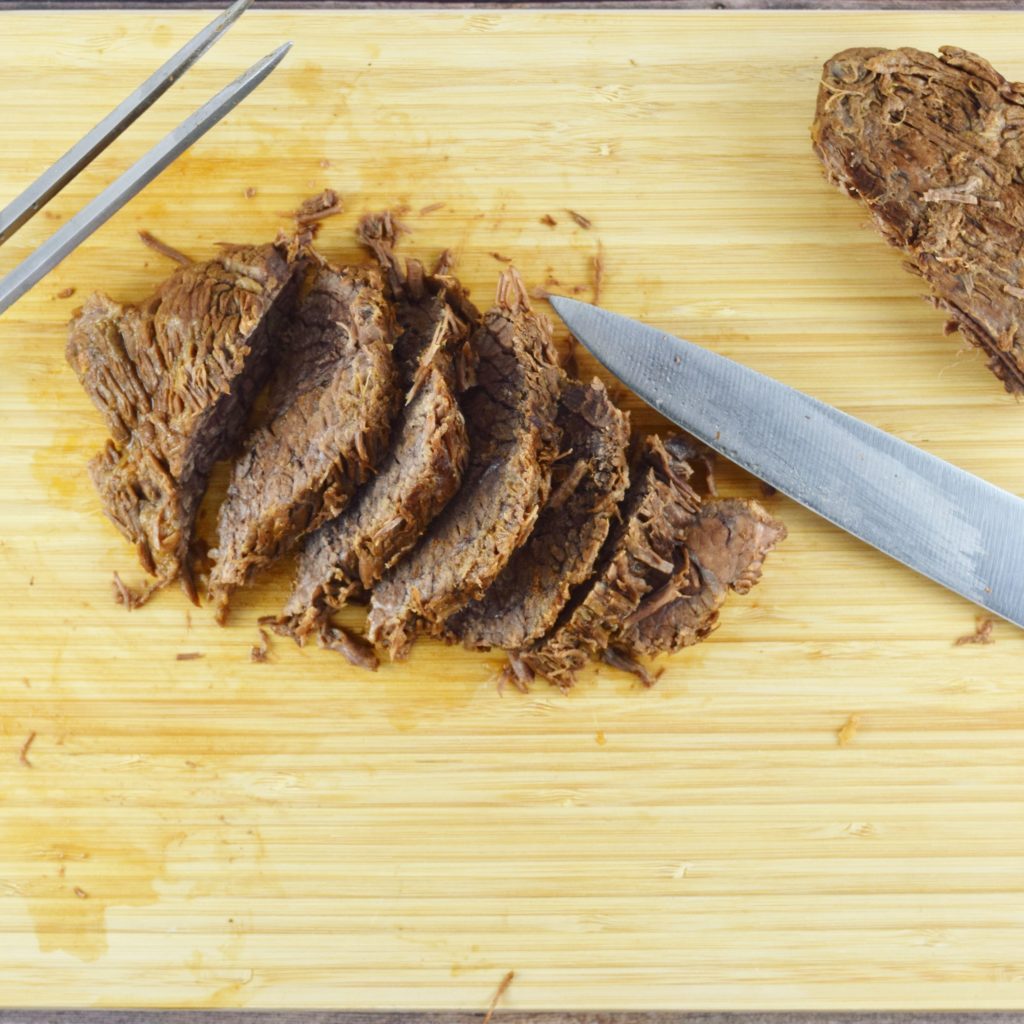
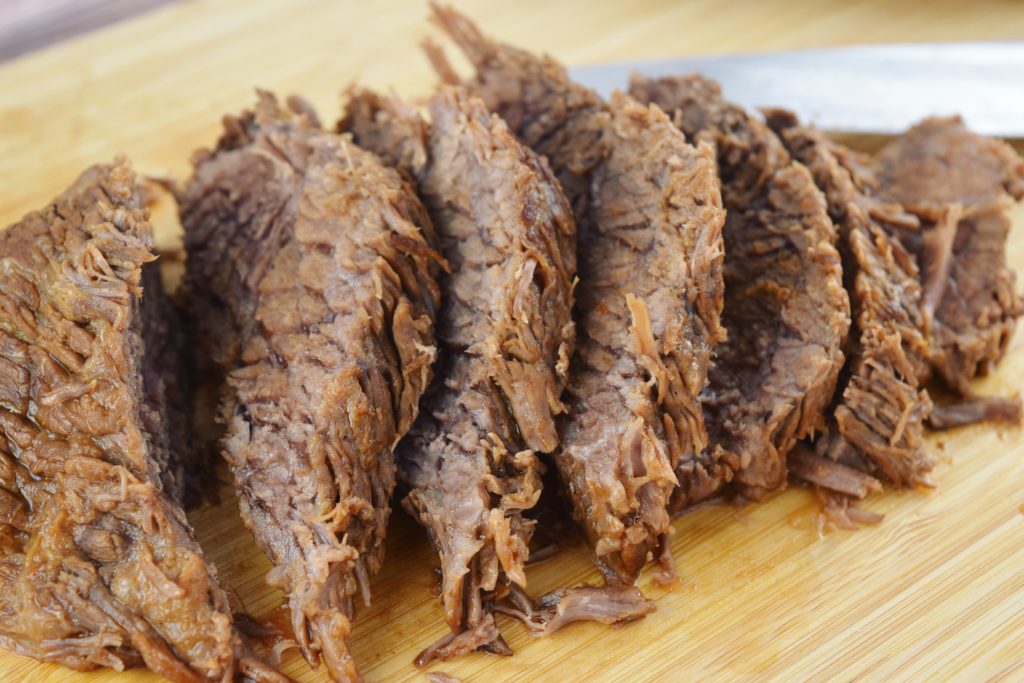
That’s it! Use tongs or a carving fork to transfer the brisket to a cutting board, and let it rest for about 5 minutes before slicing the brisket against the grain.
If you don’t know what that means, look closely at the end piece in my photo (or at your brisket). See the fibers of the meat running in one direction all the way through almost like stripes or ribbing? That’s what we mean by the “grain” of a cut of meat. If you follow those lines with your knife and slice along them, the meat will pretty much crumble as you slice it. Instead, you want to slice perpendicular to the grain, so if you look down at your knife positioned over the meat, your blade forms the upright portion of an “L” and the meat fibers form the base of the “L.” In other words, the fibers of the meat should be running horizontally across the cutting board, and you’ll position your your knife blade vertically – at a 90-degree angle to the fibers – over the cutting board when when you slice it. Make sense?
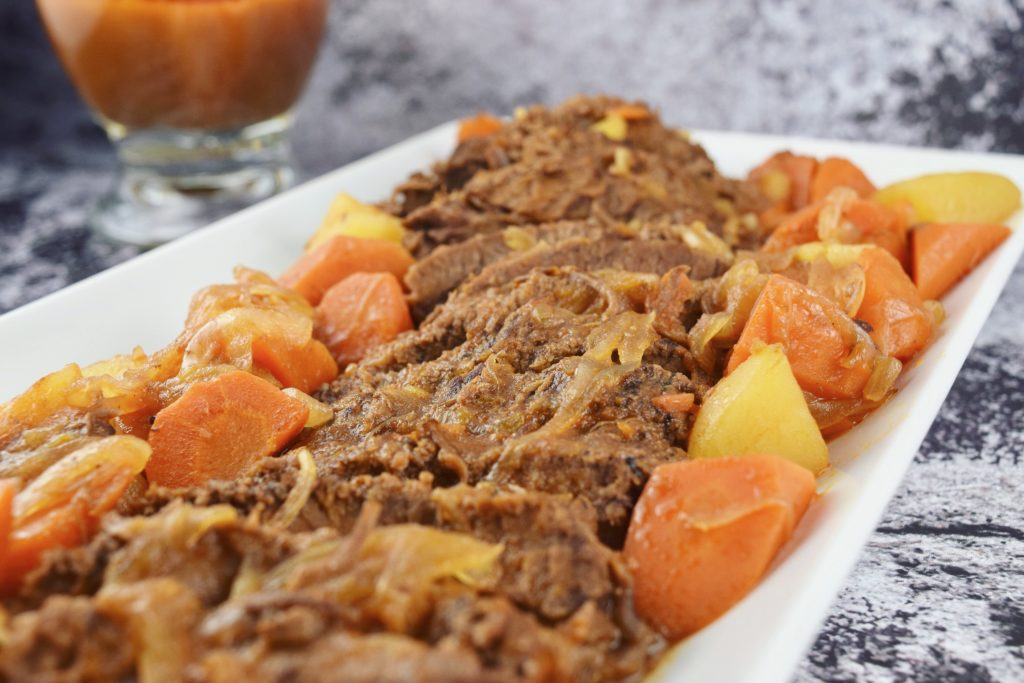
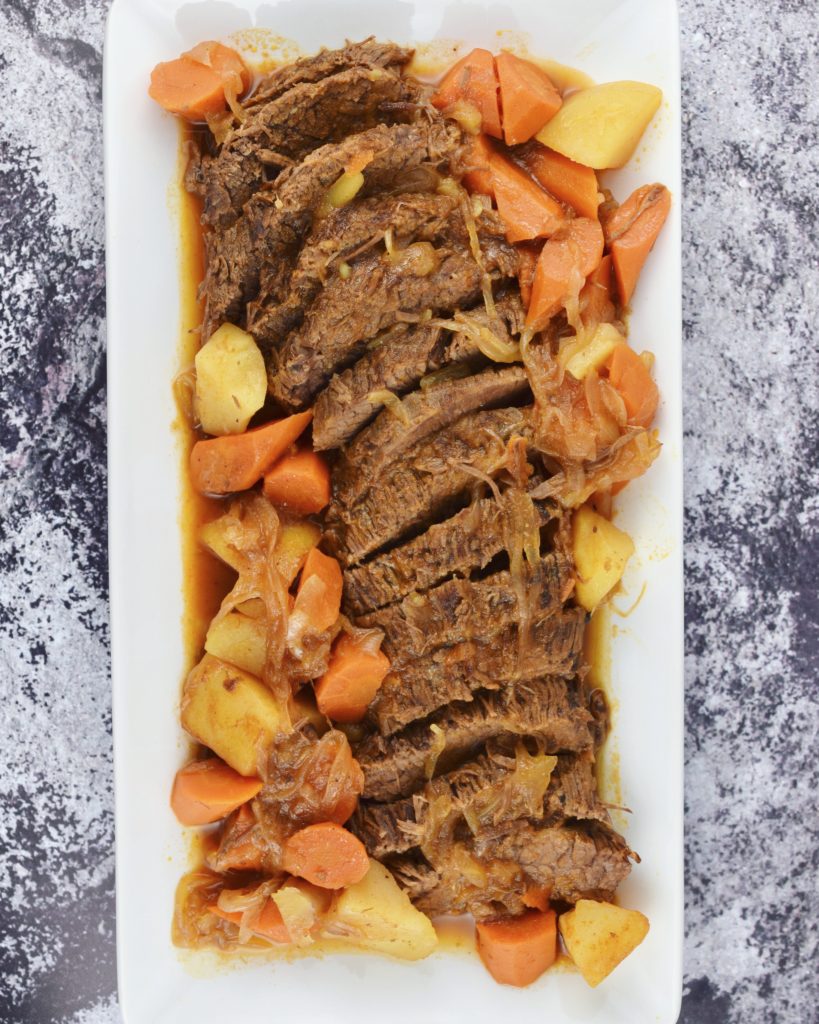
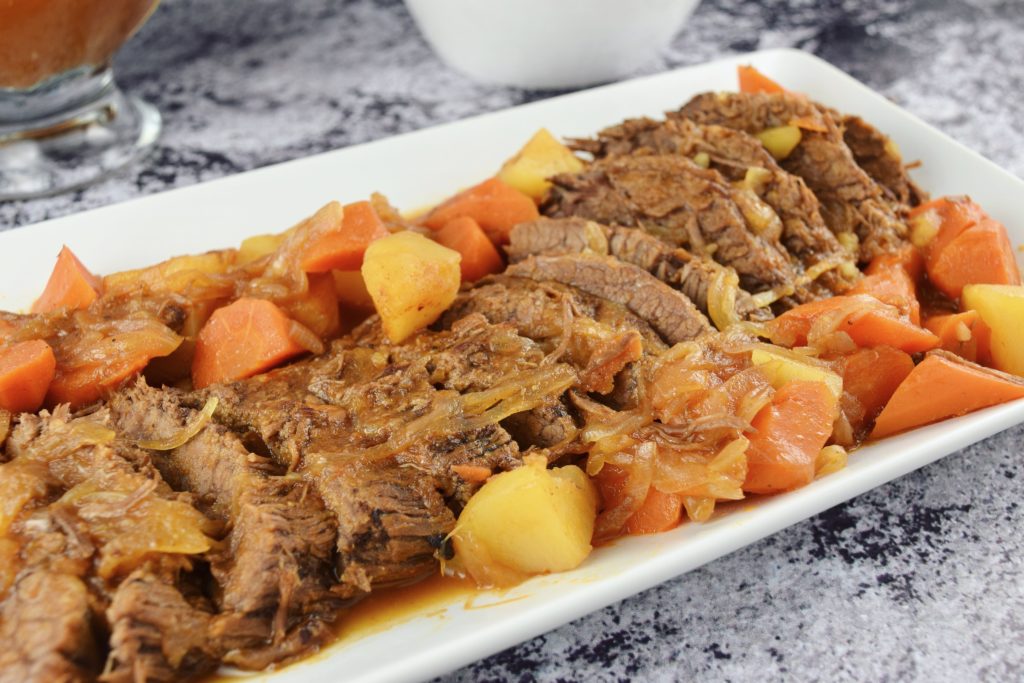
Once your brisket is sliced, arrange it on a platter with the vegetables, drizzle everything with gravy, and serve additional gravy on the side. If you’re not serving the brisket right away, divide everything evenly among airtight containers or heavy duty ziploc bags, and refrigerate for up to 4 days or freeze for up to 3 months. (P.S. Shredded leftover brisket makes killer tacos and a fantastic topping for creamy polenta or mashed potatoes.)
From my family to yours, I really hope you love this brisket as much as we do.
- 2 lbs (3 large) onions
- 2 cloves garlic
- 3 lbs carrots, peeled and roll-cut into 1 to 1 ½ inch pieces
- 1 ½ lbs white potatoes, peeled and cut into 2-inch chunks
- 270 ml (1 ¼ cups) ketchup
- 120 ml (½ cup) white vinegar
- 90 ml (¼ cup + 2 Tbsp) apple cider vinegar
- 85 ml (⅓ cup) water
- 160 grams (¾ cup lightly packed) light brown sugar or coconut sugar
- 4 tsp salt, divided
- Scant 2 tsp freshly ground pepper
- 4 lbs first-cut grass fed beef brisket, trimmed of all but a very thin layer of fat
- Prep the vegetables: Halve and peel the onions, cut into ⅛-inch sauté slices, and transfer to a bowl. Mince or grate the garlic and add to onion.
- Peel the carrots and cut into roll- or stew-cut pieces 1 to 1 ½ inches long. Transfer to a large bowl (keep separate from onions and garlic). Peel potatoes, cut into 2-inch chunks, and add to carrots.
- Mix the gravy base: In a bowl or large liquid measuring cup, whisk together ketchup, vinegars, water, brown sugar, 3 teaspoons salt, and the pepper. Set aside.
- Brown the brisket: Heat a large dutch oven over medium-high flame. Season brisket with remaining teaspoon salt, and cook until browned on all sides, about 10 minutes. Transfer to a bowl or rimmed plate to catch any released juices and set aside.
- Start the aromatics: Reduce heat to medium. Add onions and garlic to pot and sauté, stirring occasionally, until onions are softened and golden, 5-6 minutes.
- Braise the brisket and vegetables: Pour in the gravy base and stir to combine. Add the brisket and any collected juices, and arrange the carrots and potatoes around the meat.
- Bring to a simmer, cover, reduce heat, and simmer until tender, 2 ½ to 3 hours, stirring and turning the meat occasionally. If the gravy looks very watery at the 2-hour mark, simmer uncovered for the next 30 minutes, stirring occasionally to ensure even cooking.
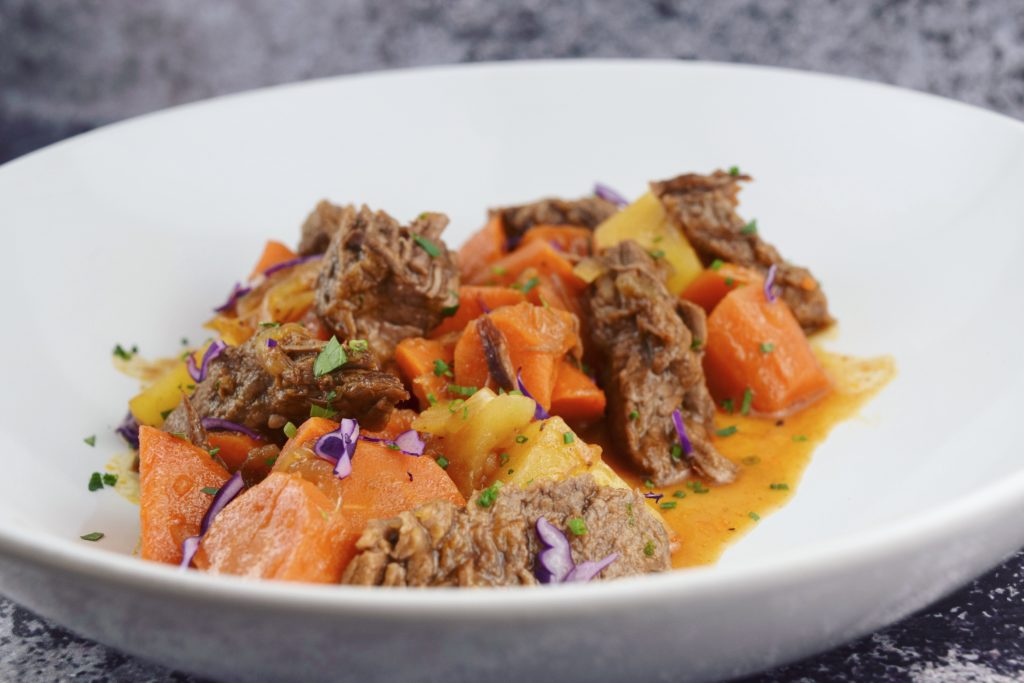
- Serve: Remove the brisket to a cutting board and let rest until cool enough to handle. Slice the meat against the grain or shred with two forks. Transfer to a platter and serve with vegetables and gravy.
- Store: Divide sliced or shredded brisket and vegetables evenly among storage containers, cover with gravy, and refrigerate for up to 4 days, or freeze for up to 3 months.
- Reheat: Preheat oven to 300°F. Remove brisket from refrigerator and let sit at room temperature for at least 30 minutes. Spread meat and vegetables in a baking or casserole dish and cover with gravy. Tent with foil or lid, transfer to oven, and bake until fragrant and warmed through, 30-45 minutes.


[…] be cut. I recommend a roll cut so you maximize the surface area of the carrot for cooking (see here for a primer on roll cuts). Rub the chunks with a tablespoon of olive oil and season with salt […]