I’ve had the urge to bake cookies lately, which is weird because I don’t really eat sweets. I think it’s a side effect of the holiday season – there are cookie images flooding social media and they’ve managed to work their way into my subconscious. I also happen to love bringing people joy through food, and what better way to spread joy during the holidays than by surprising your neighbors with a batch of cookies right out of the oven?
The holidays call for decadence so of course there must be chocolate, and since it’s also the season for wintry spices I decided to combine the two for these cookies. While I was at it I figured I’d gild the lily by browning the butter, which adds another layer of fragrant, nutty depth to the flavor. These cookies are chocolatey, sweet without being sugar-forward, perfumed with warm spices and a hint of heat, and topped with a sprinkle of good flaked or smoked salt to make those flavors really pop.
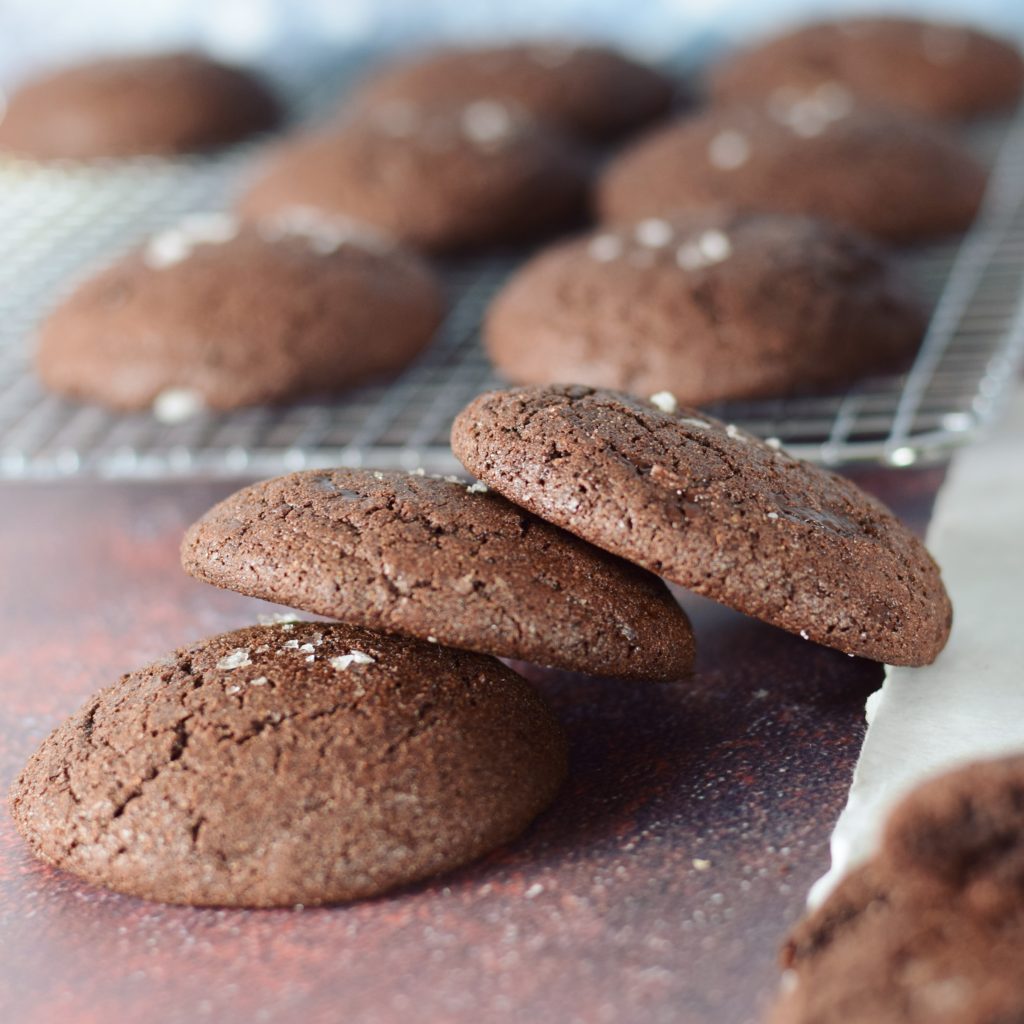
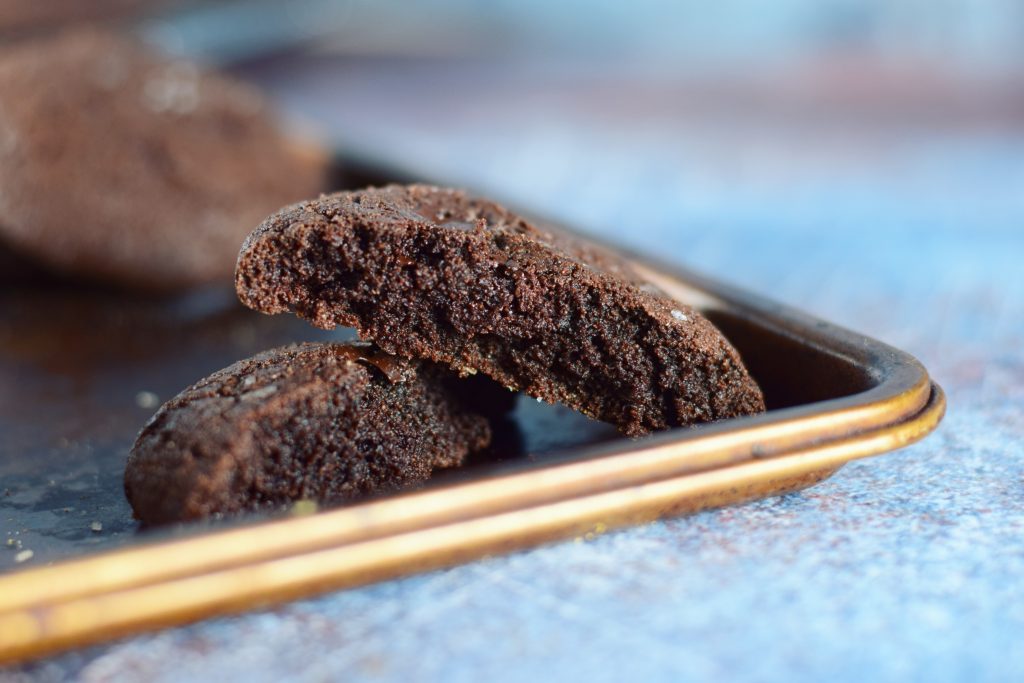
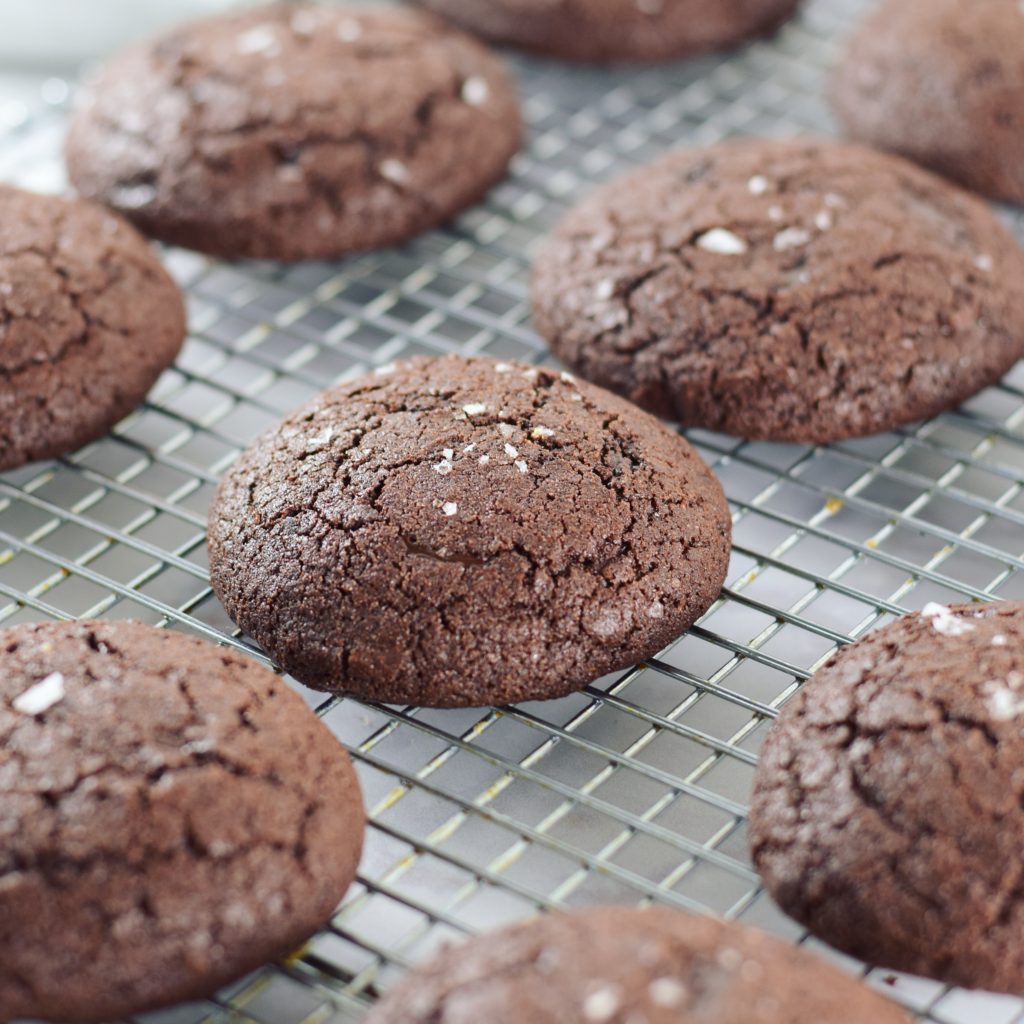
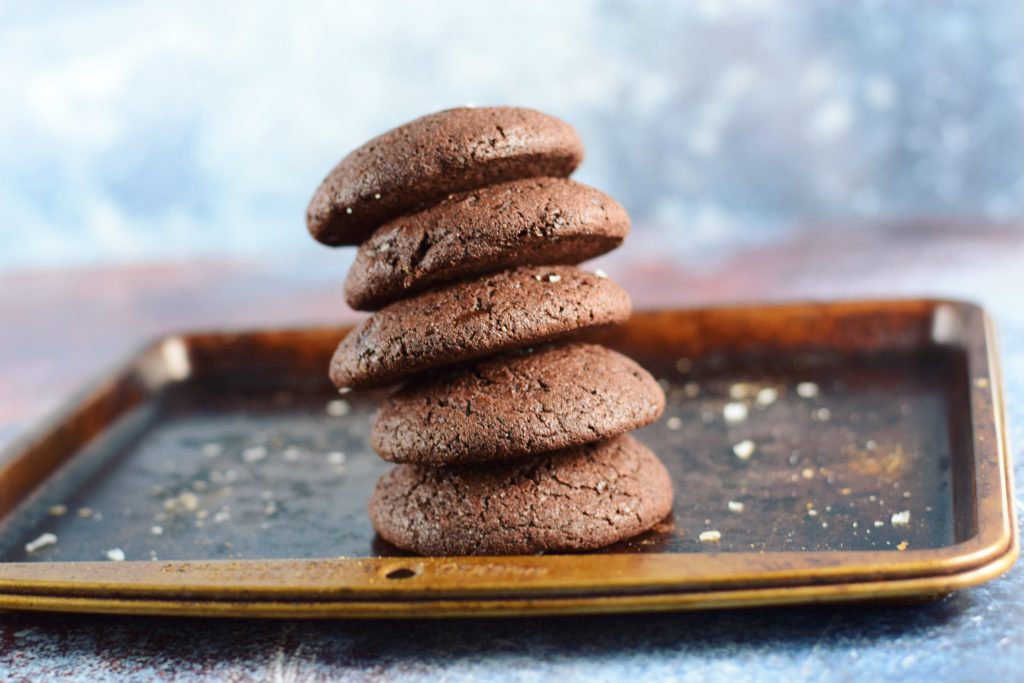
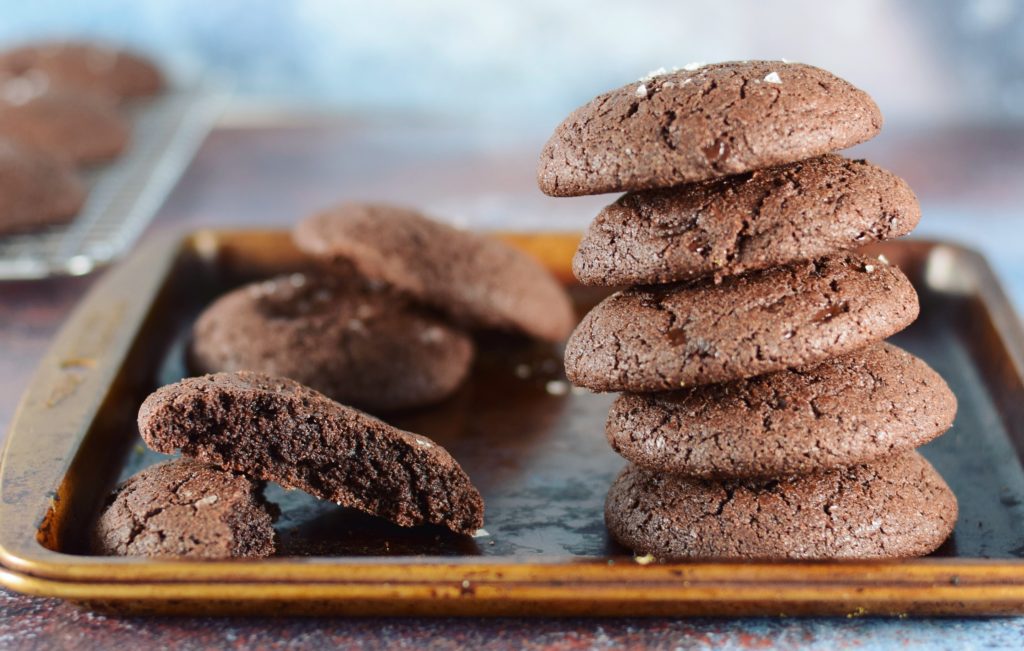
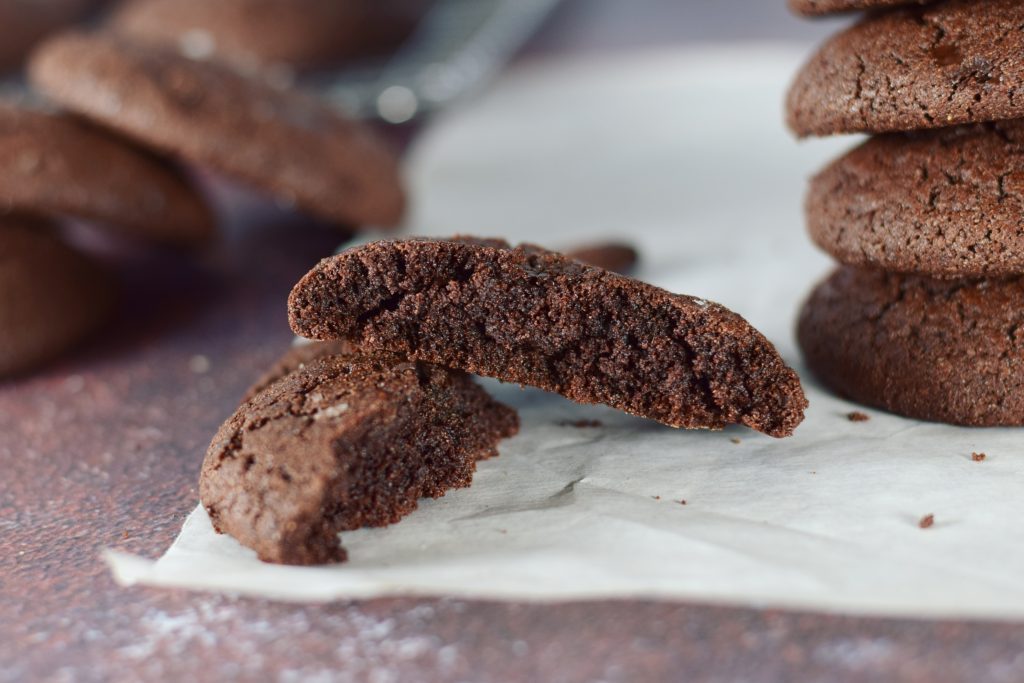
I know texture preference is a very personal thing when it comes to cookies – some people like them crunchy, others go for soft. I get bored really easily when food is all one texture, so I’m partial to cookies that ride the line between crisp and chewy. I think it’s way more interesting to eat something that has a little contrast, and thanks to a blend of sugars, a touch of molasses, and a generous dose of starch in the flour blend, these cookies strike a perfect balance. They bake up crunchy around the edges and cakey in the center with bits of melty chopped chocolate scattered throughout, so every bite is a little different. I should probably slap a warning label on the recipe because these babies are downright addictive. In fact, yours truly, who was known even as a young child to never want more than a single cookie at any given time, may have held some of these back for herself instead of distributing them all to the neighbors. (Shh, it’ll be our little secret 
Now let’s bake some cookies!
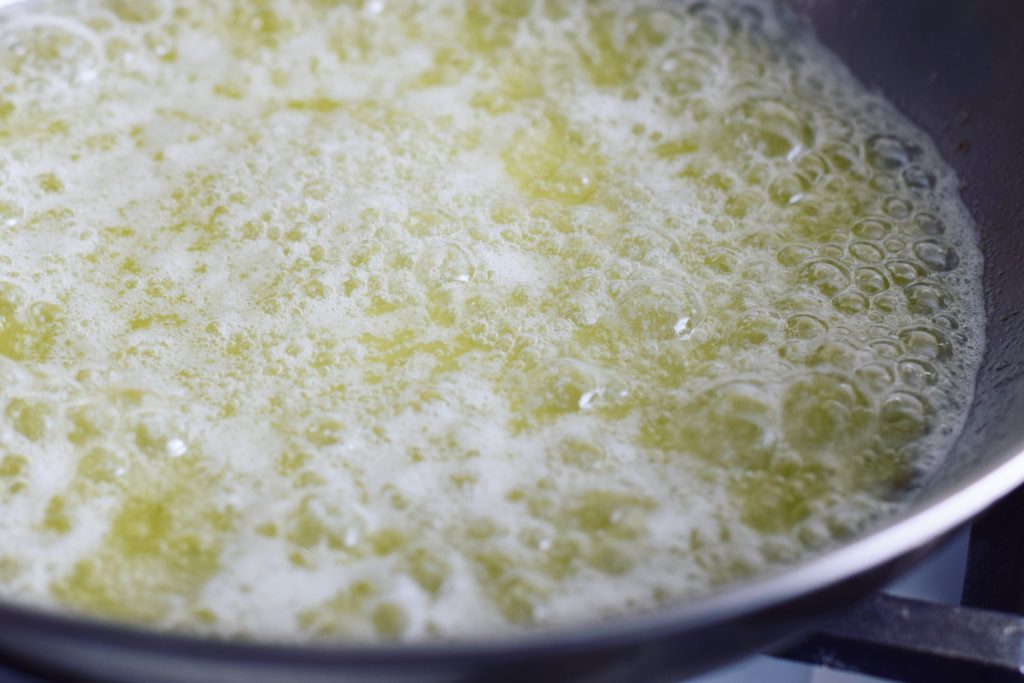
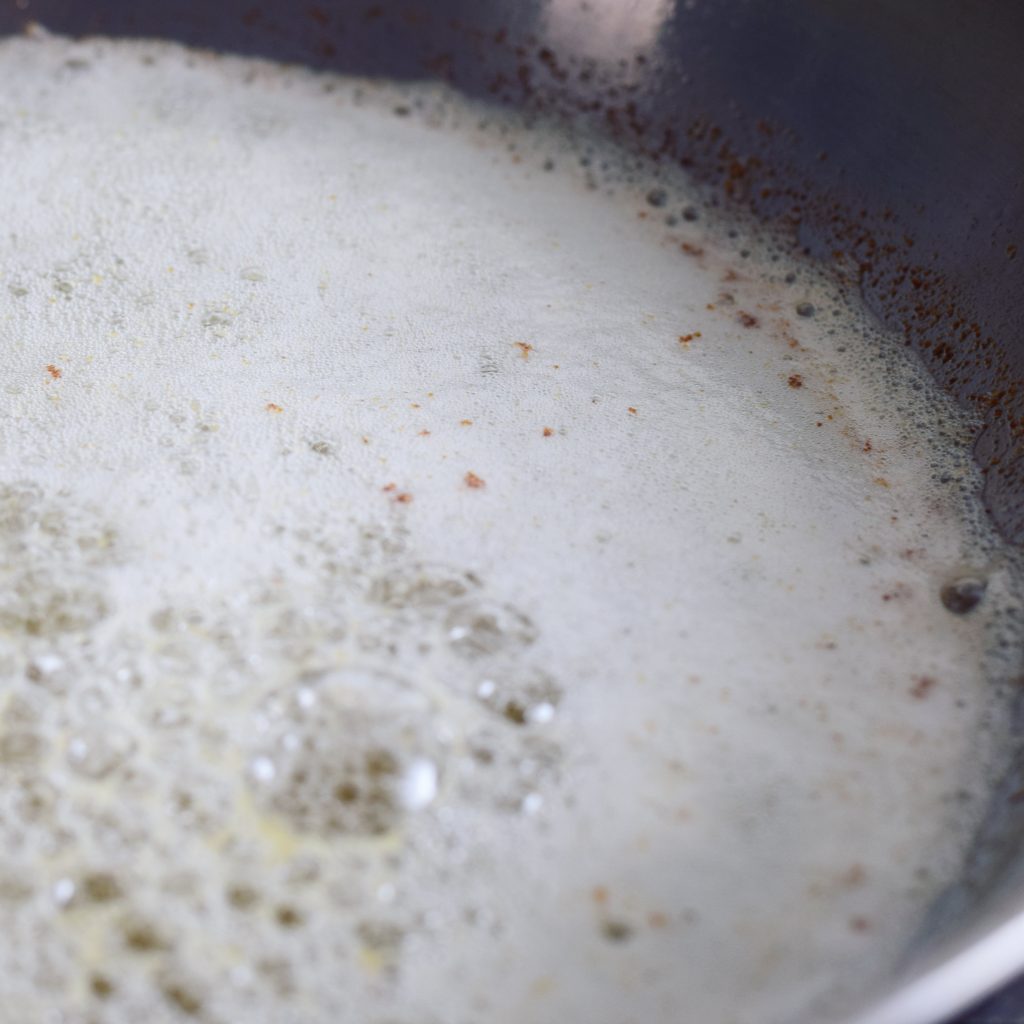
The butter needs to be browned first so it has time to cool. Drop the butter into a medium saucepan over medium-high heat and whisk it or swirl and shake the pan frequently until it’s deep amber in color and highly fragrant. This should take about 5 minutes. The butter will foam and sizzle pretty heartily as the water evaporates out.
See how it’s turning a deeper golden color? Progress. Next you’ll start seeing dark flecks around the edges of the pan as the milk solids begin to brown…
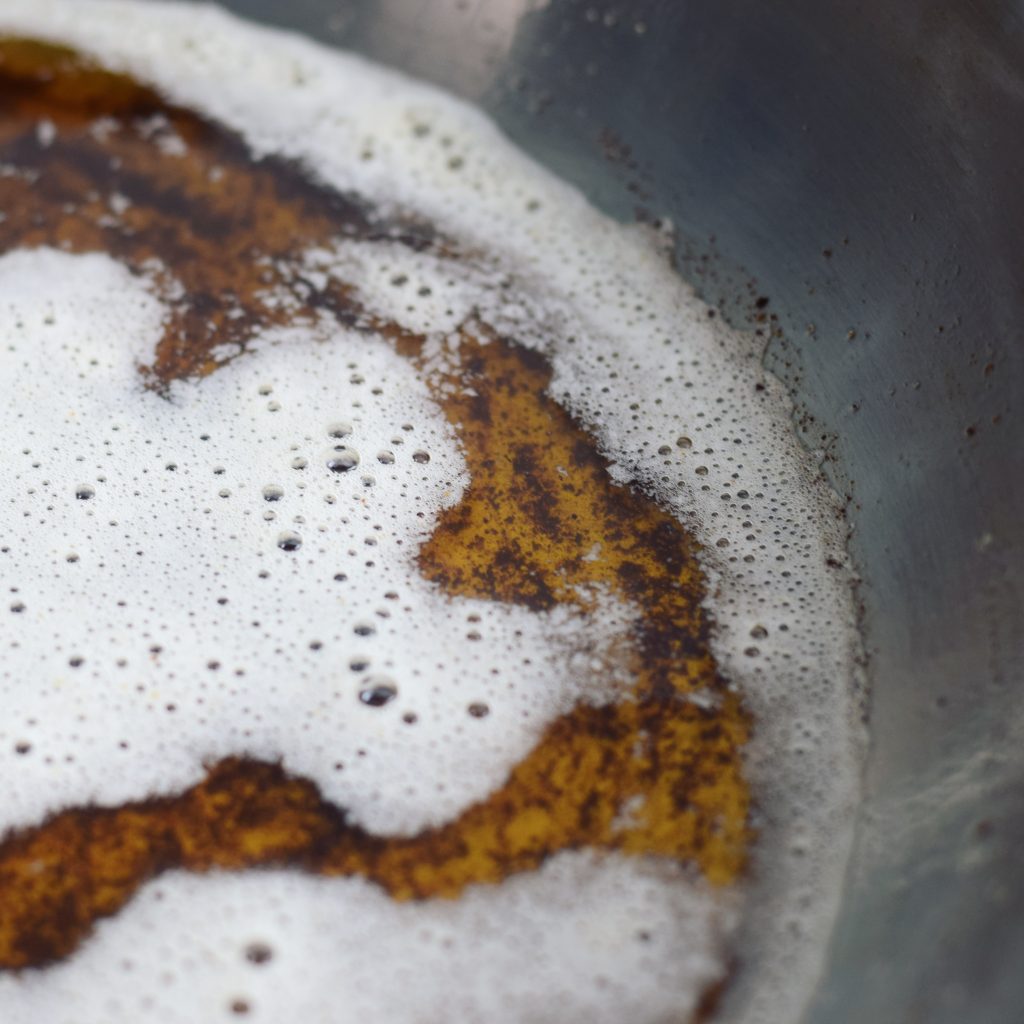
See? Specks of brown throughout the foam and along the sides. We’re in the final 30-45 seconds.
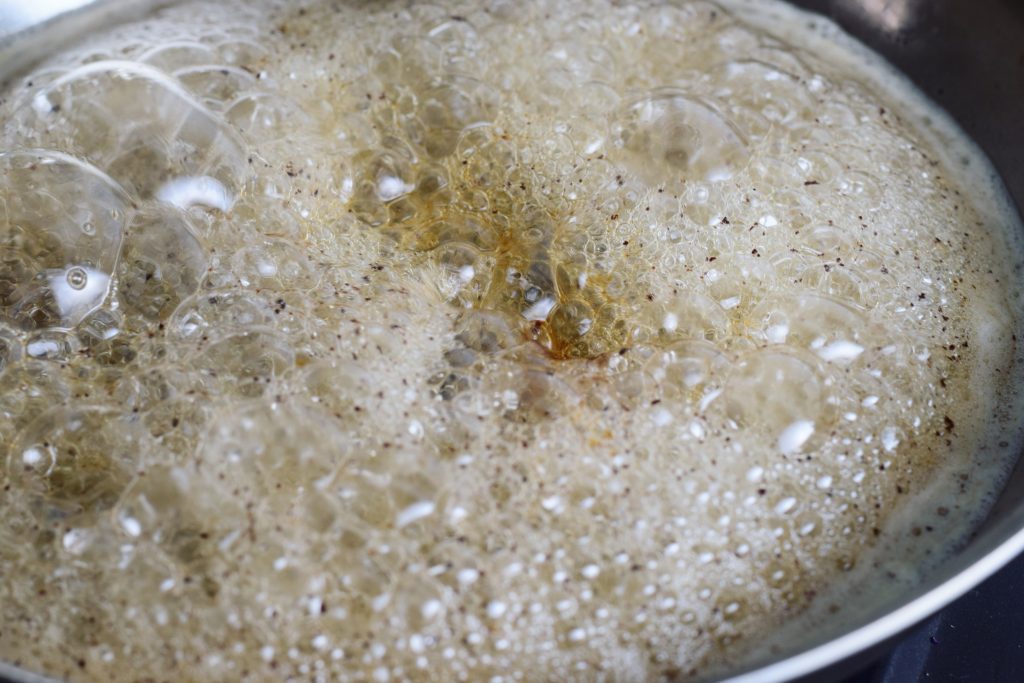
And voila! Look how gorgeously browned the solids have gotten. Now transfer the butter to a bowl and whisk in the water…
Be careful – it really foams and spits when you add the water! Place the bowl in the refrigerator or freezer, whisking occasionally, until the butter is cool to the touch but not solidified.
While the butter is cooling, whisk or sift together the flour, cocoa powder, salt, baking soda, and spices in a medium bowl and set it aside
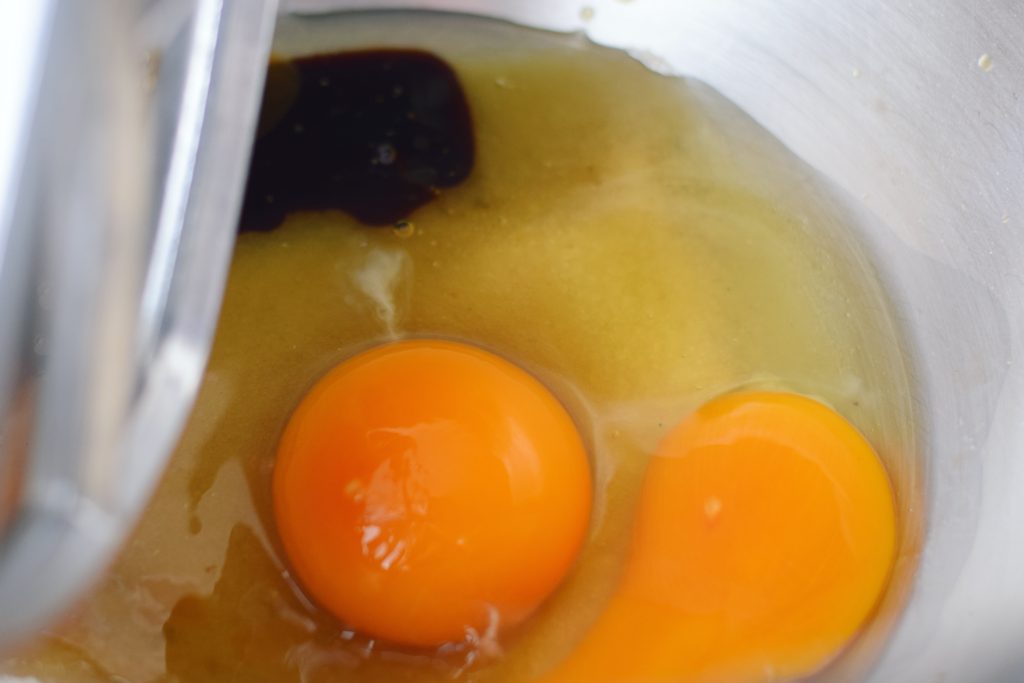
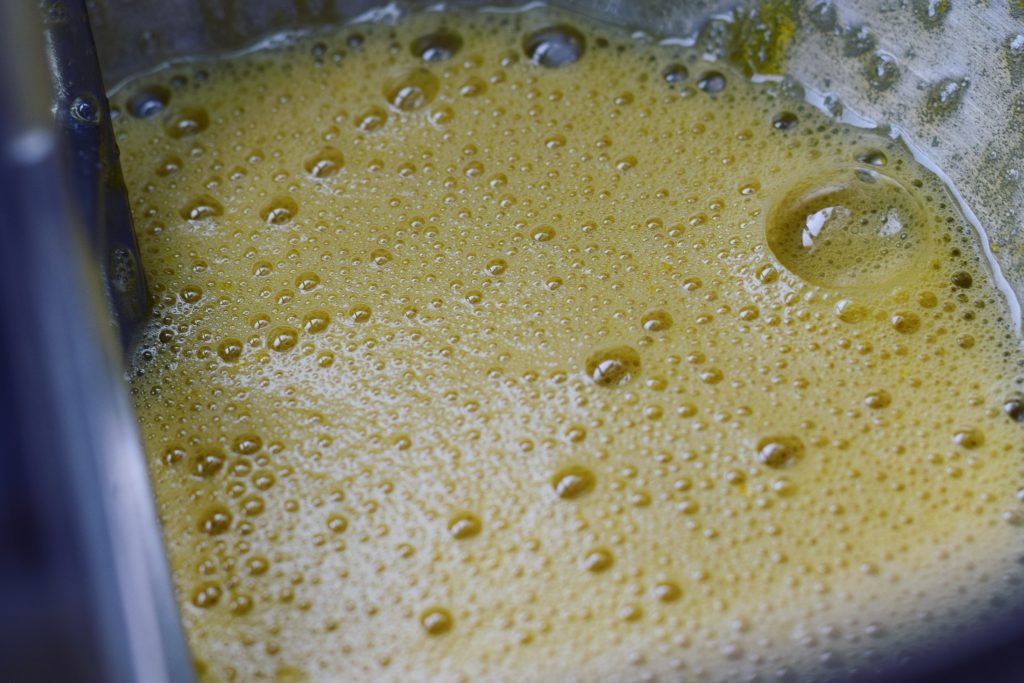
Add the granulated sugar, eggs, molasses, and vanilla to the bowl of a stand mixer; you can use a regular mixing bowl and handheld mixer instead. (And yes, my yolks really are that color! Pasture-raised eggs are the only way to go.) Using beaters or a paddle attachment, beat this all together on medium-high speed until it looks foamy and thickened.
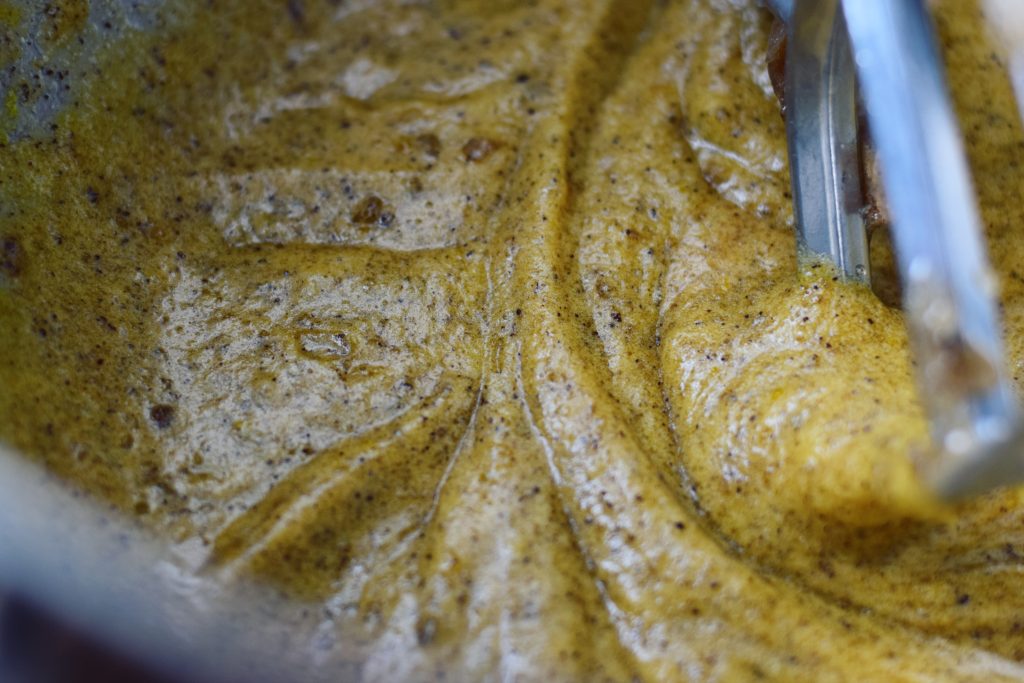
It should look like this. The color of yours may vary depending on your yolks. My gorgeous pastured ones started out a vivid marigold, so at this point I’ve got a lovely deep yellow. Reduce the mixer speed to medium, add the brown sugar and the cooled brown butter, and mix for about 15 seconds just until they’re combined.
See the tracks left behind by the mixer paddle? Your mixture should be thick enough for that to happen. And let’s take a moment to appreciate those flecks from the brown butter that are distributed throughout. Tiny flavor bombs!
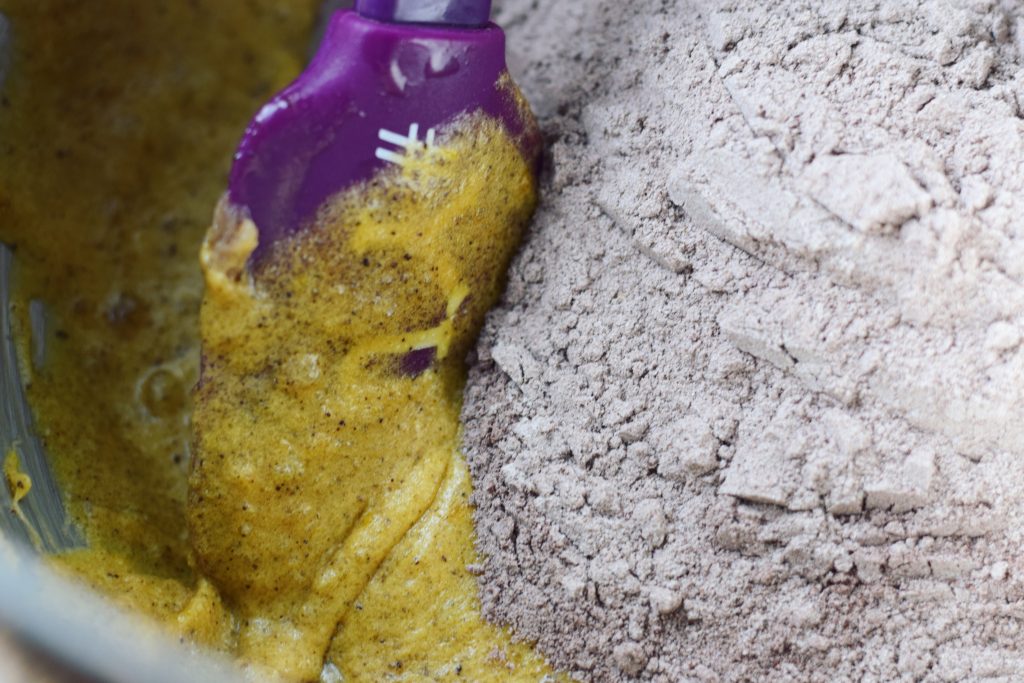
Turn off the mixer and use a spoon or very sturdy spatula to stir in the spiced flour and cocoa blend until only a few dry streaks remain. Be patient here – it will seem as though there’s too much flour, but keep stirring and it will incorporate.
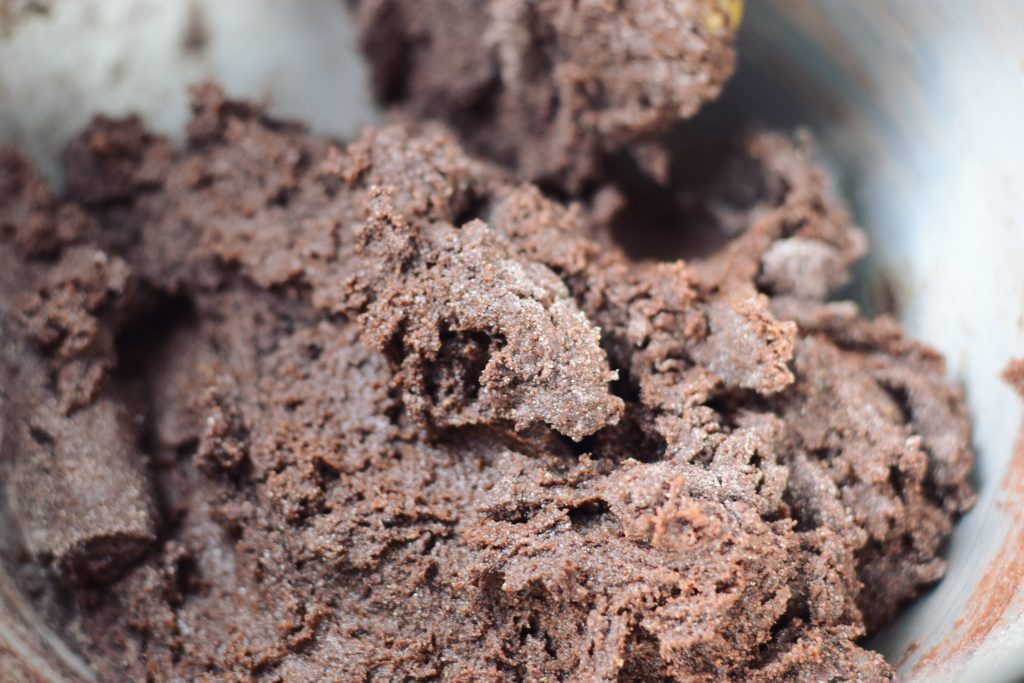
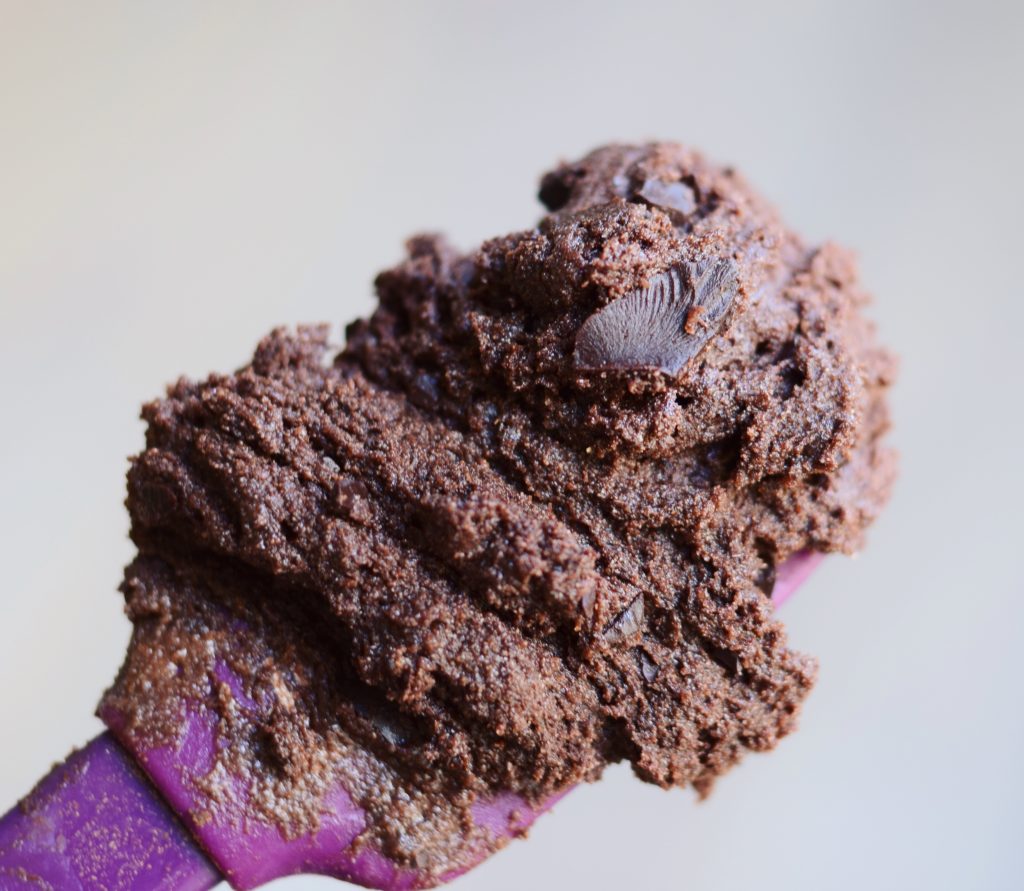
See how there are some visible specks of flour and spice but it’s mostly uniform? Now I’ll fold in the chopped chocolate and mix the dough until it comes together. You want the chopped chocolate to be distributed pretty evenly throughout the dough, and as you continue folding to get there the dough will soften and hydrate.
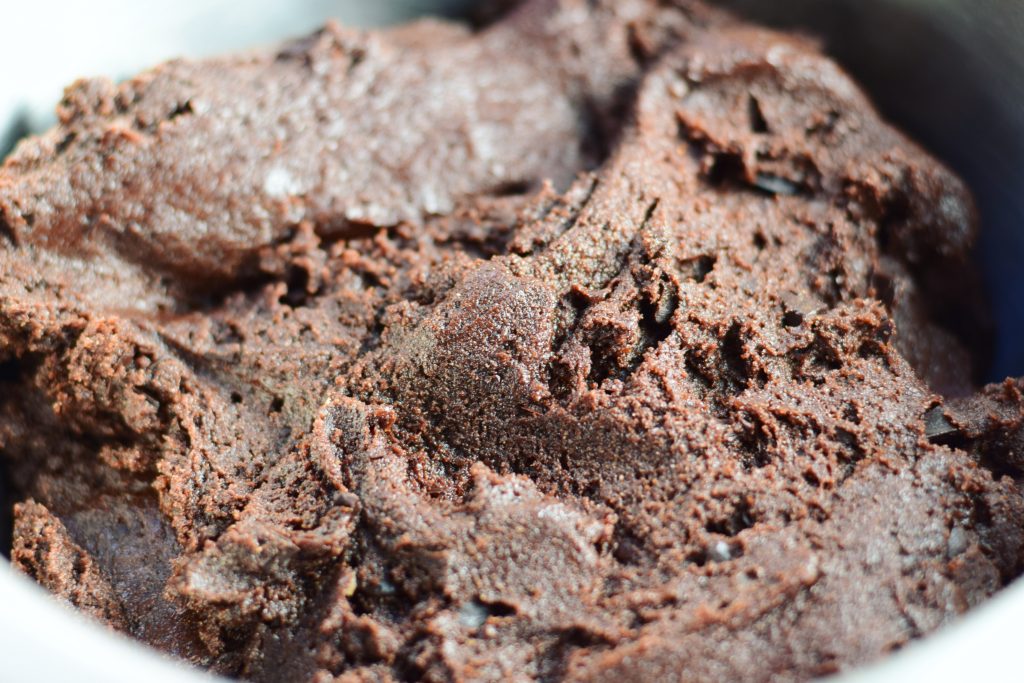
See how it looks a little wetter/glossier now? The butter and eggs just needed some more folds to soak in. This dough is all mixed and ready to rest. Wrap the bowl tightly in plastic or transfer the dough to an airtight container and refrigerate it for at least 45 minutes, but preferably overnight. The dough will keep in the refrigerator for up to three days. (If you want to save some dough for baking in the future, portion it out now, freeze the mounds on a sheet pan until solid, and freeze the dough in an airtight bag for up to a month. Thaw the dough in the refrigerator overnight before baking the cookies.)
Adjust an oven rack to the center position, and preheat the oven to 325°F. Line some baking sheets with parchment paper and set them aside.
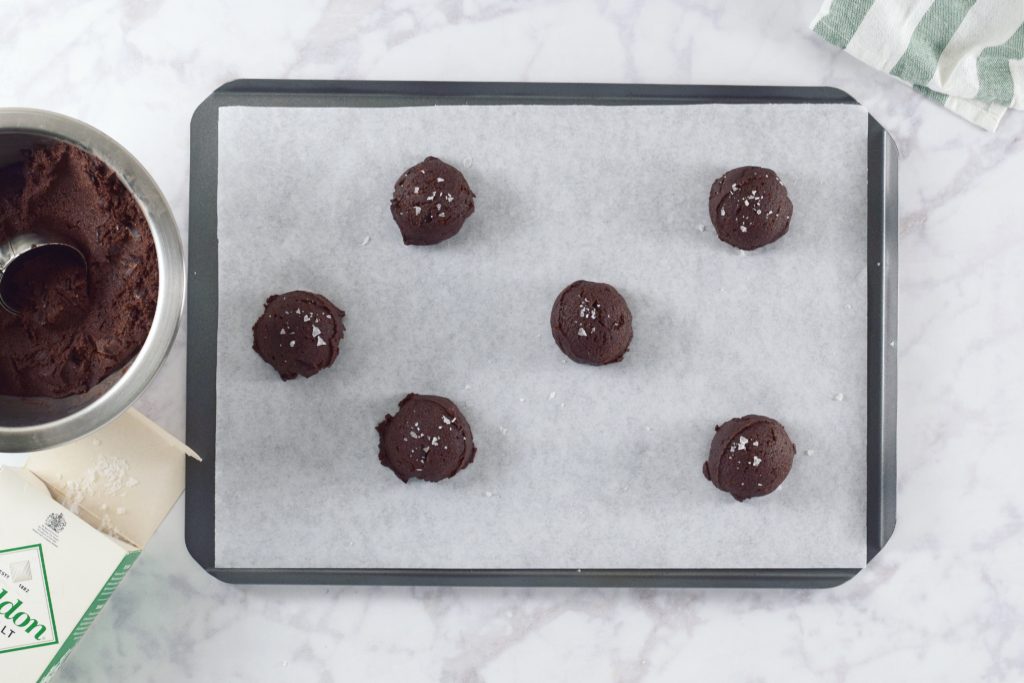
Measure the dough into 45-gram portions (about 3 Tbsp each) and form into mounds. For those of you who are into baking tools, I like to use a tightly packed #30 scoop for this. Place 6 dough mounds on each prepared sheet pan, making sure to leave at least an inch of space on all sides; the cookies will spread out as they bake. Sprinkle the top of each one with a pinch of flaked or smoked salt.
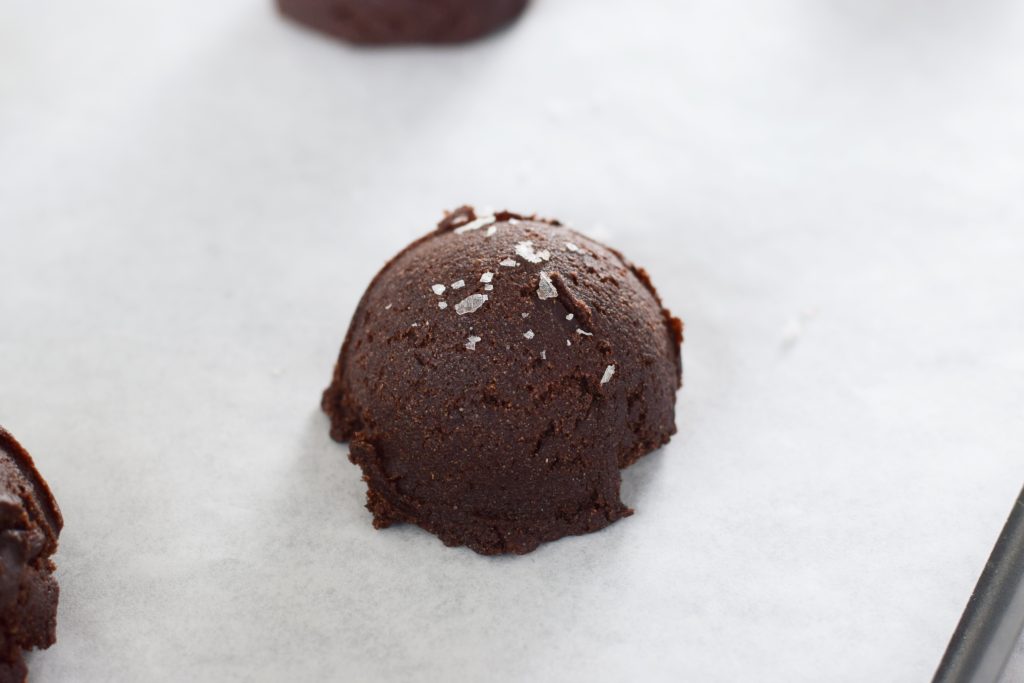
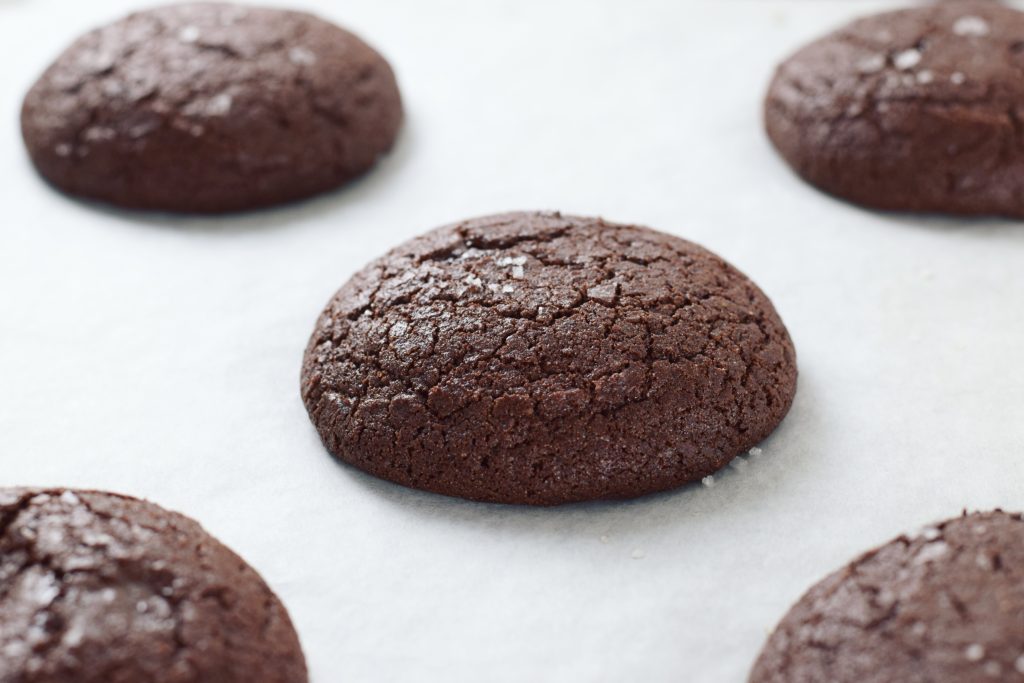
Kinda looks like a truffle, doesn’t it?
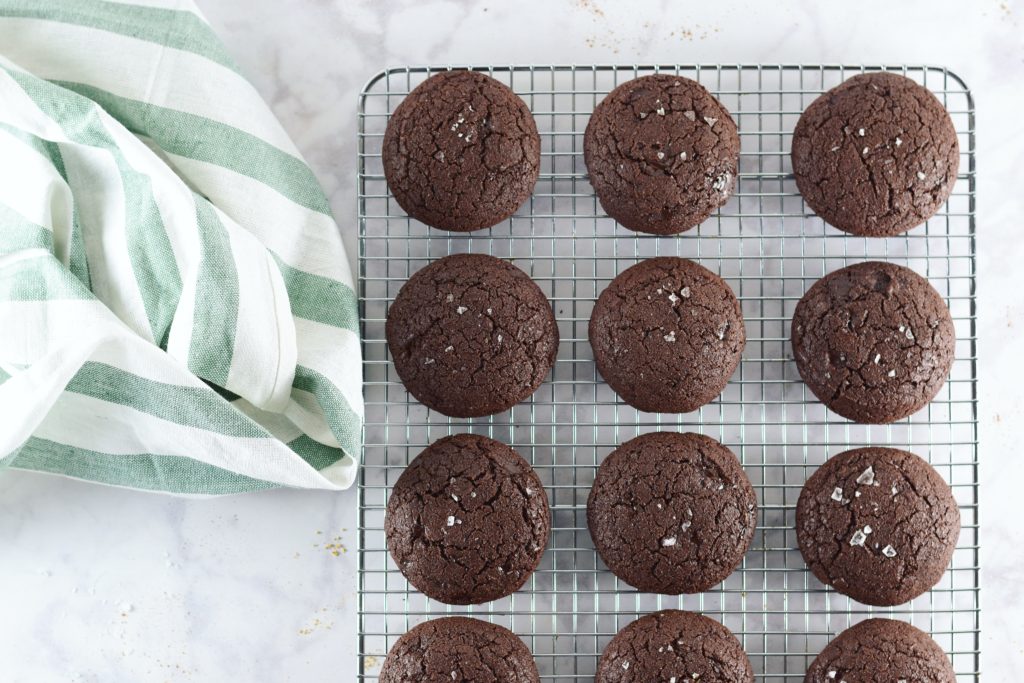
Bake the pans one at a time on the center rack for 14-16 minutes, until the centers are puffy and cracked but still soft, and the edges are set.
Transfer the pan of baked cookies to a wire rack and let them cool for at least 5 minutes or until set and firm enough to handle, then loosen them by sliding an offset spatula (or another thin, flat tool) underneath, and finish cooling the cookies directly on the rack.
You can either repeat the previous steps to bake another two trays of dough now, keep the rest tightly covered or wrapped in the refrigerator and bake it within 3 days, or follow the instructions above for freezing. Now go share the baked ones with the people around you and spread some holiday joy!
- 140g (10 Tbsp) unsalted butter or dairy-free shortening, cut or broken into pieces
- 10 ml (2 tsp) cold water
- 220g gluten-free flour blend*
- 35g (⅓ cup) cocoa powder, sifted
- ¾ tsp kosher salt
- ¾ tsp baking soda
- 1 ¼ tsp ground cinnamon
- 1 tsp espresso powder
- ¾ tsp allspice
- ½ tsp ground cardamom
- ½ tsp ground ginger
- ⅛ tsp cayenne
- 98g (½ cup) organic cane sugar
- 2 large eggs
- 1 ½ tsp pure vanilla extract
- 1 tsp molasses
- 100g (½ cup) brown sugar
- 85g (½ cup) chopped dark chocolate (at least 72% cacao)
- Flaked or smoked salt for topping
- Brown butter in a medium saucepan over medium-high heat, about 5 minutes, until deep amber in color and highly fragrant. Transfer to a small bowl, whisk in water, and place in refrigerator or freezer, whisking occasionally, until butter is cool to the touch but not solidified.
- While butter is cooling, whisk or sift together flour, cocoa powder, salt, baking soda, and spices in a medium bowl.
- Using a hand mixer with beaters or stand mixer with paddle attachment, beat together granulated sugar, eggs, vanilla extract, and molasses on medium-high speed until mixture is thickened and foamy. Reduce speed to medium, add brown sugar and cooled brown butter, and mix until combined, about 15 seconds. Turn off mixer and use a spoon or spatula to stir in flour until only a few dry streaks remain. This takes a bit of effort but it will come together. Fold in chopped chocolate and continue mixing until dough comes together, all flour is blended in, and chocolate is evenly distributed throughout.
- Wrap tightly in plastic or transfer to an airtight container and refrigerate dough for at least 45 minutes, but preferably overnight. Dough will keep in refrigerator for up to three days.
- Adjust oven rack to center position and preheat to 325°F. Line baking sheets with parchment paper and set aside.
- Measure cookies into 45-gram portions (about 1 ½ Tbsp each) and form into mounds. Place 6-8 dough mounds on each prepared sheet pan, spacing them at least an inch apart on all sides as cookies will spread. Sprinkle the top of each one with a pinch of flaked or smoked salt.
- Bake pans one at a time on center oven rack for 14-16 minutes, until the centers are puffed and cracked but still soft, and the edges have set.
- Transfer the pan to a wire rack and let the cookies cool until set, then loosen with an offset spatula and transfer directly to rack to cool completely.
70g (½ cup) sweet white rice flour
50g (⅓ cup) teff flour
60g (7 Tbsp) sorghum flour
40g (⅓ cup) tapioca flour
3g (¼ + ⅛ tsp) xanthan gum



 Crisp edges


Leave a Reply