Latkes are the Jewish version of potato pancakes traditionally served during the holiday of Hanukkah. Latkes are always fried in oil to honor the miracle that occurred in the ancient Temple of Jerusalem, when a small jar of oil that was supposed to burn in an oil lamp for only a single day somehow managed to last and provide light for 8 days. This is why the holiday is also known as the Festival of Lights, and I’m pretty sure that my childhood fascination with the story is the reason why latkes are my favorite thing about Hanukkah to this day. I very rarely make or eat fried food, but this is one of my few exceptions.
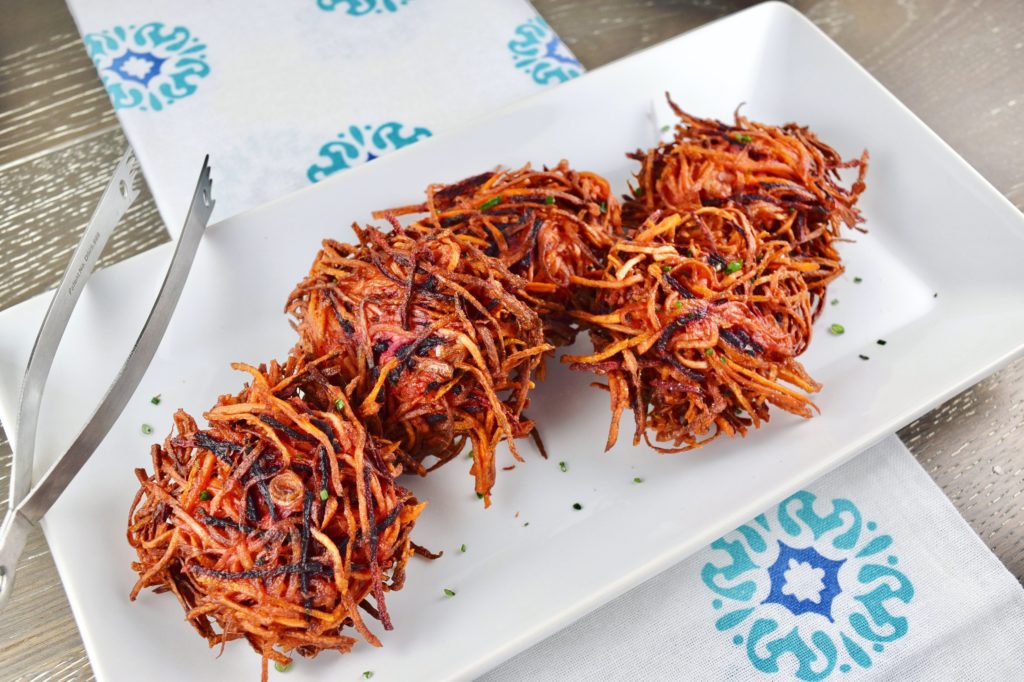
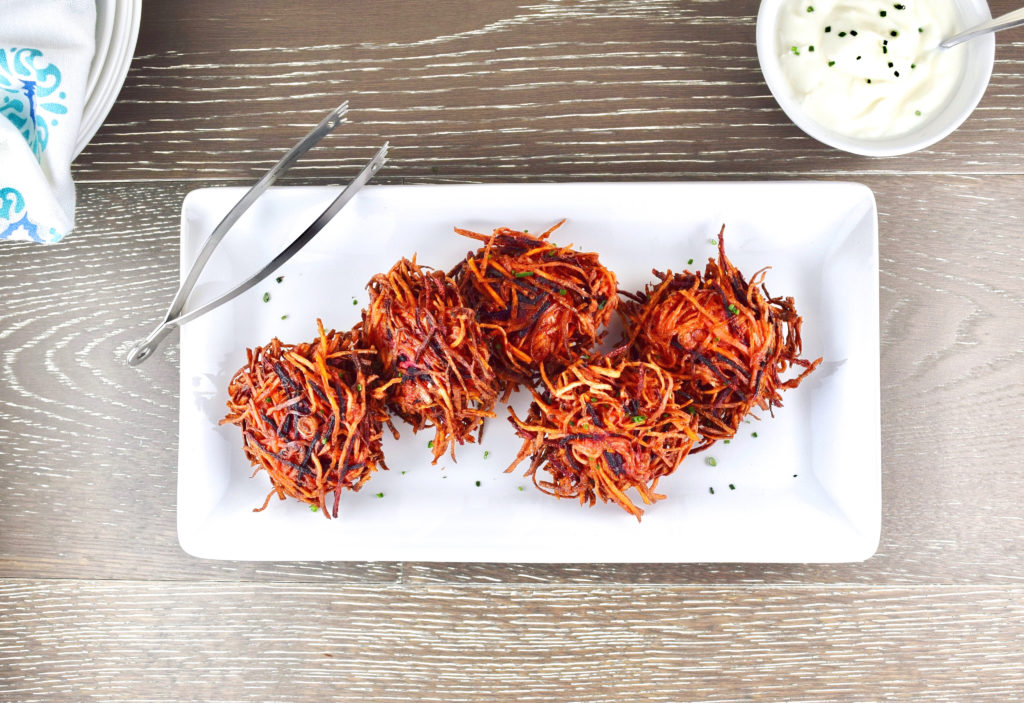
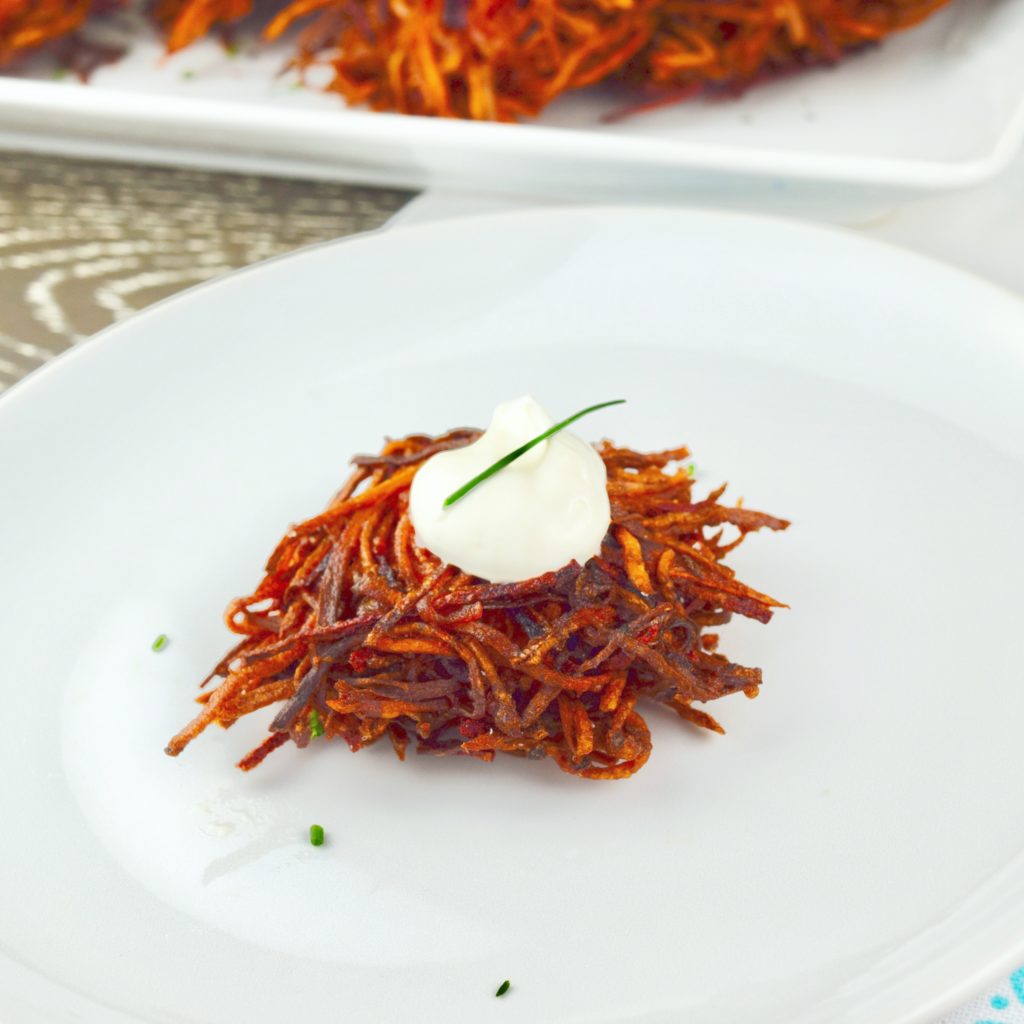
The classic version of this holiday treat is made with starchy white potatoes, but modern variations on latkes include other root vegetables. I love the lighter texture, more complex flavor, and brighter color that comes from using a variety of roots and tubers, and I shred my vegetables into thin strings instead of wide, flat grated bits, so my latkes have now essentially become little shredded vegetable fritters. They may not be traditional, but they’re downright delicious. I call them Hanukkah Haystacks.
Latkes require binding agents to hold them together, particularly when you’re including vegetables that are lower in starch than white potatoes. Beaten egg provides liquid and some binding power, but we also have to include a bit of dry flour or starch to keep them from falling apart. Some recipes call for corn starch, which I’ve never really understood – potato starch makes more sense to me since we’re already using potatoes in the latkes, so that’s what I use. It doesn’t take much, just a few tablespoons. In fact, since the starch is such a powerful and effective binder, we can get away with less of it than we would if we used flour.
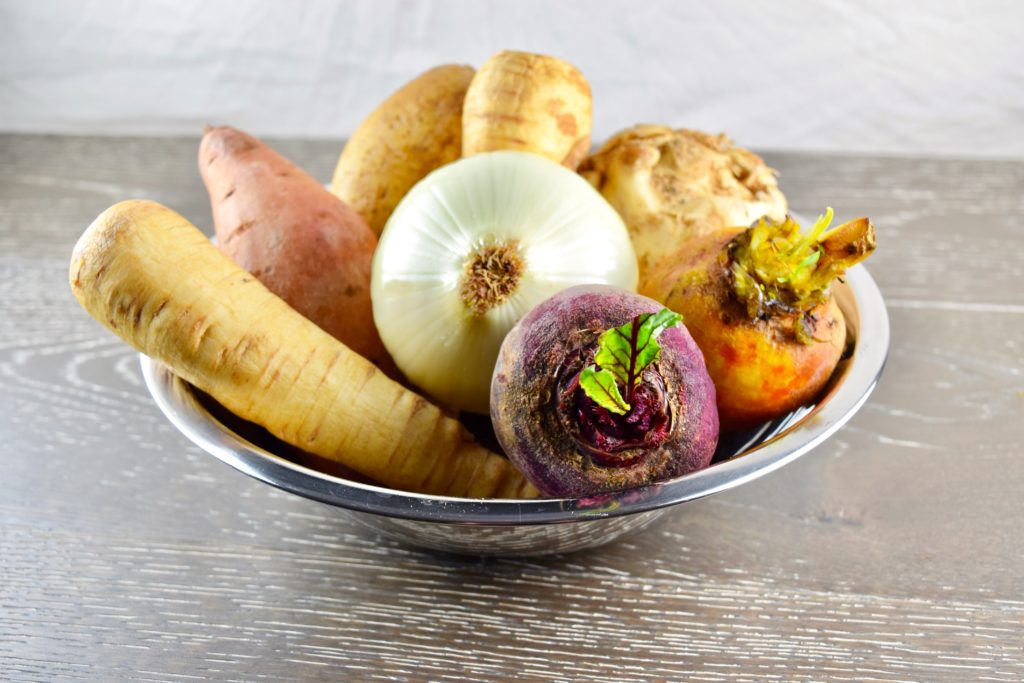
I leave the specific combination of vegetables up to you, though you should use at least a small portion of white potato for the sake of tradition and additional help with binding (when I make these the I use 20-25% white potato by weight). My personal favorite mix includes white and sweet potato, celeriac, parsnips and beets. Grated (not shredded) onion is essential to any latke, whether you’re making the classic version or a modern one like this. The flavor is so important, and there’s an enzyme in the onion that prevents the shredded vegetables from oxidizing and browning while they’re sitting in the strainer, so I make sure to mix everything together really well.
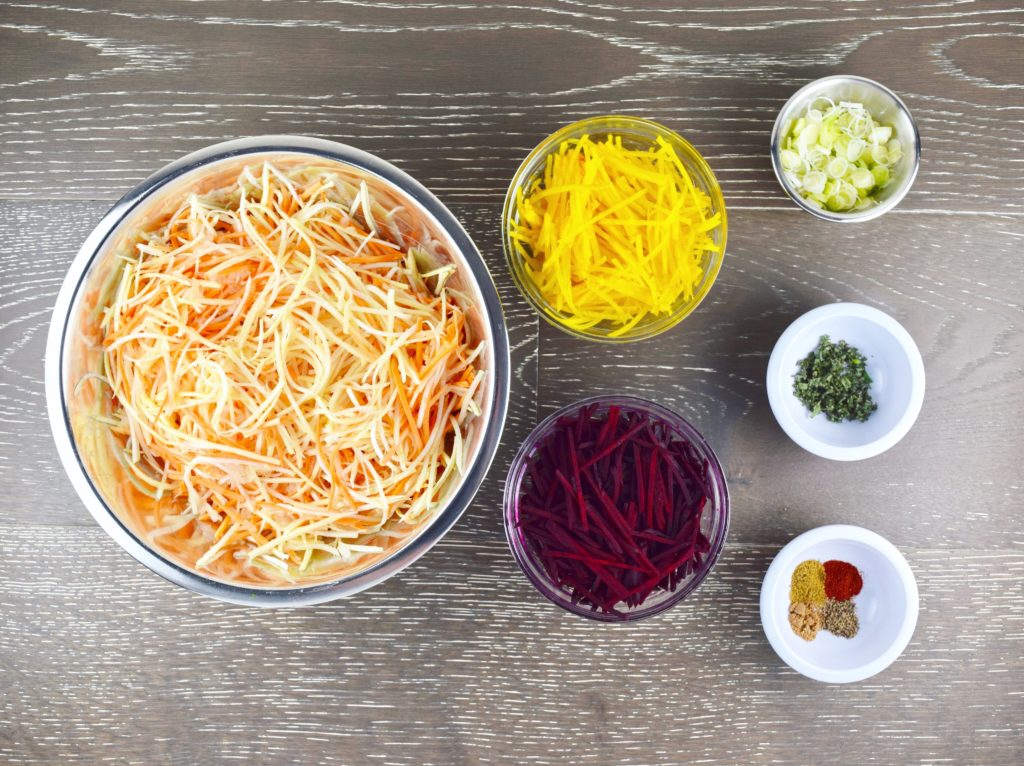
I also add fresh herbs and toasted ground spices, all of which really enhance the earthy sweetness of the vegetables. Feel free to add, subtract, or adjust quantities of these flavorings up or down to suit your taste.
The volume of shredded vegetables you end up with will depend on which ones you use, in what quantity, how tightly you pack your measuring cups, and whether you shred them with a box grater, mandoline or julienne peeler or use a food processor. Here are the approximate weights for one lightly packed cup of several different shredded root vegetables, though even this can vary depending on the thickness of the shreds:
1 cup shredded beet = 4 oz
1 cup shredded carrot = 3 oz
1 cup shredded celery root = 3 oz
1 cup shredded parsnip = 3 oz
1 cup shredded sweet potato = 3 oz
1 cup shredded winter squash = 5 oz
1 cup shredded white potato = 5.5 oz
If you have a food processor with a shredding disk, this recipe is the perfect excuse to use it! The reduction in prep time and mess is substantial, and you don’t run the risk of scraping your knuckles or fingernails (though I kinda feel like that’s a rite of passage for anyone who’s ever made latkes). If you don’t have a food processor and don’t like using a handheld grater, your other option would be a julienne peeler or a mandoline with a julienne blade. You’re looking for strips that are about ⅛ inch thick – on my Benriner that’s the medium-width toothed blade. That’s what I used for the batch you see in all the photos.
After you’ve prepped the vegetables it’s all about draining, because the key to crispy fried vegetable goodness is to remove as much liquid as possible. This requires a little time and salt, and a lot of pressure. Salting the vegetables and allowing them to sit for a while will begin to draw out moisture through osmosis. Once the salt has done its job, the most effective way to finish the process and wring out the remaining liquid is with some good old-fashioned elbow grease. I always rinse and wring out my cheesecloth before using it to remove any loose fibers and dust that would otherwise end up in my food; it also stays in place in the colander more effectively when it’s damp. Spread out your cheesecloth liner being sure to leave some overhang so you can grasp and close the ends later, then add the salted vegetables and let science work its magic for a while.
Close up the ends of the cheesecloth and twist the bundle as tightly as you can, wringing out the liquid as you go. You can also squeeze the sides to move things along. If you have any sort of weakness in your hands or difficulty gripping, tie the ends of the cheesecloth around the handle of a wooden spoon, then twist the bundle around and around, letting the handle absorb all the tension. Whichever method you choose, be sure to do this over the sink!
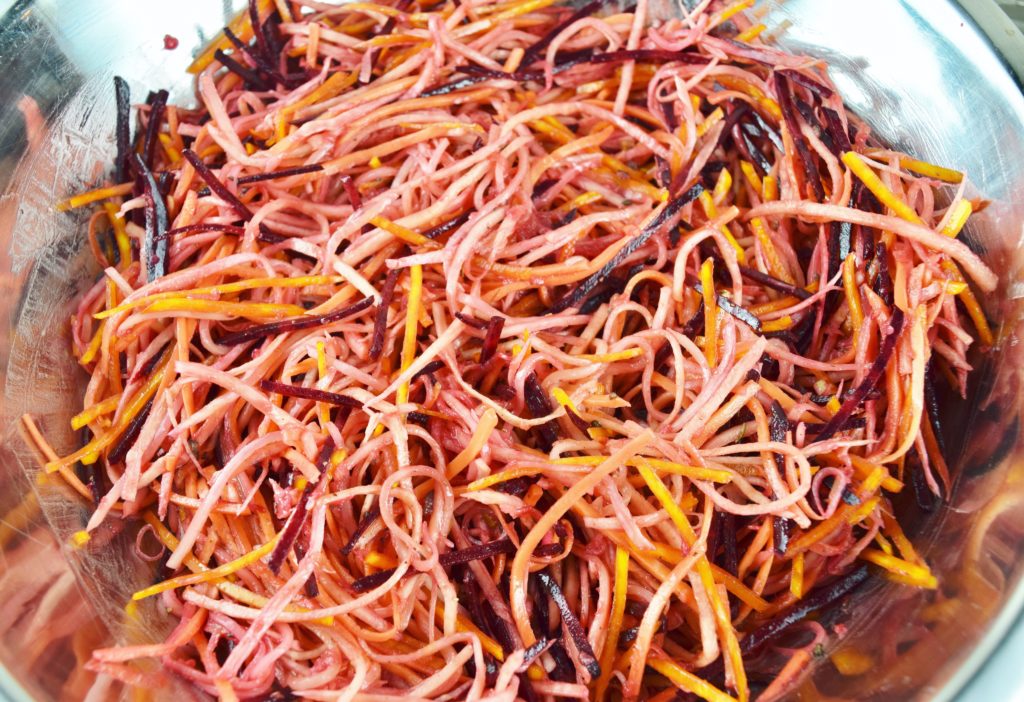
Here are my drained and squeezed shreds all mixed together. I kept the beets out of the mix and squeezed them separately, then folded them in with the others after everything was drained. That way they don’t bleed quite as much so you’ll still see some individual shades of color in the stacks after they’re fried.
Once all the vegetables are dry, you’ll be amazed by how much more compact they seem. I’ve measured it a few times – weighing my vegetables before and after squeezing – and I usually end up wringing out about 25% of the weight of the vegetables! Once they’re dry, toss them in a large bowl with the remaining ingredients and mix well to combine. Now you’re ready to fry.
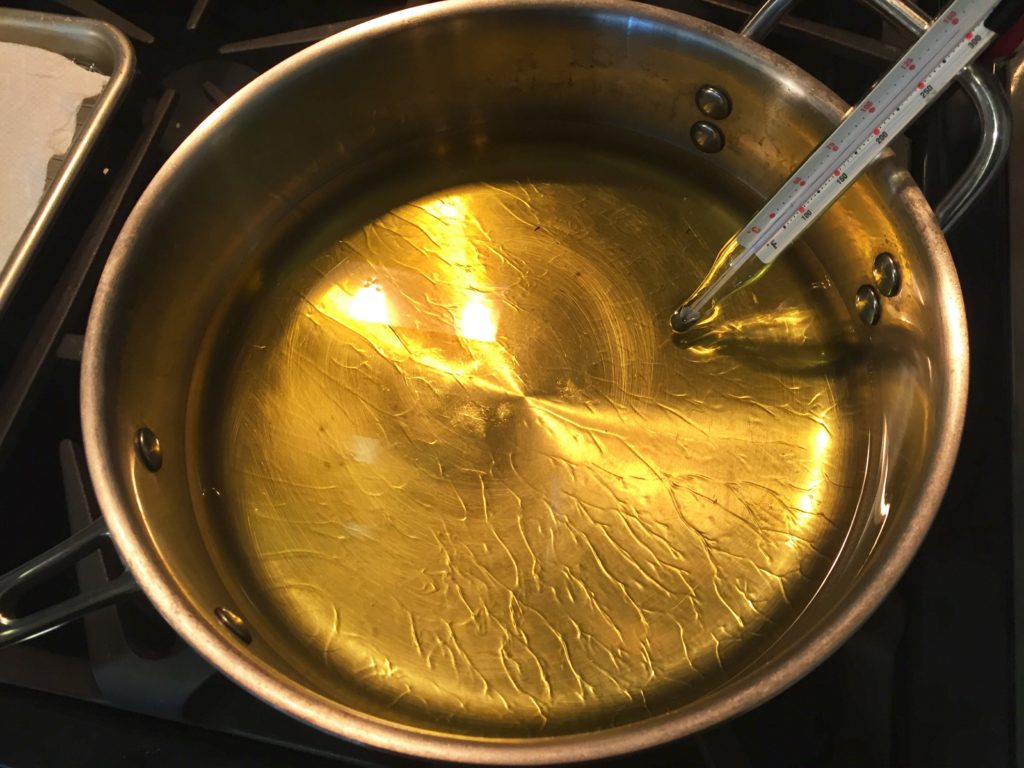
Make sure you fill the skillet with ½ to 1 inch of oil so there’s sufficient depth for the latkes to float without touching the bottom of the pan. Never crowd the pan when frying (or for that matter when you’re cooking anything that you’re trying to get browned or crisp). The oil temperature drops a bit each time you add something to it, so if you try do too many at once you’ll wind up with a soggy, greasy result. I recommend leaving a good 1 ½ to 2 inches between stacks while they’re frying. Your oil should be around 375°F, but if you don’t have a thermometer you can test it by dropping in a piece of shredded vegetable. If it sizzles and bubbles, the oil is hot enough; if it doesn’t move or starts to sink, the oil is too cold. Conversely, if the oil begins to smoke or the vegetable gets very browned after only a few seconds, the oil is too hot and you should lower the flame.
Here’s my frying setup. I have a candy thermometer that clips to the side of the pan so I can leave it in there and keep a constant eye on the oil temperature. Whenever you do this, be sure the tip of the thermometer is suspended in the oil and not touching the bottom of the pan or you won’t get an accurate reading (the surface of the pan is hotter than the oil).
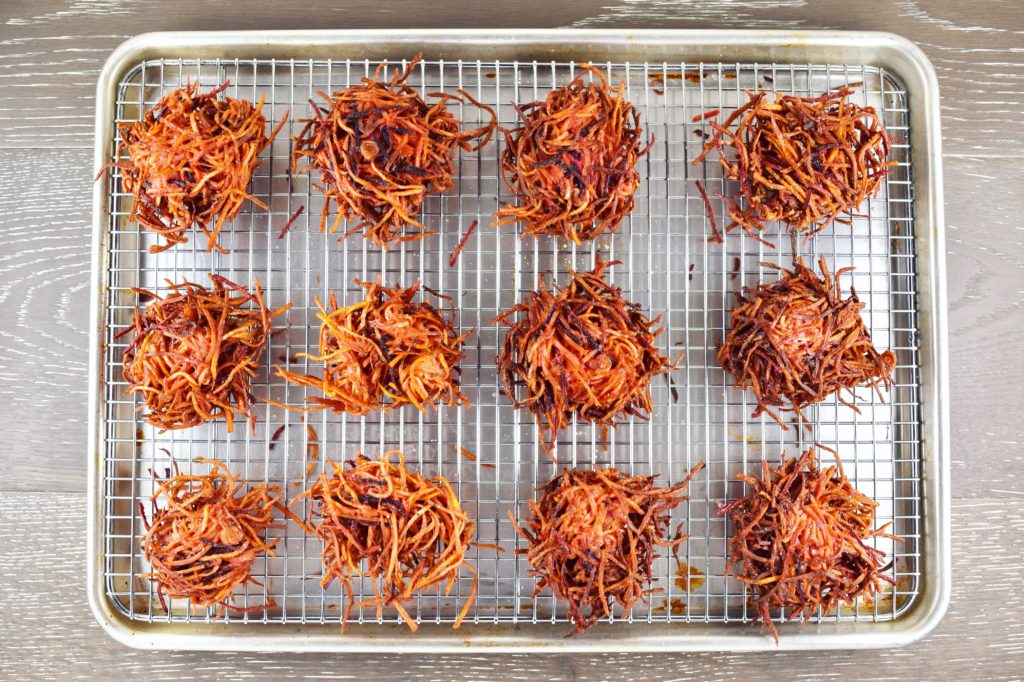
After you’ve fried and drained the stacks you’ll hit them with an extra sprinkle of salt while they’re still hot, then transfer them to the oven to keep warm until you’re ready to serve them. Trust me, no one likes a cold, limp wad of fried vegetables.
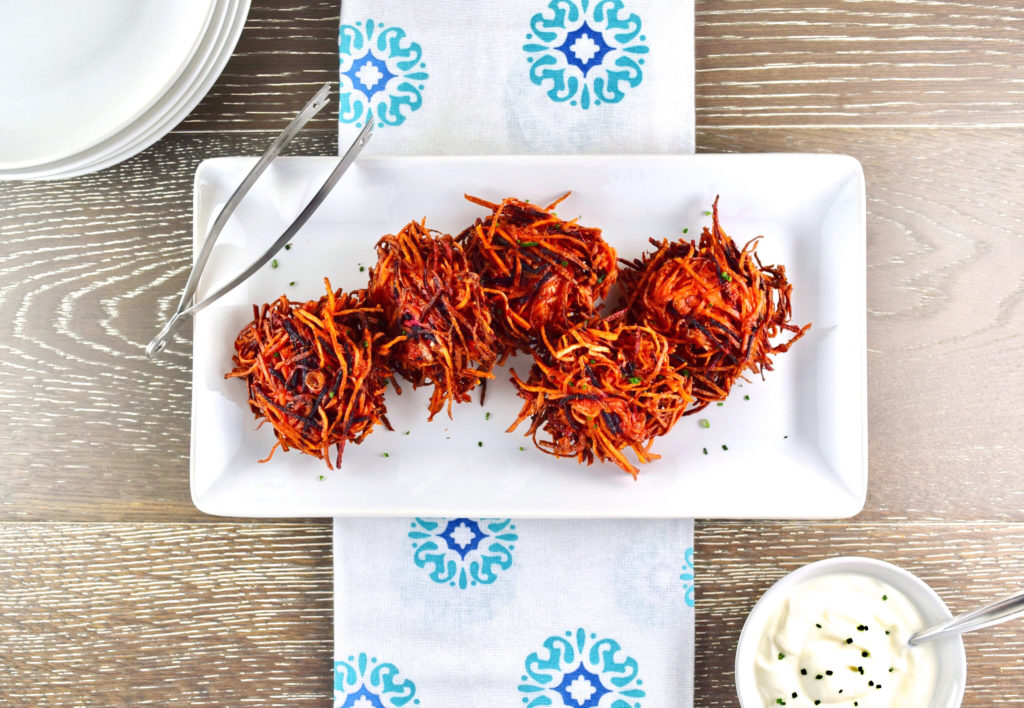
Still crisp and beautiful after holding in the oven. I don’t pull them out until I’m ready to serve.
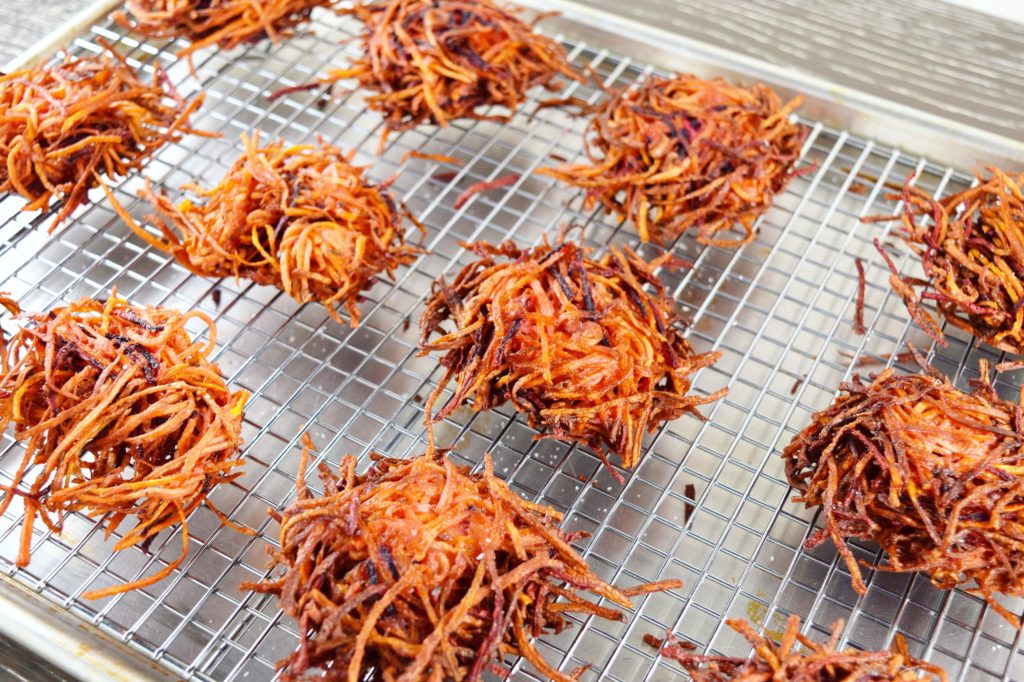
They’re calling your name, aren’t they? If you look closely you can see some flecks of kosher salt clinging to the surface – don’t forget to sprinkle them with that final hit after frying.
The toppings are up to you – traditionally latkes are served with a couple of options for spreading/dipping. Applesauce and sour cream are the classic choices, but you can use other fruit purees besides apple (pear, cranberry and persimmon are all fabulous), and Greek yogurt or crème fraîche would be a perfect stand-in for sour cream. Coconut yogurt is my non-dairy “cream” topping of choice. If you want to get fancy, serve a little smoked salmon and minced chive to go with the dairy (or alternative) topping.
Now go make some haystacks, and have a very happy Hanukkah!
- 1 ½ lbs raw root vegetables*, peeled and shredded, yield 5-7 cups**
- 120 grams (½ cup) coarsely grated onion (use the large grater holes)
- 1 ½ teaspoons kosher salt, divided
- 25 grams (¼ cup) sliced green onions, white and light green parts only
- 3 large eggs, beaten
- 38 grams (3 tablespoons + 1 teaspoon) potato starch
- 1 ½ teaspoons roughly chopped fresh thyme leaves
- 1 ½ teaspoons chopped fresh sage
- ½ teaspoon baking powder
- ½ teaspoon freshly ground black pepper
- ½ teaspoon toasted and ground cumin
- ½ teaspoon toasted and ground coriander
- ½ teaspoon sweet paprika
- ¼ teaspoon cayenne
- Neutral oil for frying (I like avocado or grapeseed)
- Applesauce (or other fruit puree) and sour cream, crème fraîche or Greek yogurt for serving
- Preheat oven to 250°F. Line a sheet pan with paper towels and set aside. Place a metal cooling rack inside another sheet pan and set aside.
- Drain the vegetables: Rinse and squeeze dry a piece of cheesecloth and use it to line a large fine-mesh sieve. Combine the shredded vegetables and grated onion (but not the sliced green onions) with 1 teaspoon kosher salt and add the mixture to the cheesecloth-lined colander. Set in the sink to drain for 15-20 minutes.
- Twist the cheesecloth closed a tightly as you can around the vegetables. Holding the top closed with one hand, twist or spin the bottom bundle tighter and tighter with your other hand to squeeze out as much liquid as possible. Once you’ve twisted it as far as it will go, use your free hand to squeeze the actual bundle - you’ll get even more water out.
- Assemble the fritter mixture: Transfer the dried vegetables to a large bowl and add remaining ingredients, mixing with your hands to combine thoroughly.
- Heat the oil: Cover the bottom of a large cast iron or stainless skillet with ½ to 1 inch of oil and heat over medium-high until the temperature reaches 375°F. (If you don’t have a thermometer for checking the temperature, you want the oil to be hot enough so a piece of grated vegetable sizzles when you drop it in, but not so hot that the oil begins to smoke or the vegetable turns a dark brown almost immediately.) Either way you’ll probably have to keep adjusting the flame up and down during frying to maintain the proper temperature.
- Form and fry the haystacks: If you have red beets in your mixture I recommend wearing disposable gloves for this part. Pick up a wad of about 2-3 tablespoons of the mixture and squeeze it tightly into your palm to compact it, then flatten it so it’s only ¼ to ½ inch thick at most. Carefully transfer it to the oil (you can use a spider or metal spatula to do this if you’re afraid of getting your hand close to the hot oil), and repeat with 2-3 more stacks depending on the size of your pan. Don’t try to do too many at once or the oil temperature will plummet, the stacks will stick together, and you’ll end up with a soggy, greasy vegetable mess. (I leave 2 inches between stacks while frying and usually limit it to 4 at a time since you still need to keep an eye on the ones that are already cooking.)
- Cook for 1½ to 2 minutes until golden and crisp on the bottom, then flip and finish cooking on the other side. Transfer cooked haystacks to the towel-lined sheet pan to drain for a minute on each side, season with an additional sprinkle of salt, then transfer to the metal rack you set in another sheet pan. Repeat the process with the remaining vegetable mixture until it’s used up.
- Transfer pan of cooked haystacks to oven until ready to serve.
- Serve: Arrange haystacks on a serving platter, garnish with minced chives or chopped fresh parsley if desired, and serve with preferred toppings.
**As mentioned in the body of the post, the total volume of your prepped vegetables will depend on which ones - and how much of each - you use. If you start with 1 ½ pounds of vegetables, you should end up with a little over 1 pound after trimming and peeling, and that will yield anywhere from 5-7 cups of shreds before draining and squeezing.


Leave a Reply