Flatbread is one of those things you’ll find in one form or another in pretty much every region of the world. Arepa, chapati, dosa, focaccia, injera, lavash, manakish, naan, pane carasau, paratha, pita, pizza, roti, tortilla…all flatbreads, and the list goes on. The myriad uses and toppings for flatbread are really only limited by your imagination. Use it as a pizza crust or base for other toppings without cheese, as a vehicle for your favorite dips and spreads, or serve it on the side with any meal that would benefit from a piece of crusty, chewy bread! One of my all-time favorite things to serve it with is shakshuka – it’s ideal for sopping up that spicy, savory sauce.
A basic flatbread only needs water, flour, and salt, though you can also add seasonings, fat, and even yeast. I know that last one may seem counterintuitive, but some flatbreads do contain leavening; the term “flatbread” has more to do with the fact that you flatten it out before baking. I like to add yeast because it provides a more complex flavor and allows for textural contrast, so the exterior of the flatbread bakes up golden and crisp and the interior maintains a bit of chew. I add fat to my flatbread too, usually in the form of olive oil; I’ve found that it does wonders for gluten-free recipes.
This particular flatbread isn’t just gluten-free, its completely grain-free. Cassava is the primary flour here, and if you haven’t used it before you’re in for a treat. Of all the alternative flours, cassava is the closest to wheat flour in taste, texture and behavior. Made from whole, ground cassava root (a.k.a. yucca or manioc), these days it’s the number-one choice for Paleo baking. To be honest cassava flour is a bit pricey for use as an everyday flour and I still like to use blends in my gluten-free baked goods, but it’s terrific for things like this flatbread. Otto’s Naturals is the brand name you’ll probably hear the most, but I’ve had great success with Anthony’s as well.
In addition to the cassava flour this recipe calls for arrowroot starch. You may have noticed that gluten-free flour blends always contain some type of starch – it’s essential for structure and mouthfeel. So why don’t I just use tapioca starch since it’s derived from the cassava root and I’m already using cassava flour? The simplest explanation is that arrowroot activates and gels at a lower temperature, and since the flatbread is baked for such a short time the arrowroot starch performs better than tapioca starch would during the brief exposure to heat.
I’ve also enhanced the flatbread with a bit of freshly ground flax, which contributes to better structure and adds a hint of nutty flavor. Many grain-free bread recipes call for egg, but the flax and arrowroot do pretty much the same thing so it’s not necessary here. Added bonus – since I’ve omitted the egg, it’s suitable for vegans if you replace the honey with molasses, agave, or coconut syrup. (And before you ask, no, you can’t omit the sugar altogether. That’s what feeds the yeast.)
You can season this with various minced fresh or dried herbs, spices, seeds, and/or aromatics, and whether you mix your seasoning into the dough or sprinkle it on top is up to you. (Za’atar is one of my favorite spice blends to sprinkle on flatbread, and I’m partial to the Jordanian style so my blend is heavy on the sumac and sesame seeds.) Really though, it tastes terrific without any additional seasoning. It also makes a fantastic pizza crust – one of these days I need to grab some good mozzarella and do a pizza post.
Okay, ready to bake some flatbread? There’s really not much to it. The first thing you’ll need to do is activate your yeast. Make sure the water is at least 85°F and no hotter than 110°F – too cold and the yeast will take forever to do its thing, too hot and you’ll kill it (yes, technically the yeast is a living organism until you cook it). A thermometer is obviously the best way to gauge temperature, but if you don’t have one you can test the water on the inside of your wrist. You want it to feel warm to the touch – warmer than your skin – but not hot. Now whisk together the water and whichever sweetener you use, stir in the yeast, and set it aside in a warm place for 5-10 minutes until it gets nice and foamy.
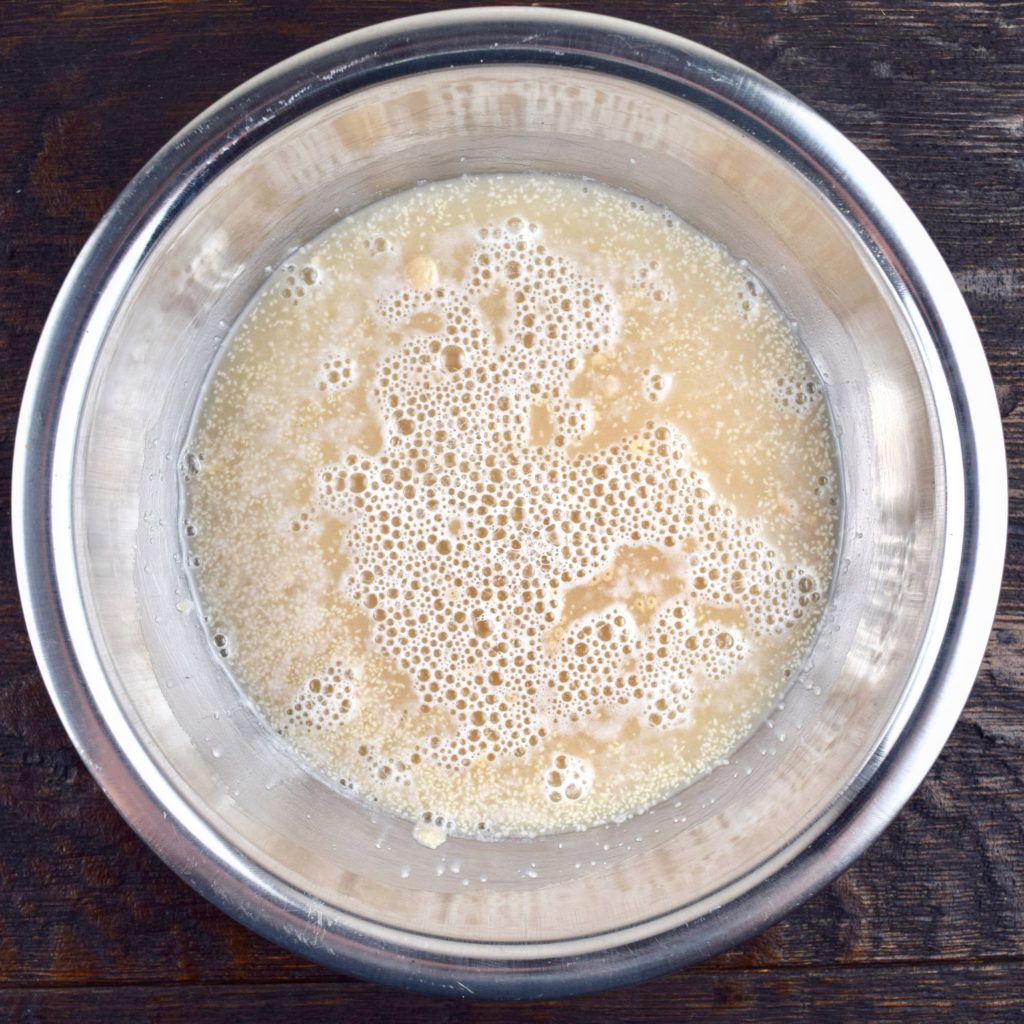
Here’s what the mixture looks like before the yeast starts feeding on the sugar in the honey. Those bubbles are from agitation during whisking, not from yeast activity. You can still see all the individual yeast granules floating around in the water.
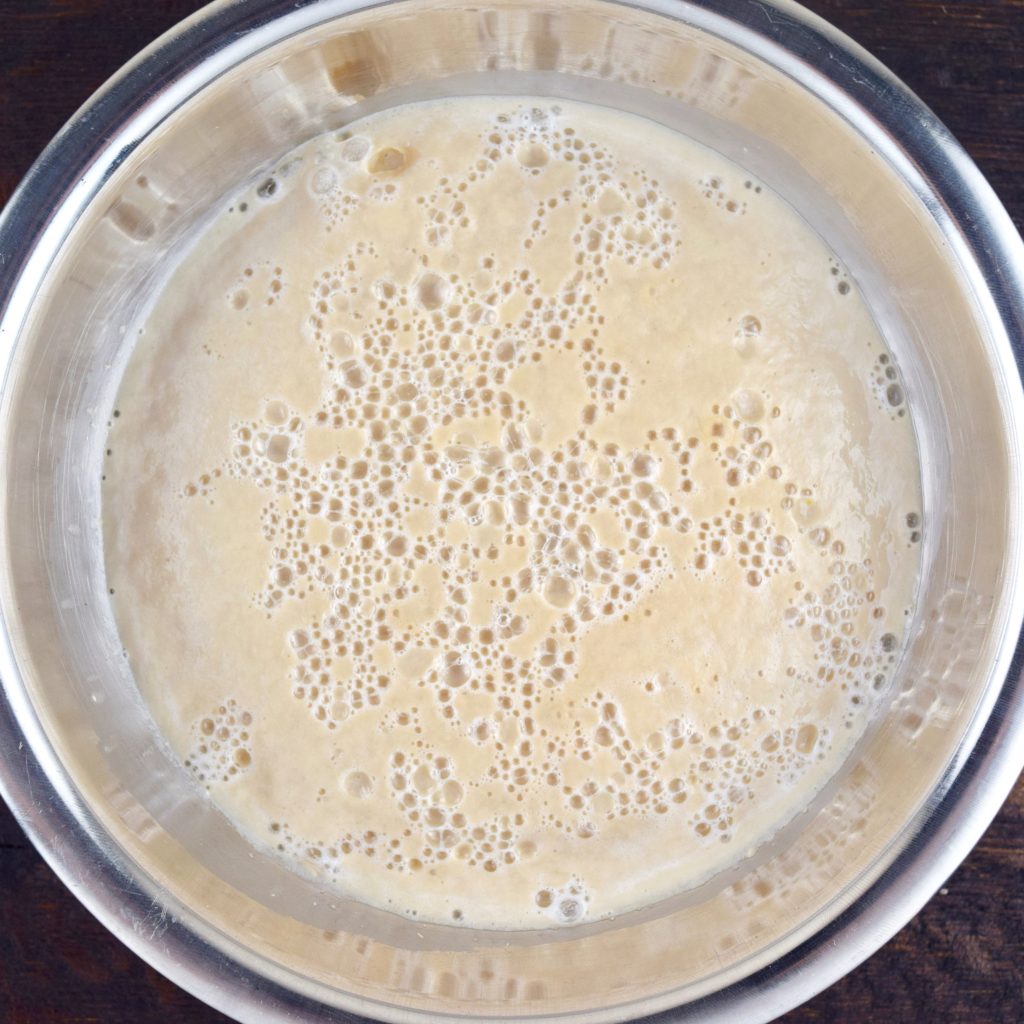
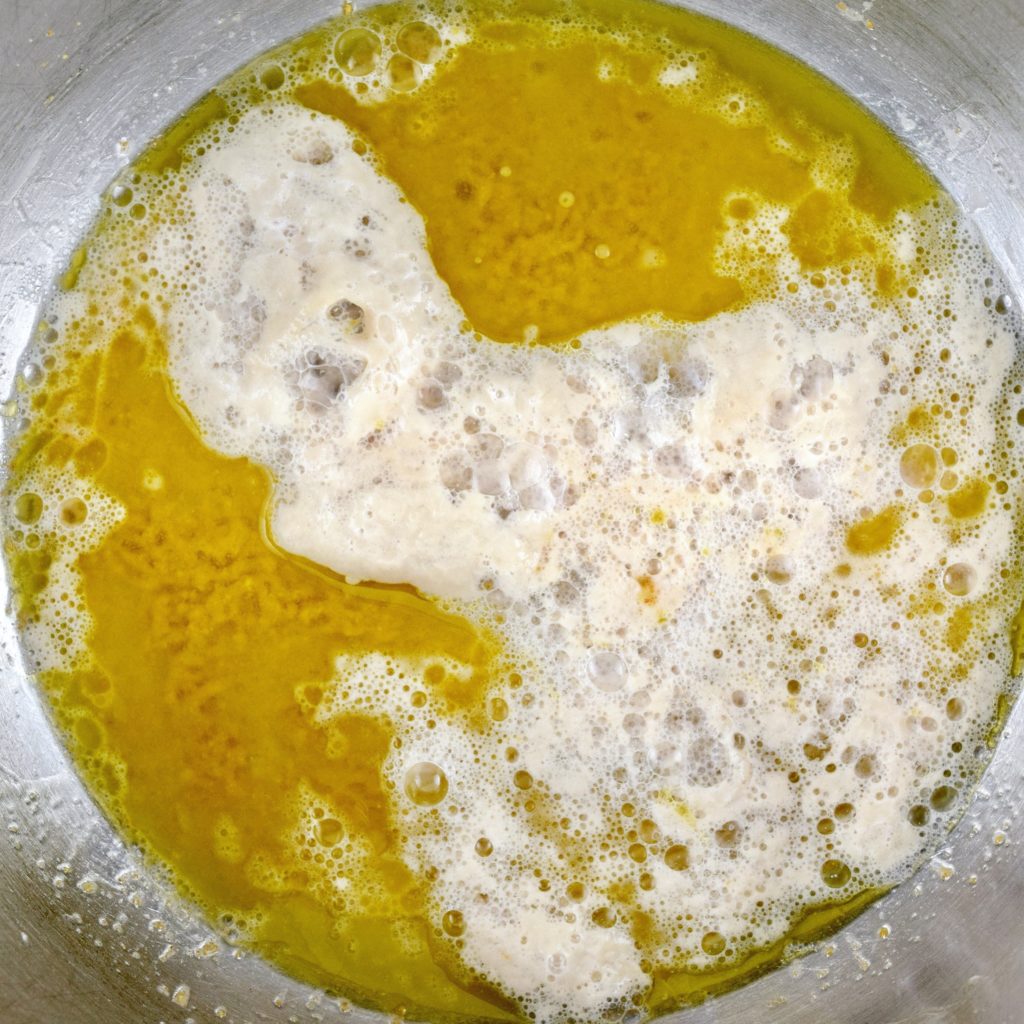
And here’s what it looks like once the yeast is activated. See the difference? It looks more like a cohesive mass. Pretty cool, huh? If your yeast doesn’t foam, it was either old/dead or your water was too hot. Do it again, and hopefully the next batch will look something like mine.
While you’re waiting for the yeast to proof, you’re going to make a flax gel (it’s a common vegan substitute for egg). Get out a large mixing bowl – you’ll mix up your dough in this bowl – and add the remaining warm water and the ground flax. Stir them together and let sit for a couple of minutes until the mixture gels; the consistency will be similar to egg white. I use golden flax seeds for most of my flax needs because I prefer the flavor and color, but the brown seeds are fine if that’s what you have. Flax is like any other seed – its oils are delicate and prone to spoilage, so I always recommend buying whole seeds, storing them in a cool, dark place, and grinding them yourself as needed.
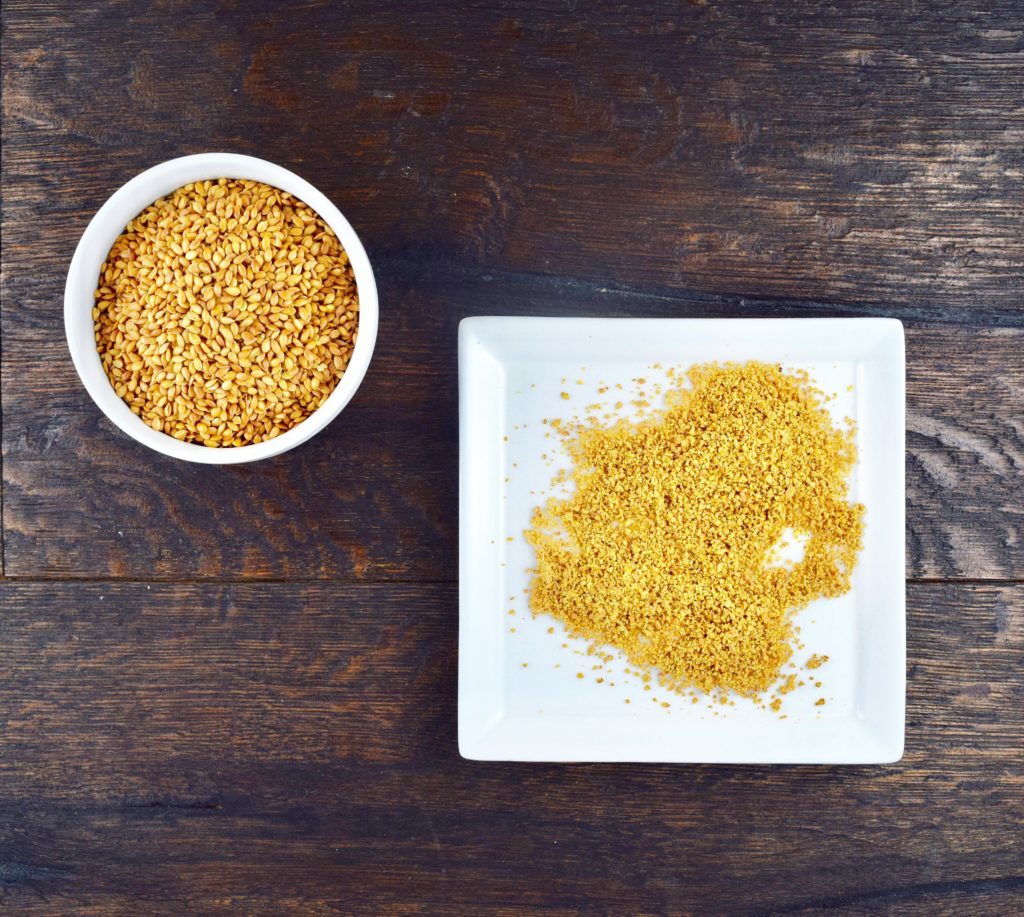
There’s my whole seed on the left, and ground on the right. I snapped the photo before noticing that the seeds weren’t as finely ground as I like them, so after this I sent them back into the spice mill for another buzz before proceeding. You want the flax to be about the same size/texture as finely ground nut meal.
The yeast is proofed and the flax is gelled, so you’re ready to mix up your dough. Pour the yeast mixture and the olive oil into the flax gel and stir together just until combined.
I took this one after I added the activated yeast to the flax gel and olive oil, but before mixing it all together. See how thick and foam-like the yeast is? In case it was hard to tell from the earlier photo, that’s what you want.
Grab a medium bowl, sift your flour, starch and salt into it, whisk together until uniform, then mix it into the wet ingredients (I use a wooden spoon or a heavy-duty rubber spatula for this). If you’re mixing additional flavorings into your dough, add them now. Once the dough starts to pull together, form it into a ball and you’re ready to let it rise.
Wipe out that bowl you used for the dry ingredients, apply a very thin layer of olive oil to the inside, and transfer your dough to the oiled bowl.
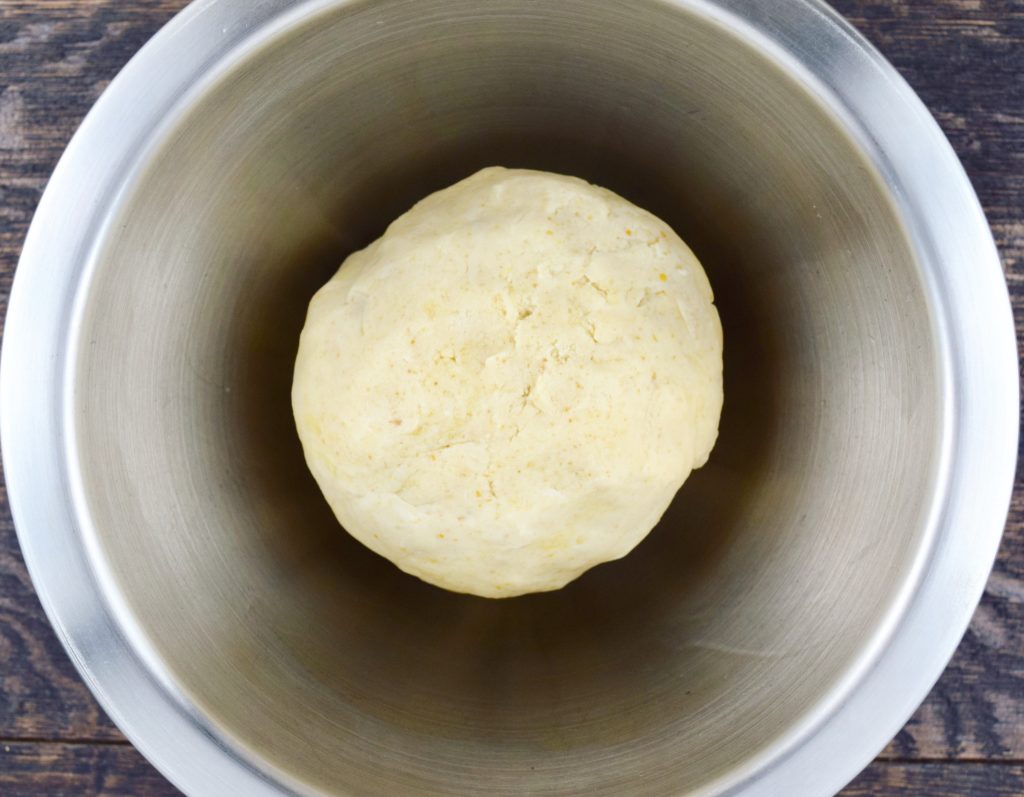
Here’s my ball of dough ready to rise. Cover yours loosely with a clean kitchen towel or a piece of plastic wrap, set it aside in a warm place – on top of the preheating oven is ideal – and leave it alone for at least 45 minutes, preferably 60-75 if you can stand it. Tom Petty was right, the waiting is the hardest part (though I don’t *really* think he was talking about baking bread).
You’ll need to preheat the oven and your baking vessel a good 25-30 minutes before you bake the flatbread – you want the dough to land on a hot surface to get started on that bottom crust formation immediately. You have a few options for this hot surface. A baking steel, pizza pan or ceramic stone would be ideal, but if you don’t have one of those you can use an aluminum sheet pan turned upside down (it makes it easier to slide the dough on and off the pan), or even a cast iron skillet. I wish I had a baking steel, but I have nowhere left to store anything in my kitchen so I make do with a sheet pan, cast iron skillet, or a pizza pan and I still get terrific results. Whatever you use, be sure to put it in the oven during preheating to get it nice and hot.
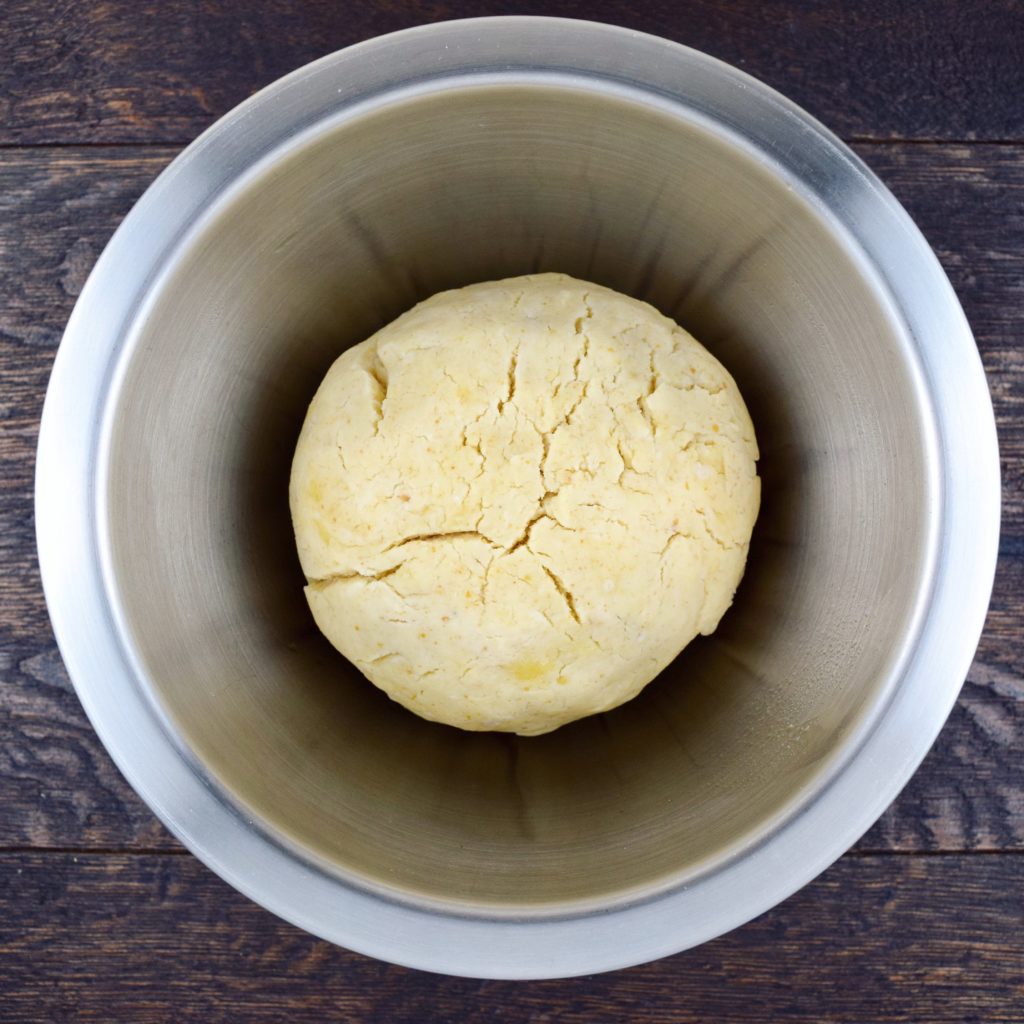
The dough won’t double in size, but it will look bigger than it did when it first went into the bowl, and will likely crack on the surface as it expands. Now you’ll roll it out on a sheet of floured parchment, then transfer the dough to your preheated baking surface. It shouldn’t stick to the parchment or your rolling pin as long as you dust everything lightly with flour.
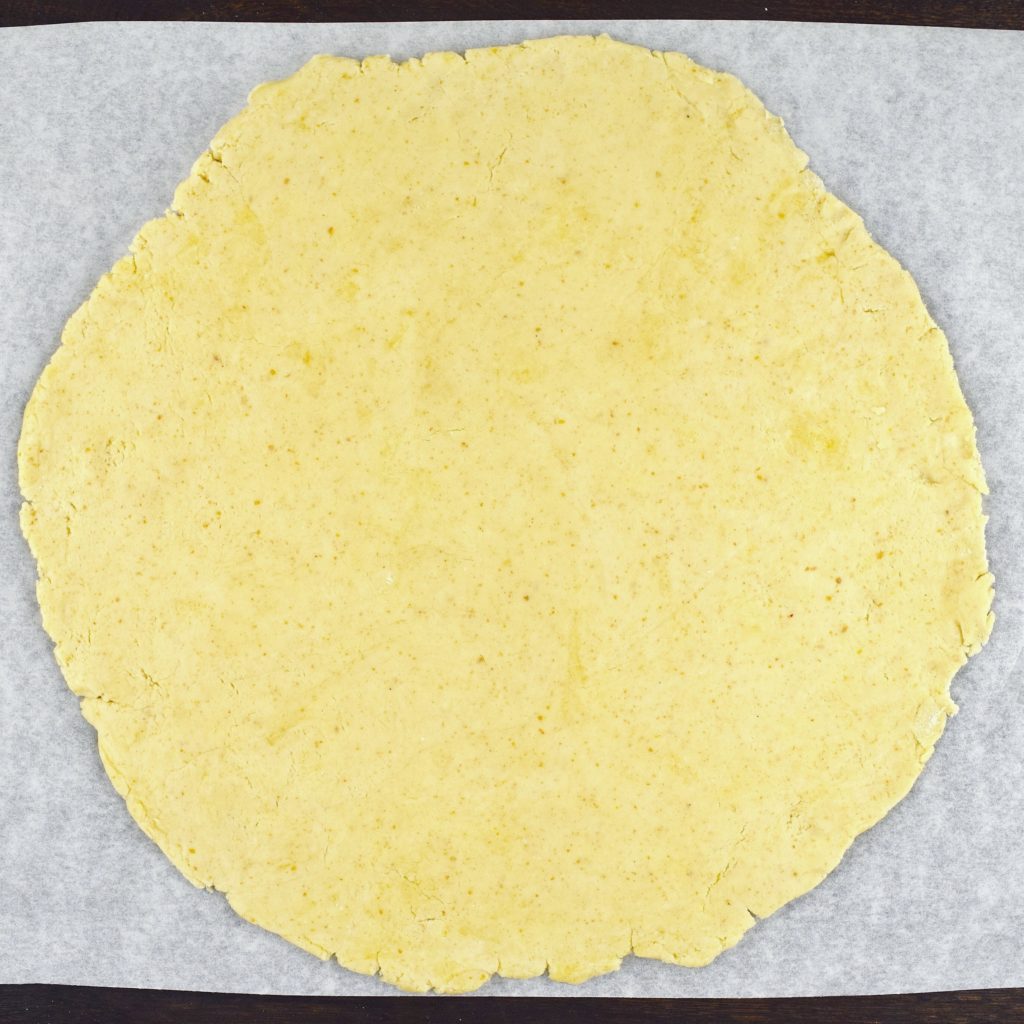
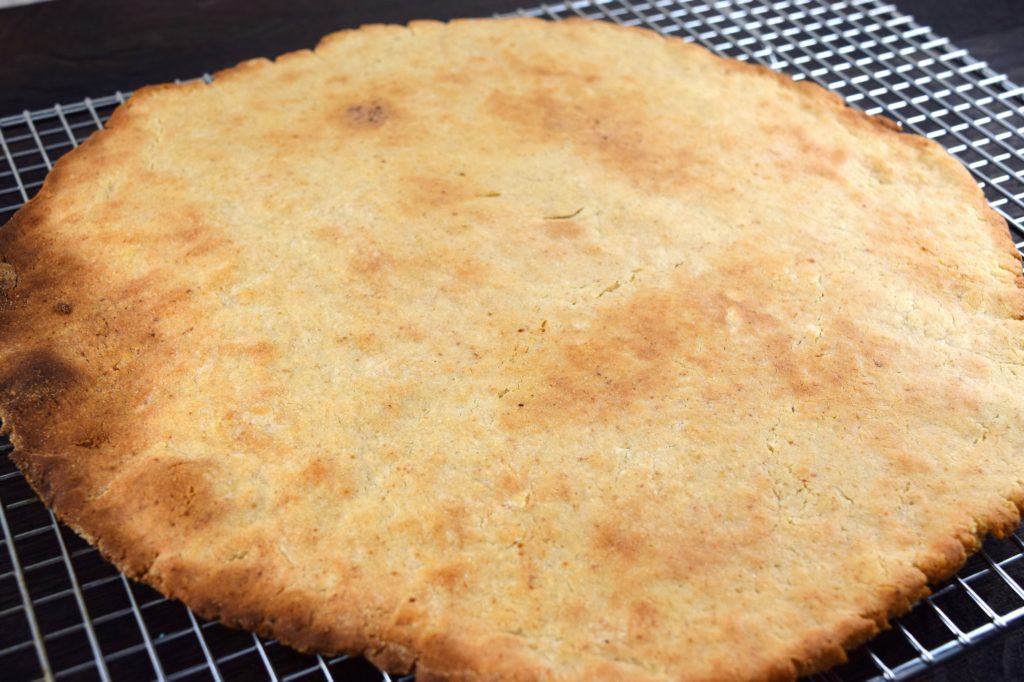
Here’s my dough rolled out and ready for the oven. I didn’t want to stop to take a photo of it on my pizza pan because I’d be letting precious heat escape from the pan while it sat out. I personally like the rough, rustic edges, but if you prefer a perfectly neat and clean edge you can trim the dough with a knife. When you’re ready to move the dough, I’ve found it’s easiest to flip the whole sheet of parchment over so you turn the dough onto the pan, then peel off the parchment. At that point you’ll sprinkle on your optional seasoning if using.
Now slide the pan with dough into the oven. It will take 10-15 minutes to bake depending on how thick you rolled it out. Once it’s cooked through I pop it under the broiler briefly to get it a bit more browned on top.
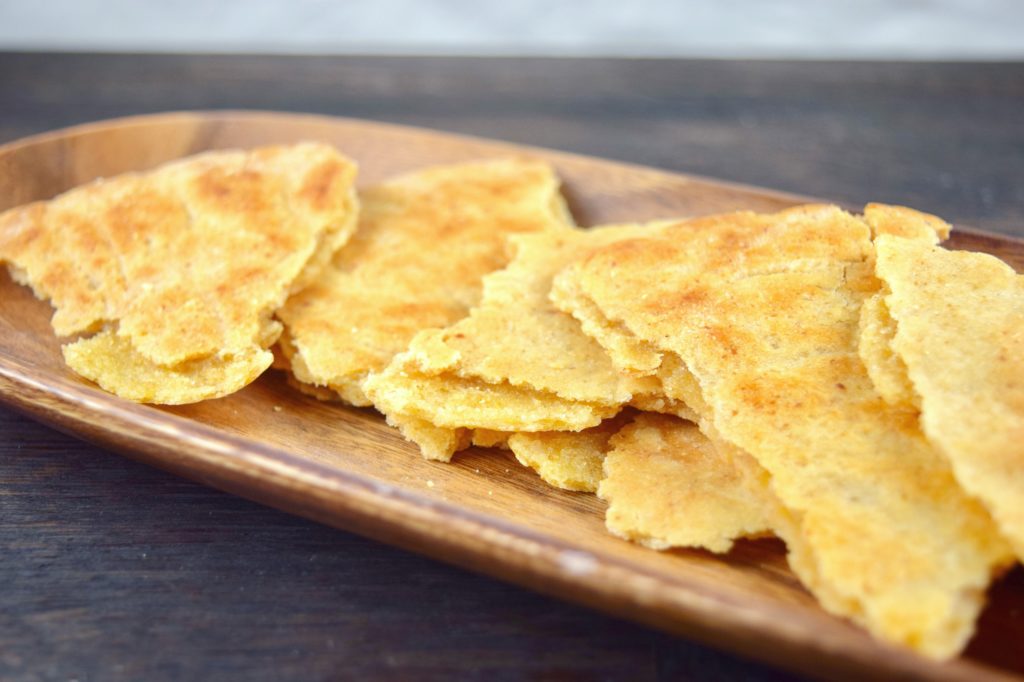
Voila. Crisp around the edge with a perfect chew in the center.
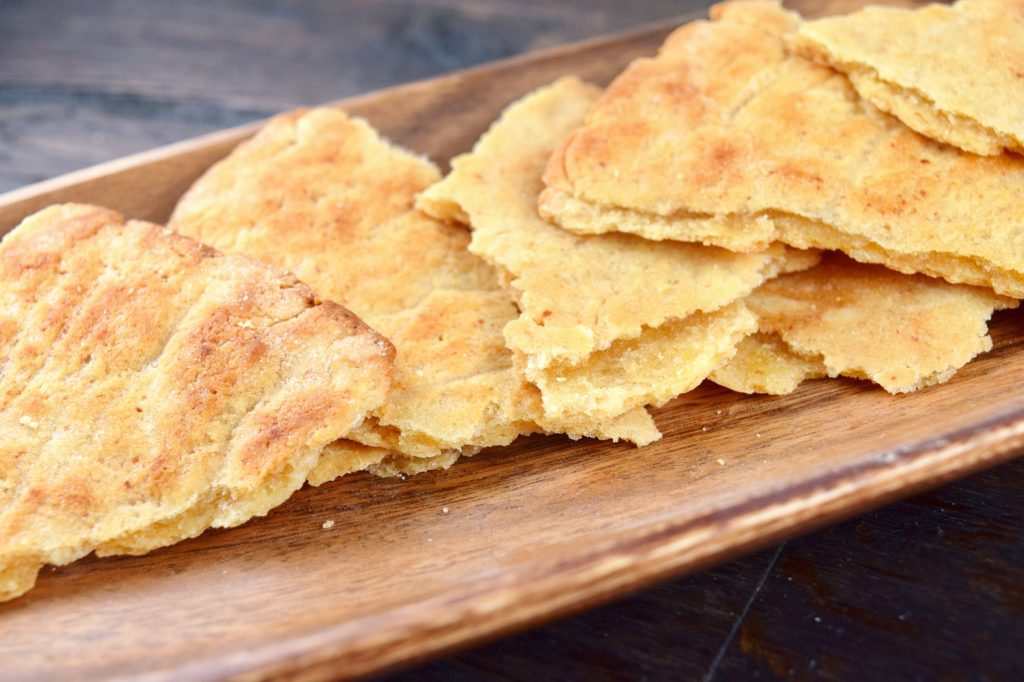
See? Look at that beautiful texture when I tear it apart! Now go bake some flatbread.
- 157 ml (½ cup + 2 ½ Tbsp) warm water*, divided
- 10 ml (2 tsp) honey (or substitute molasses, agave or coconut syrup)
- 7 grams (2 ¼ tsp or one packet) active dry yeast
- 7 grams (1 Tbsp) freshly ground flax
- 60 ml (¼ cup) olive oil**, plus more for greasing bowl
- 128 grams (1 cup + 1 Tbsp) cassava flour***, plus more for dusting
- 40 grams (5 Tbsp) arrowroot starch
- 1 tsp kosher salt
- 2 tsp salt-free herb/spice seasoning mixture of choice, optional
- Activate yeast: In a small bowl, whisk 120 ml (½ cup) water with honey. Add yeast and stir to dissolve. Mix to dissolve. Set aside in a warm (not hot) place for 5-10 minutes until foamy. (If this doesn’t occur, try again with new yeast, and make sure the water isn’t hotter than 105F - old yeast won’t activate, and hot water will kill yeast.)
- Make flax gel: Add remaining water and ground flax to a large mixing bowl, stir to combine, and let sit for 5 minutes until thickened.
- Combine wet ingredients: Whisk olive oil into flax mixture, then stir in yeast mixture.
- Mix dough: Sift cassava flour, arrowroot starch and salt into a medium bowl, whisk to distribute evenly, and add to wet ingredients. (Here’s where you can also add optional flavorings if you want them mixed into your dough.) Mix with a wooden spoon or sturdy rubber spatula until dough pulls together.
- Let dough rise: Wipe out the bowl you used for the dry ingredients, and coat the inside with a light layer of oil (you should only need about ½ teaspoon for this). Form dough into a ball and transfer to oiled bowl. Cover loosely with plastic wrap or a clean kitchen towel and set in a warm place to rise for 45-60 minutes. Dough will not double in size, but you’ll notice a slight increase.
- Preheat oven and pan: Thirty minutes before baking, arrange oven racks in lower third and topmost positions. Set a baking stone or heavy sheet pan on lower middle rack of oven, and preheat oven to 500°F. Alternatively, you may use a well seasoned cast iron skillet.
- Roll out dough: When ready to bake flatbread, lay a sheet of parchment on your work surface and dust lightly with cassava flour. Place dough ball in center, sprinkle with a bit more flour, and use a rolling pin or your hands to press the dough out into a rough circle. Finish rolling out with a rolling pin into a circle that’s ⅛ to ¼ inch thick.
- Carefully flip entire parchment sheet over preheated stone or pan to turn dough directly onto hot surface. Sprinkle with optional seasonings if desired.
- Bake: Bake for 10-15 minutes or until edges are golden and crisp. If you rolled your dough very thin, check it at 10 minutes; if it’s closer to ¼ inch thick it will likely need 12-15 minutes.
- Set broiler to high, transfer pan to uppermost rack of oven, and broil for 30-60 seconds until surface is browned in spots.
- Serve: Remove flatbread from oven, and tear or cut into pieces to serve.
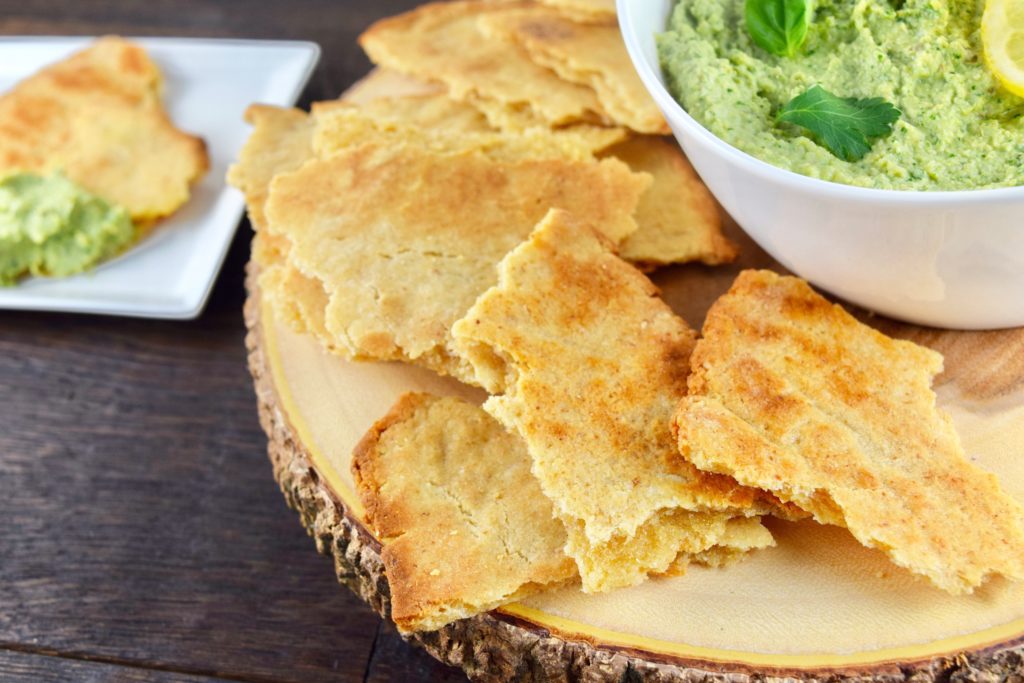
- TO TURN THIS FLATBREAD INTO CHIPS: Complete the recipe as written, then set oven temperature to 400°F. Cut flatbread into strips or triangles, arrange on a sheet pan, and bake for 2-4 minutes until golden and crisp.
**Be sure to use a good-tasting, pure olive oil. The last thing you want is for a low-quality product to lend a bitter flavor to your bread. My go-to brand is California Olive Ranch. All their varieties are delicious.
***Cassava flour is NOT the same thing as tapioca flour. Be sure to purchase a reputable high-quality brand of cassava flour - I recommend Otto's or Anthony's, both of which are available online.


Thank you for making this kitchen/cooking-challenged chef INSPIRED and for creating easy-to-follow recipes ! Keep up the great work!!
Thanks Rachel! I’ll keep posting them as long as you’ll keep cooking them 😉
This is wonderful flatbed. The better half said “best gluten free I have ever had.”
It is a keeper to serve when we have GF friends to dinner. I also turned part of it into crackers. Outstanding as well.
Thank you for the comment, Audrey! I’m so glad you enjoyed the flatbread, and I love that you also turned it into crackers.
Even though I overcooked the flatbread (forgot it was in the broiler. D’oh) it is very good! I’m excited to make this the next time my grain-free friend comes over!
I’m so glad you enjoyed it Cathy! Thanks for taking the time to comment. FYI, the first time I made it in my new oven I underestimated the power of the broiler and took it a bit too far myself. Fortunately it was still delicious, just a bit more…crunchy 😉