When life gives you Meyer lemons, I say use them in as many ways as possible before the season is over. Even better, use them multiple ways in a single recipe as I do in this Meyer Lemon Layer Cake! (If you prefer cupcakes, I’ve got you covered with instructions for those too.) With both the juice and zest of the lemon in the cake batter, filling AND frosting, it’s a true celebration of this sunny and delicious citrus fruit.
I’ve talked about my love for these beauties in previous posts (like here, and here), and I’m always looking for excuses to cook and bake with them while I can get my hands on them. Unlike standard lemons, Meyers aren’t available year-round; their peak season is November through March. Named after Frank Meyer – the man who first brought it to the US from China in the early 1900s – the Meyer lemon is a cross between a regular lemon and a Mandarin orange. Rounder and smaller than conventional lemons with smooth yellow-orange skin, Meyers are less acidic, and they have a complex floral flavor and fragrance (try saying that five times fast). I love using them in desserts, particularly since their milder acidity and hint of sweetness allow you to cut back on the sugar, which is always a bonus in my book.
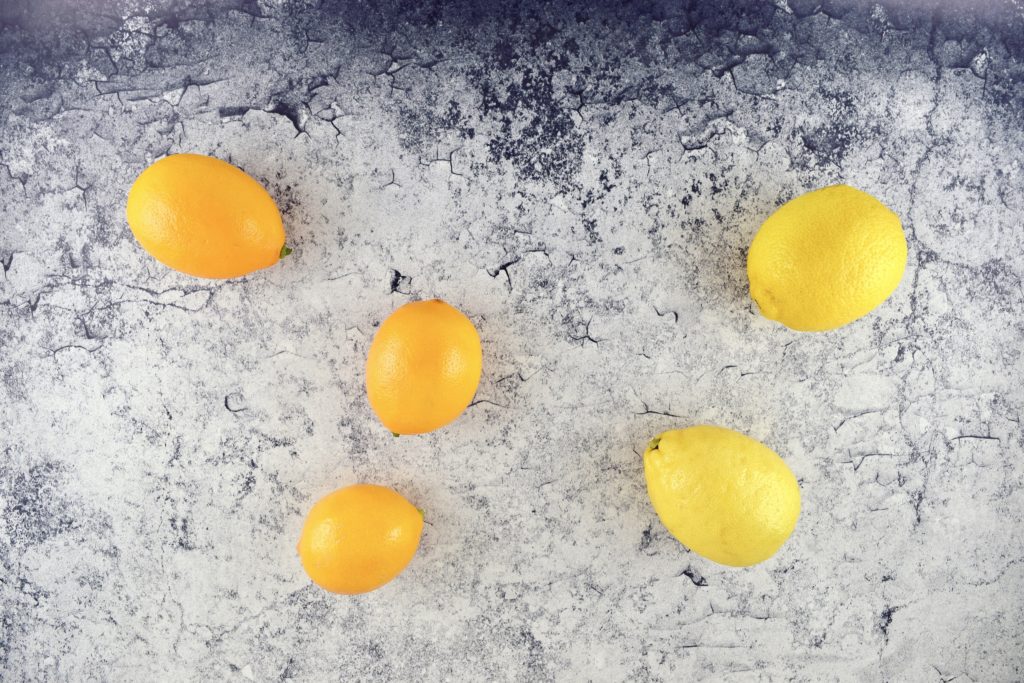
The difference in appearance between the Meyer lemon [left] and the conventional lemon [right] is pretty evident when you see them side by side. If you find what you believe is a Meyer lemon but you’re not positive, smell it. The fragrance won’t be pure in-your-face lemon, but rather a mild, floral combination of orange and lemon notes.
Let’s get to it, shall we? First up is our filling – a silky, creamy stovetop Meyer lemon curd. A standard fruit curd requires only four ingredients: eggs, sugar, fruit, and butter. I’ve added arrowroot starch to this one to firm it up since it needs to hold up as a cake filling, and of course a touch of salt as I always do to make the flavor pop. I’ve also included the option of adding a few drops of pure lemon oil if you want to punch up the lemon flavor, but unless you somehow ended up with bland Meyers, you shouldn’t need to add any extra flavoring.
The key to a proper silky fruit curd is to cook it low and slow, allowing the eggs to thicken without clumping. It requires attention, stirring and a bit of patience – if you walk away from it or crank up the heat to try and speed the process along, you’ll end up with scorched, scrambled eggs, not curd. Fortunately the entire cooking process takes less than 10 minutes, so just stick with it and follow the instructions and you’ll be fine.
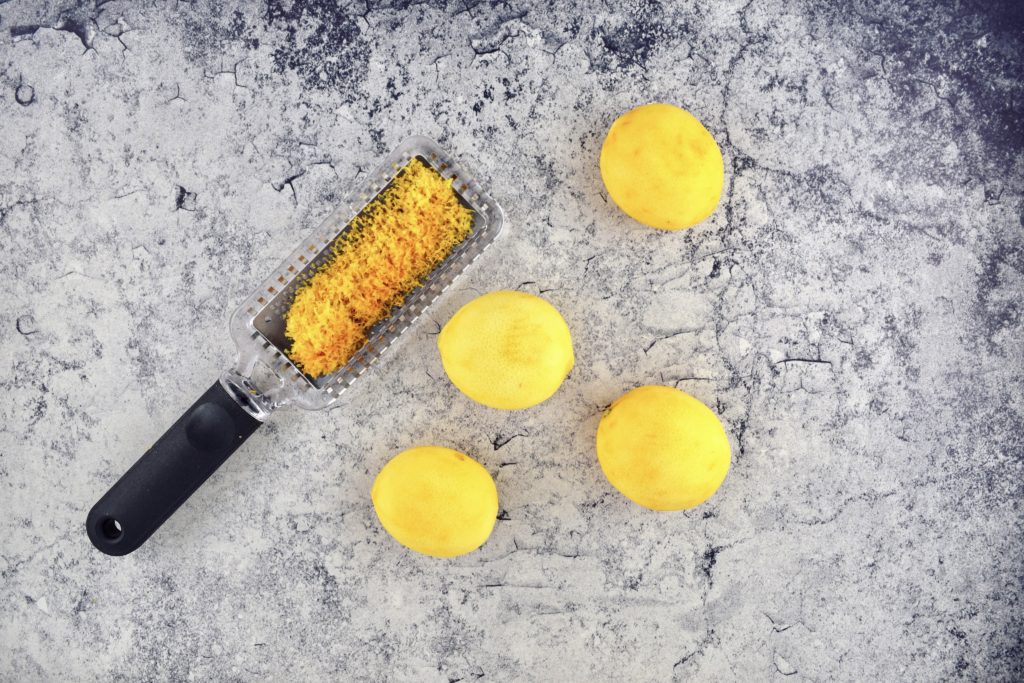
We want to pack as much Meyer lemon flavor as possible into this curd, so we’re using the zest and the juice. Make sure to get all that zest off with your microplane before you juice them. (Always scrub your lemons well before zesting them.)
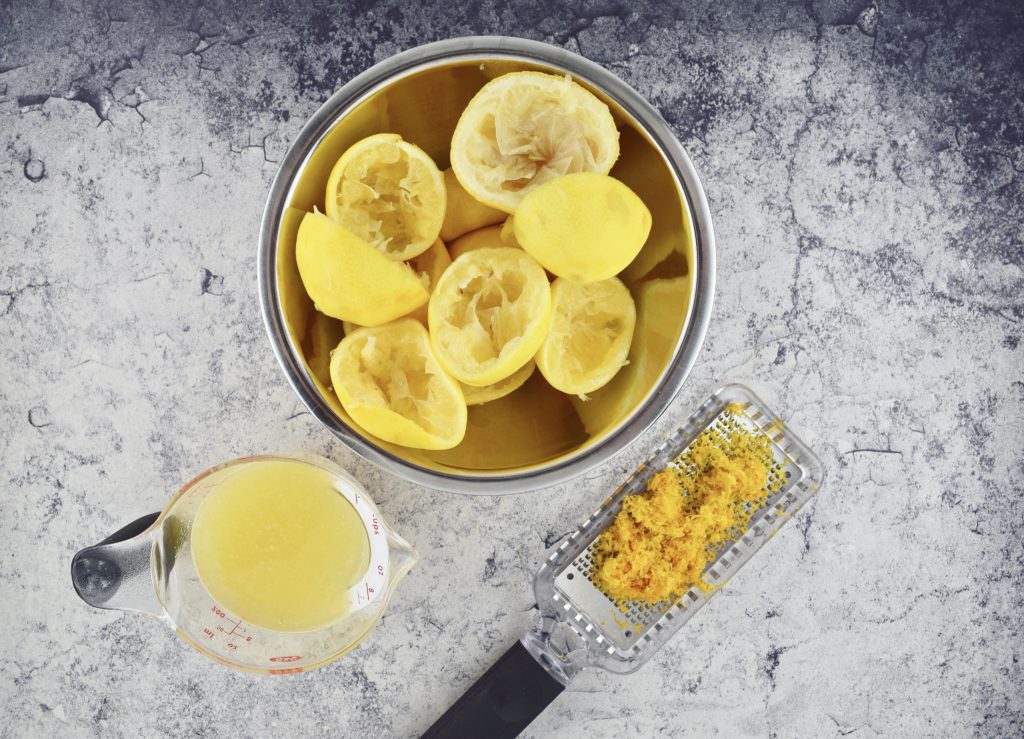
Squeeze all the juice out of those zest-free lemons.
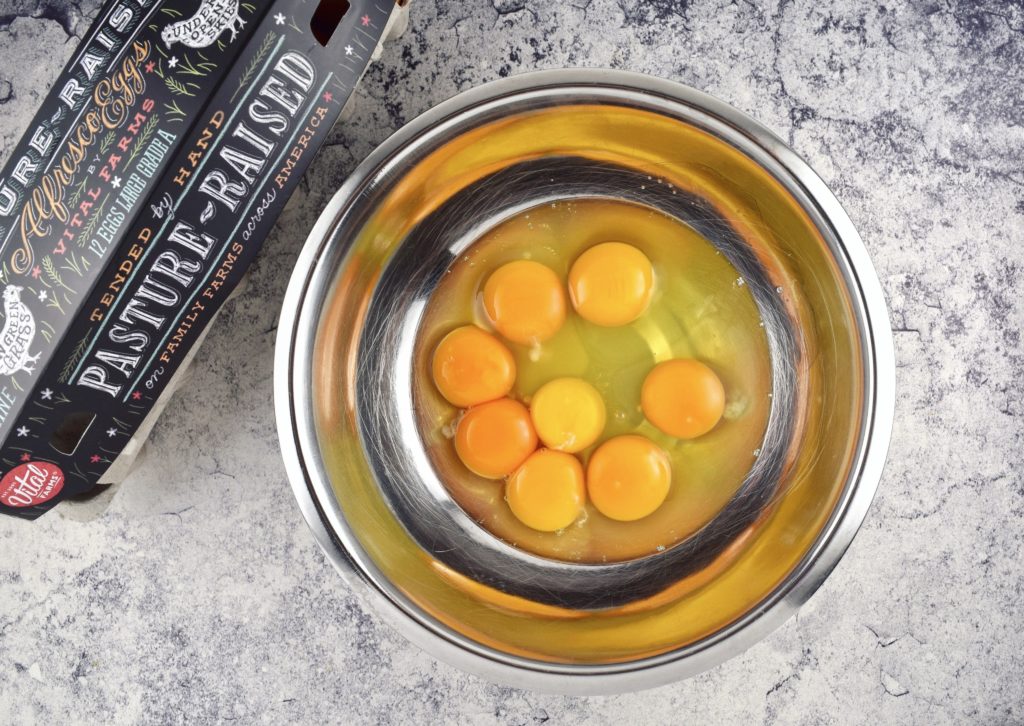
Separate four eggs, keeping the yolks for the curd and setting the whites aside in a separate bowl for the cake batter. Then add four whole eggs to the yolks. Can you believe the vivid color of those yolks? Since they’re such a major component of the curd I highly recommend using the best quality eggs you can get, and pasture-raised is the way to go. I’m partial to the Vital Farms brand – their “Alfresco” variety is pictured here, but they offer other options, all of which are excellent. (And no, this is not a sponsored post, and yes, I paid for the eggs. I just like to spread the word when I find a product I really believe in.) Now whisk those eggs to break them down into a relatively cohesive mixture and set the bowl aside for a moment.
Add the sugar, arrowroot, and salt to a medium saucepan and stir to distribute, then whisk in the lemon juice until uniform and relatively smooth.
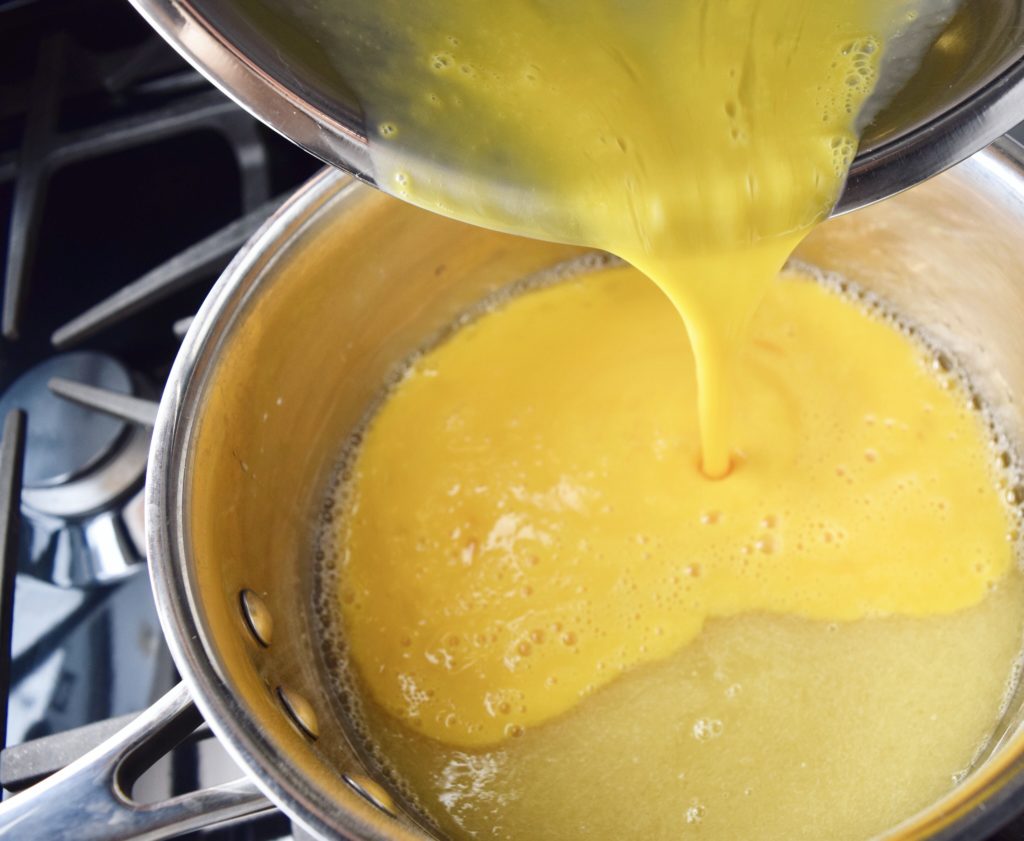
Pour in the egg mixture and whisk until everything is combined, then stir in the lemon zest. (If I hadn’t already whisked the eggs before I poured them into the base of juice and sugar it would have been more challenging to break them down.)
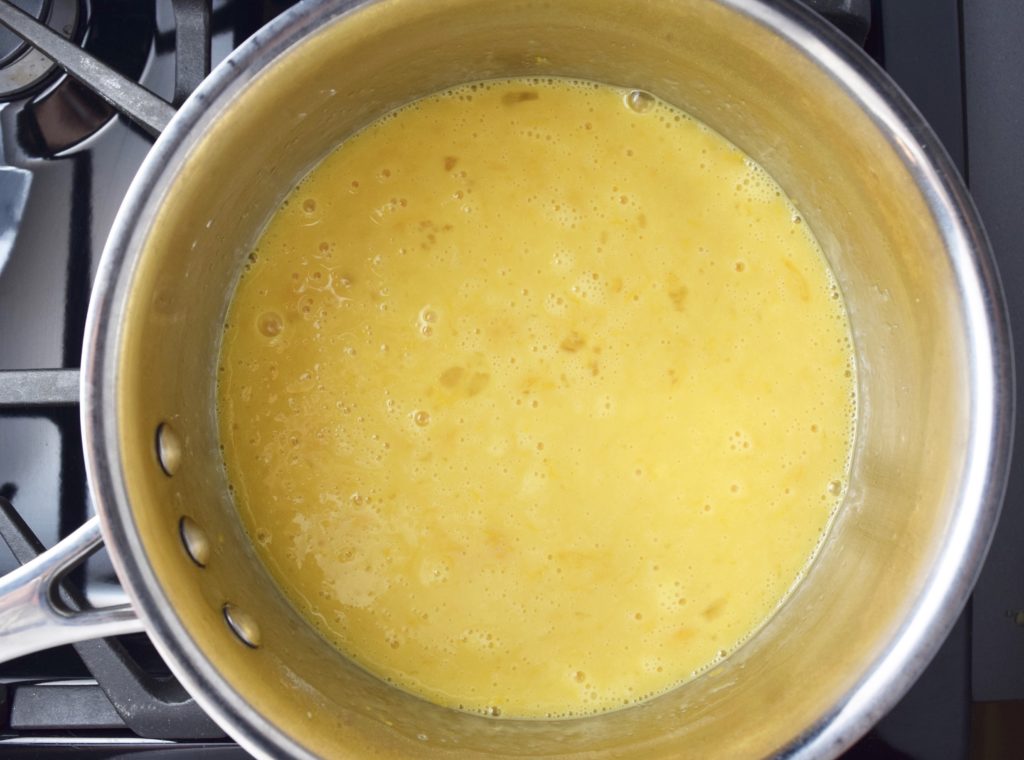
Here’s my uncooked mixture all mixed together. Those translucent bits floating throughout are egg white that didn’t quite get incorporated. That pretty much always happens, and the bits will probably coagulate when cooked – that’s one of the reasons you need to strain the curd after cooking.
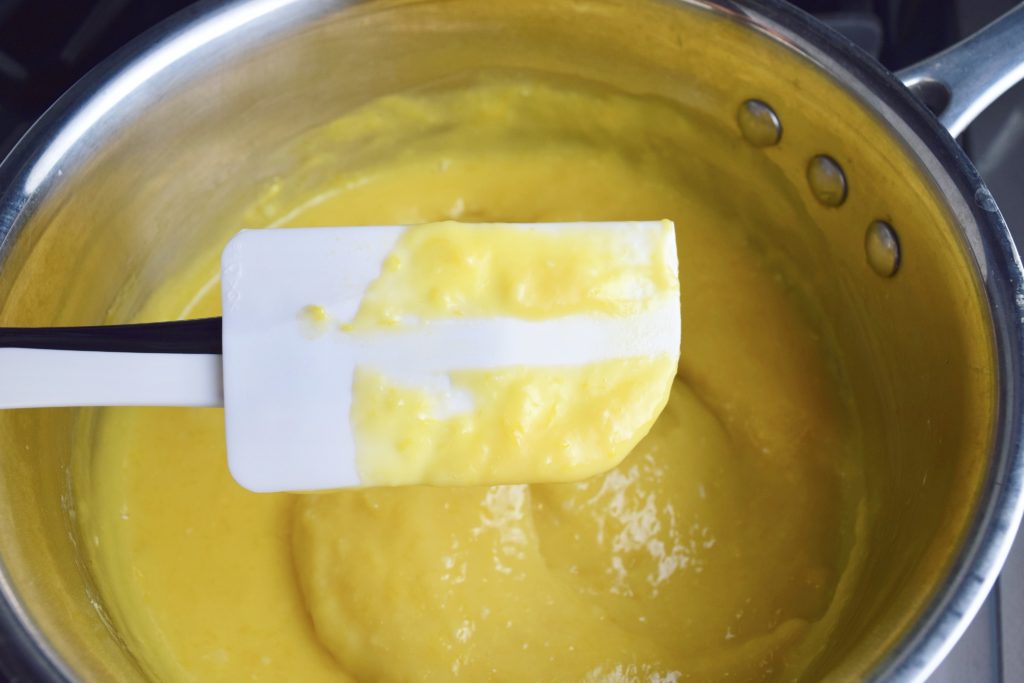
Set the pan over medium-low heat, and use a wooden spoon or firm rubber spatula to stir as it cooks. While you’re stirring a curd you want to be sure to scrape against the bottom and sides of the pan to ensure even cooking. As it thickens it tends to cling to those surfaces, and you want to make sure you blend it all together into a cohesive mixture. If you have a cooking thermometer, use it to keep an eye on the temperature of the curd – you’re aiming for a final temperature of 155°F. No thermometer? Not to worry. Once the mixture thickens enough to coat the back of your spoon or spatula, use your finger to swipe a line through that coating. If it leaves a clean trail behind and the curd doesn’t run/seep back into the area you cleared, you’re done. The best indicator that you’re getting close is the appearance of steam rising up out of the mixture as you stir. When that starts to happen you’re in the final minute, and the curd will thicken up in an instant.
See that nice clean line where I swiped my finger through the curd? It’s done. Now I need to remove the solids.
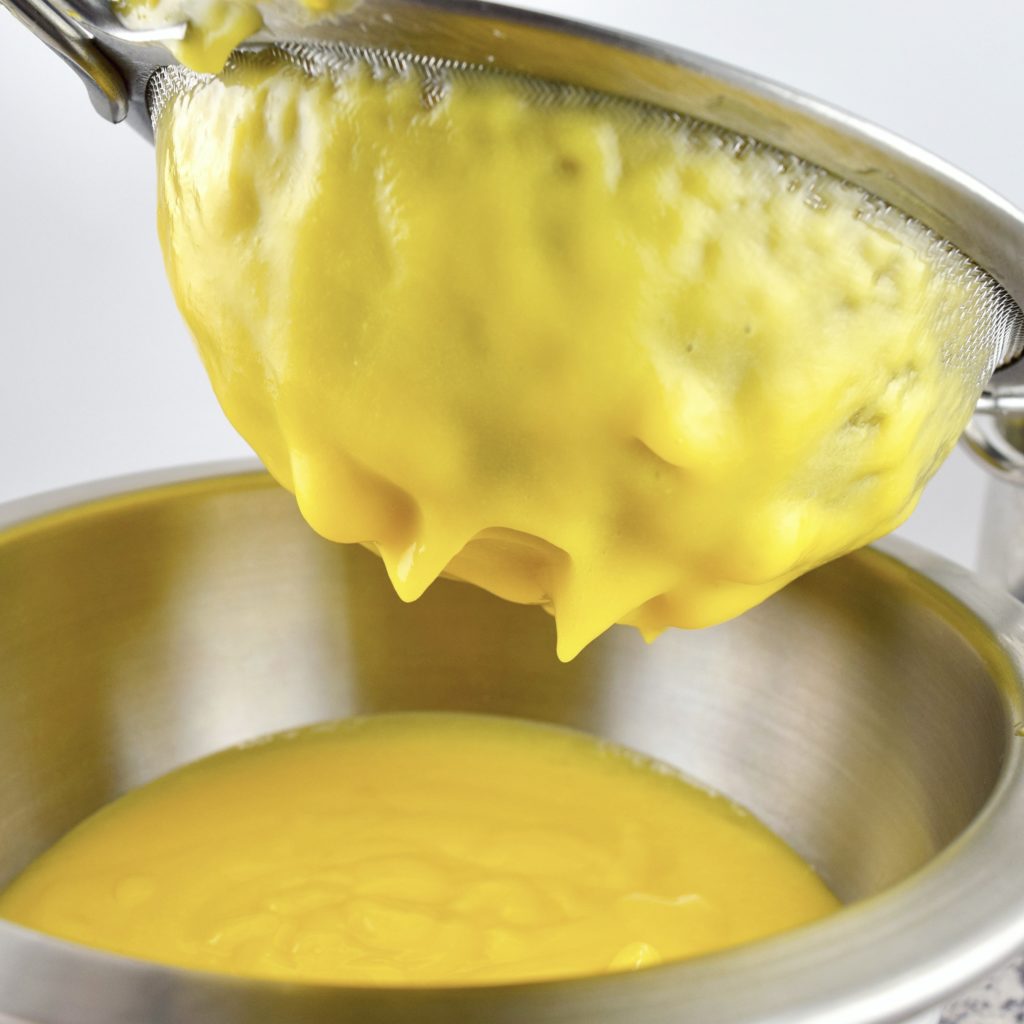
I know you read the recipe all the way through before you got started, so you have a fine-mesh sieve awaiting you over a heatproof bowl. Scrape some curd into the strainer, being sure not to add too much at once; you’ll do this in 2 or 3 stages. After you add the first third or half, set the pan aside for a moment and use your spoon or spatula to push and scrape the curd against the bottom and sides of the strainer, working it through the mesh to the bowl underneath. Repeat this with the remaining curd.
There’s always a layer clinging to the bottom/outside of the strainer, and we don’t want to waste a drop of this stuff! Once you’ve worked the whole batch through the strainer, rinse or wipe off your utensil first (there are undoubtedly bits of solids clinging to it), then scrape that rebellious curd into the bowl.
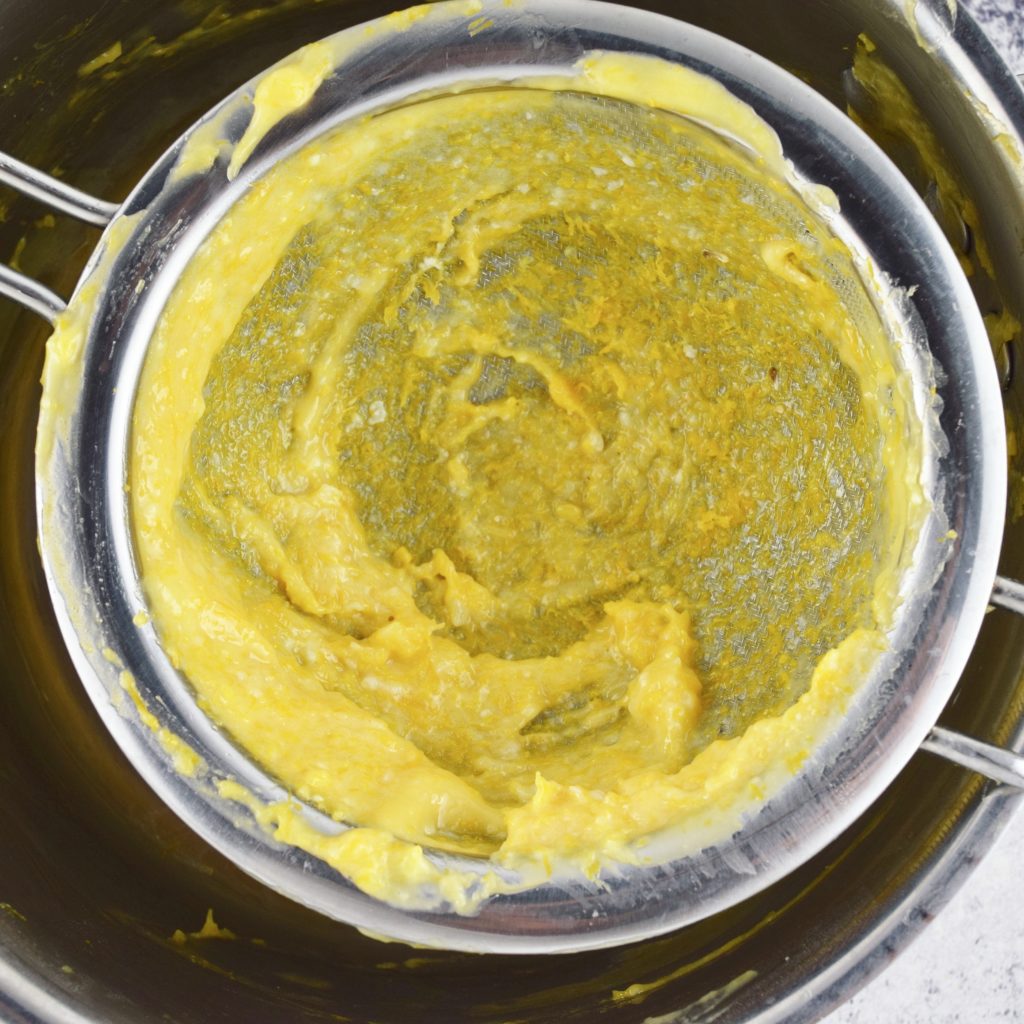
See the bits of coagulated egg white and lemon zest left behind in the strainer? Discard all that.
Here’s where you’ll stir the cubed butter into the warm curd until melted and uniform, then add the optional drops of lemon oil if using, and stir to combine. If your kitchen is pretty cool and the curd is no longer warm enough to melt the butter, melt it separately on the stove or in the microwave until barely liquefied, then stir it into the curd.
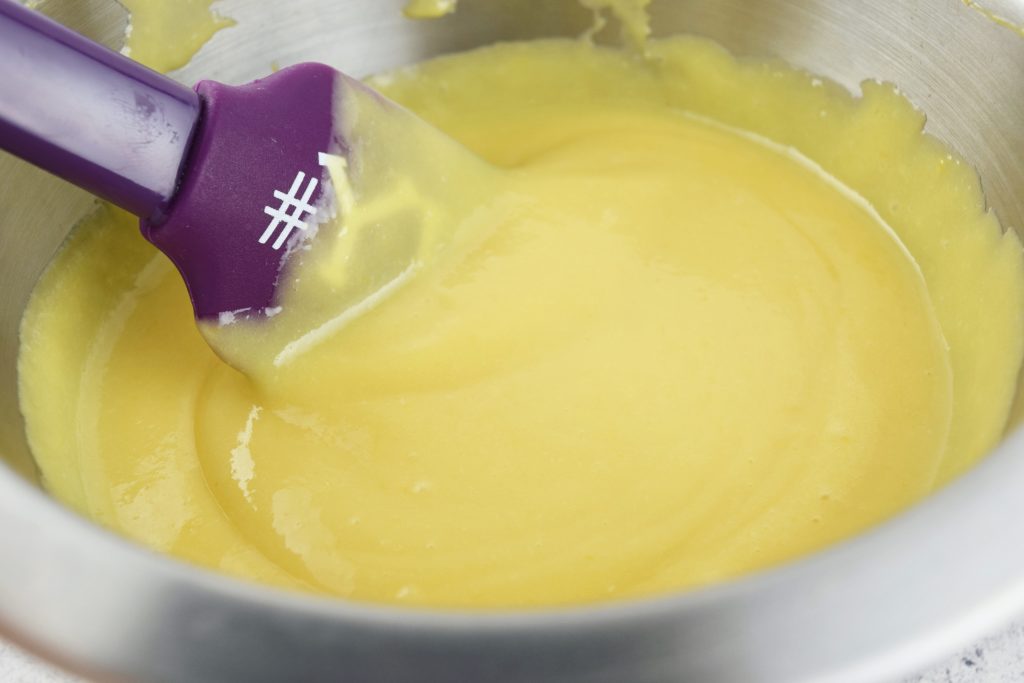
Silky, luscious, perfect Meyer Lemon Curd. Cover the bowl and pop it into the refrigerator to chill while you make the cake and frosting. (If you’re making cupcakes instead of a layer cake, transfer a cup of the curd to a piping bag or heavy ziploc bag so you can pipe it into the cupcakes. The recipe makes about two cups of curd, so refrigerate the rest in an airtight container and enjoy it in a multitude of different ways. It’s fabulous stirred into yogurt, it makes a wonderful topping for pancakes or waffles, and it’s a lovely addition to a cheese platter.)
I love this cake, and not just because it’s packed with Meyer lemon flavor. The texture is wonderful – I’ve served it mostly to gluten-eaters, and they’ve all simply raved about it. No one even knew it was gluten-free! The two keys to that fluffy, moist cake? One is buttermilk, which makes for a really tender crumb. The other, believe it or not, is a final stage of beating the batter for a full 30-60 seconds. With wheat flour-based batter there’s always the risk of over-working it and winding up with a tough cake, so recipes caution you to mix batter just until combined. But gluten-free flours need a bit more encouragement to absorb liquid and fat, and there’s obviously no gluten to develop so we don’t have to worry about going overboard with the mixing. Letting the batter whip in the mixer encourages absorption and aerates it for a light cake. No hockey pucks here!
It’s a relatively simple batter to pull together: sift your dry ingredients together, combine your wet ingredients, cream your butter and sugar until light and fluffy, then alternate adding the dry and wet ingredients to the creamed butter and sugar. Easy peasy.
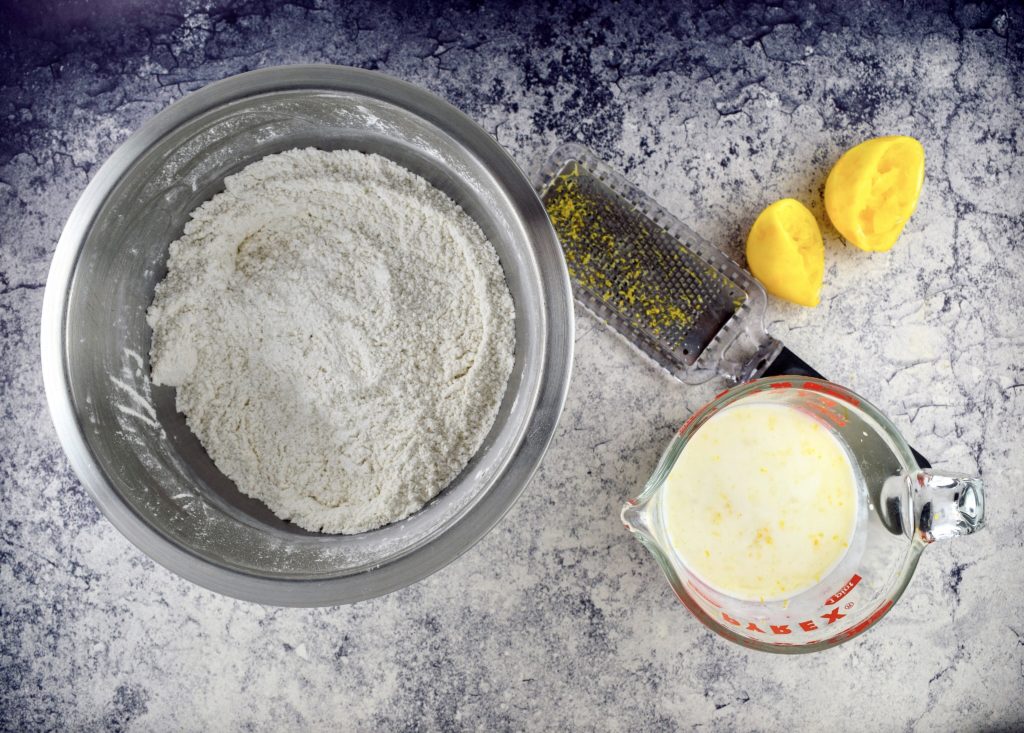
Here are my sifted dry ingredients and separate wet mixture – whenever possible I combine my wet ingredients in a liquid measuring cup with a spout. Makes it much easier to pour the mixture into the bowl without dripping or splashing it on myself or the counter. (The egg whites I reserved from the curd plus another whole egg are in a separate dish off to the side.)
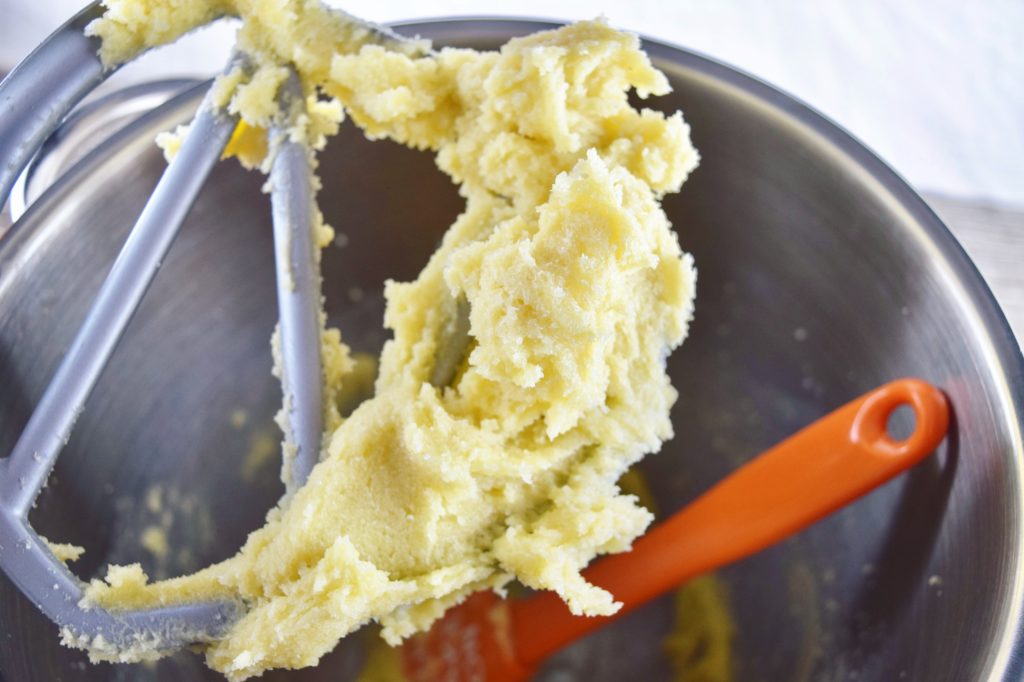
Add the butter and sugar to your mixer and beat them together on medium-high speed until light and fluffy. You’ll see it start to wad up against the sides of the bowl in large clumps. Let it keep going, and eventually those clumps will break down into smaller creamy bits. That’s what you want. Now add the egg whites and whole egg and mix just until it looks foamy and pretty uniform.
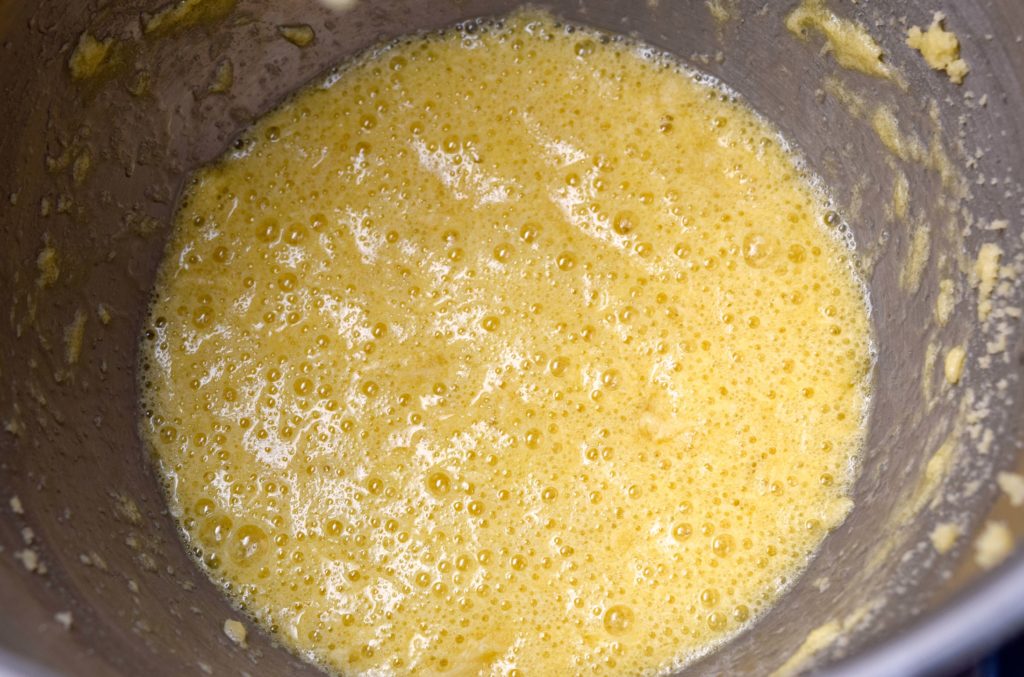
This is how it looks once the eggs are mixed in. Now you can alternate adding your wet and dry ingredients. I add about a third or half of each at a time, mix just until it comes together, then scrape down the sides of the bowl and add more until all the ingredients are in. At that point, scrape down the sides one last time, crank the speed up to medium-high, and let it go for 30-60 seconds.
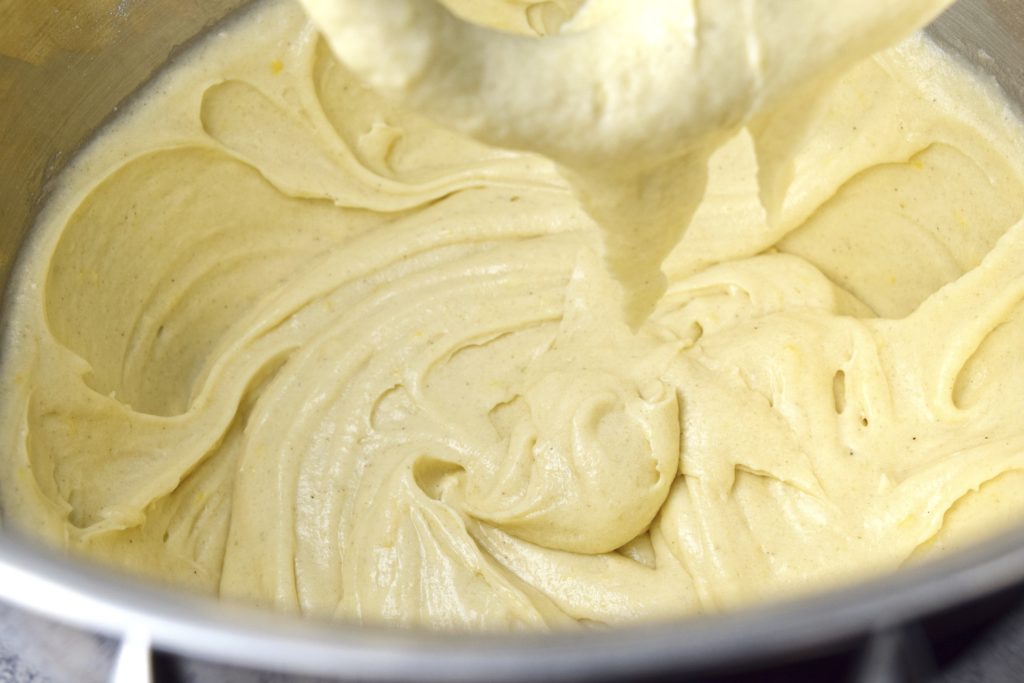
After the final beating the batter is creamy and silky smooth. Now I measure it out into my pans. (Eggs are usually the culprit when a cake sticks to the pan, so if the batter contains eggs I line my pans with parchment even if they’re supposedly “nonstick.” If you prefer not to bother with parchment just grease and flour the pans.)
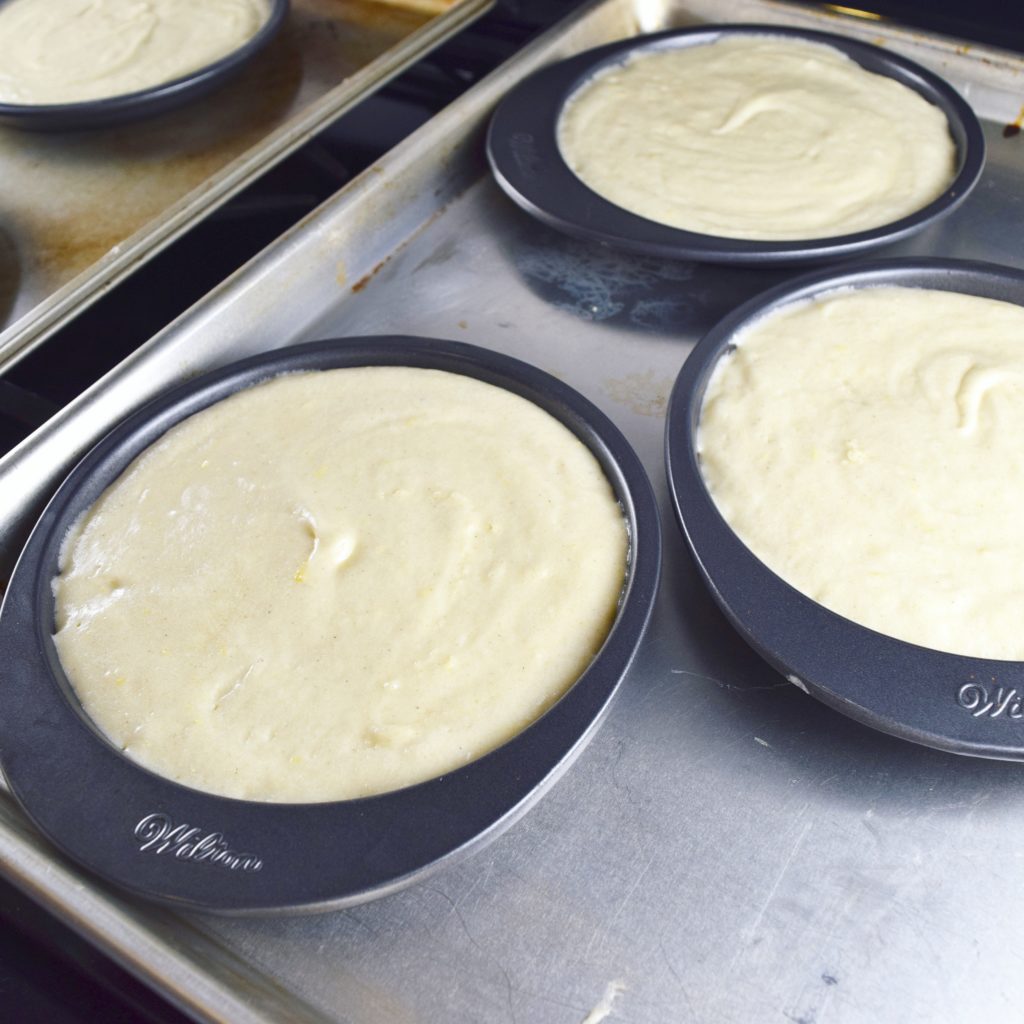
This time around I went with my mini cake pans (6-inch by 0.75-inch) because I wanted to play around with them and make a couple of smaller layer cakes to give away as gifts. Since these little pans are difficult to maneuver when filled with batter I set them on a sheet pan, which makes it much easier to transfer them to the oven without making a mess. Plus I won’t let all the heat out or burn myself while painstakingly attempting to turn each individual pan during baking – I just rotate the entire tray. (If you own a set of these pans and want to use them instead of standard cake or cupcake pans, add about a cup of batter to each pan and bake for 18-20 minutes.)
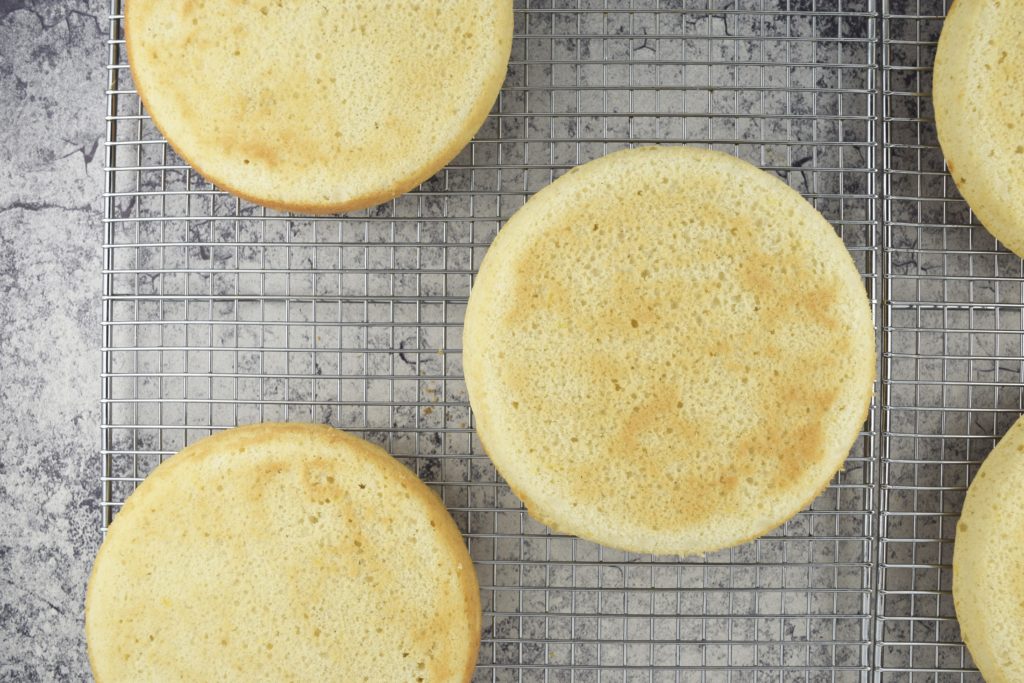
Once the cakes (or cupcakes) are baked, turn them out onto a rack and let them cool completely while you make the frosting.
I’m not usually big on frosting. Most of the time it’s way too sweet for me, and excess butter or shortening can give it a greasy mouthfeel that I find really unpleasant. Cream cheese frosting, however, is my exception, because I’m all about that tangy flavor. Most cream cheese frostings are still packed with too much sugar and butter for my taste, so I took it upon myself to develop the perfect tangy cream cheese frosting recipe. It calls for less butter and a fraction of the sugar, and it’s mostly cream cheese and lemon tang with a just a hint of sweetness – precisely how I like it.
This recipe is one of the rare occasions where I recommend using a reduced-fat product. Also known as neufchâtel, reduced-fat cream cheese has a slightly firmer texture than the full-fat variety. Since my recipe uses less powdered sugar and butter than typical frosting, it doesn’t stiffen up quite as much. The added firmness from the neufchâtel helps. So let’s make frosting!
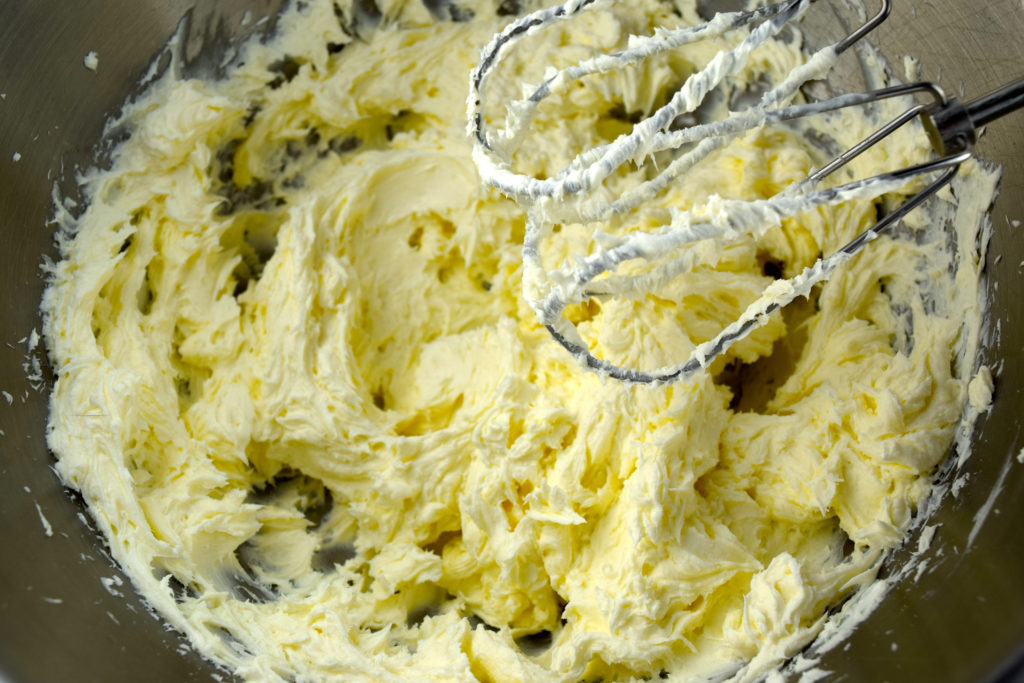
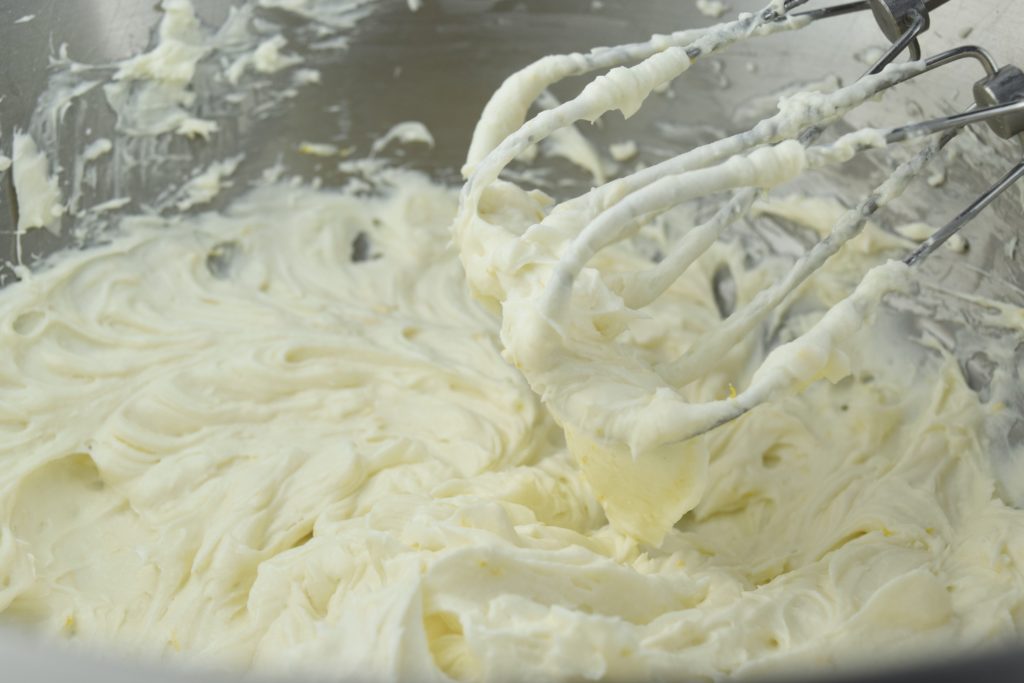
Add the softened butter and cream cheese to a large bowl (or stand mixer) and beat together on medium-high until super creamy and fluffy like in the photo. Now sift in the powdered sugar and salt, and beat on medium speed until smooth. Add the lemon extract and zest, and mix just util combined.
Look at those gorgeous clouds of tangy deliciousness! If you’re making cupcakes, fill a piping bag or heavy duty ziploc with frosting. If you’re make a layer cake you can leave it in the bowl. It’s fine at room temperature for a while if you’re going to use it right away, otherwise cover and store it in the fridge. Just remember to pull it out and let it sit at room temperature for at least 10-15 minutes to soften before using.
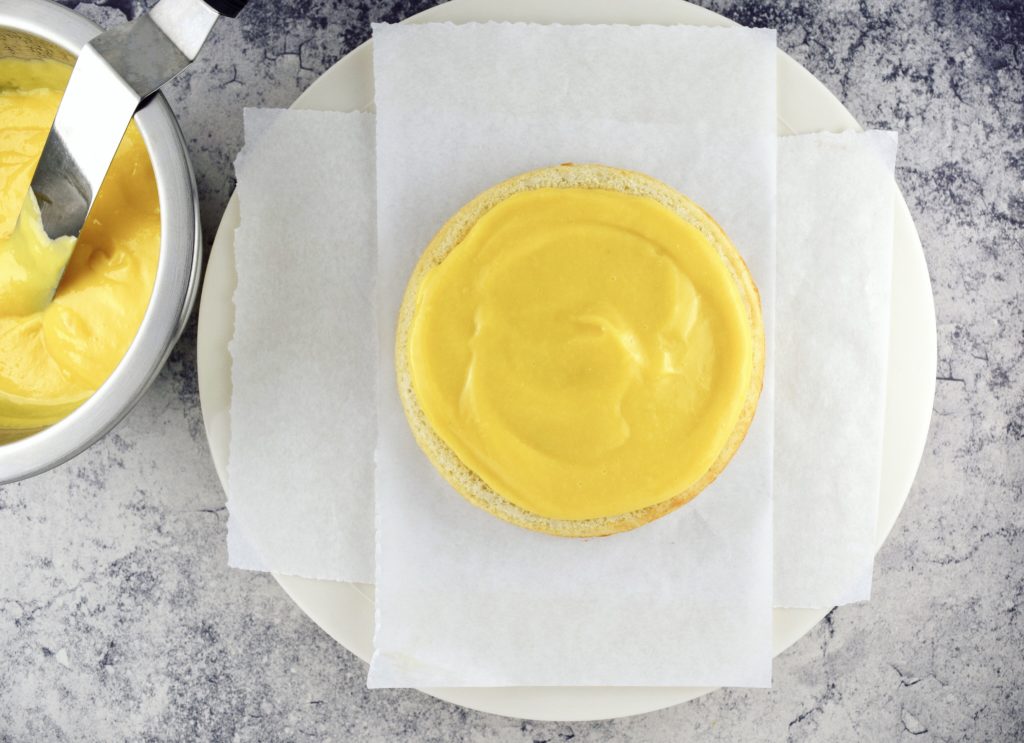
Okay, curd is chilled, cakes are cooled, and frosting is whipped, so we’re ready to assemble. (If you’re making cupcakes, refer to the recipe for instructions. I need to bake up another batch to photograph the process one of these days, but I promise it’s easy.) Set one layer of cake on a flat plate or a rotating cake decorating stand. I like to lay some parchment underneath the cake to keep mess to a minimum – you can slide it out from under the cake later on to leave behind a relatively clean work surface. Scoop anywhere from ⅔ to 1 cup of curd onto the center of the cake, and use a spatula – I prefer an offset as pictured on the left – to spread the curd over the surface, taking it to about ¼ inch from the edge. Leave it somewhat thicker in the center because the weight of the cake you’re going to place on top will squeeze it out to the sides.
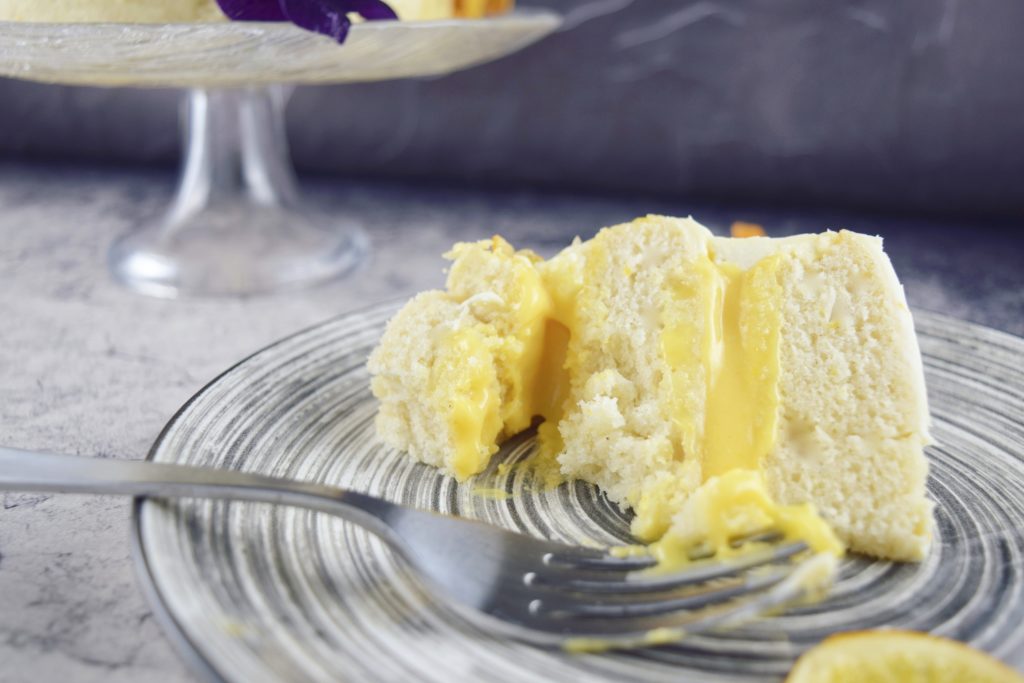
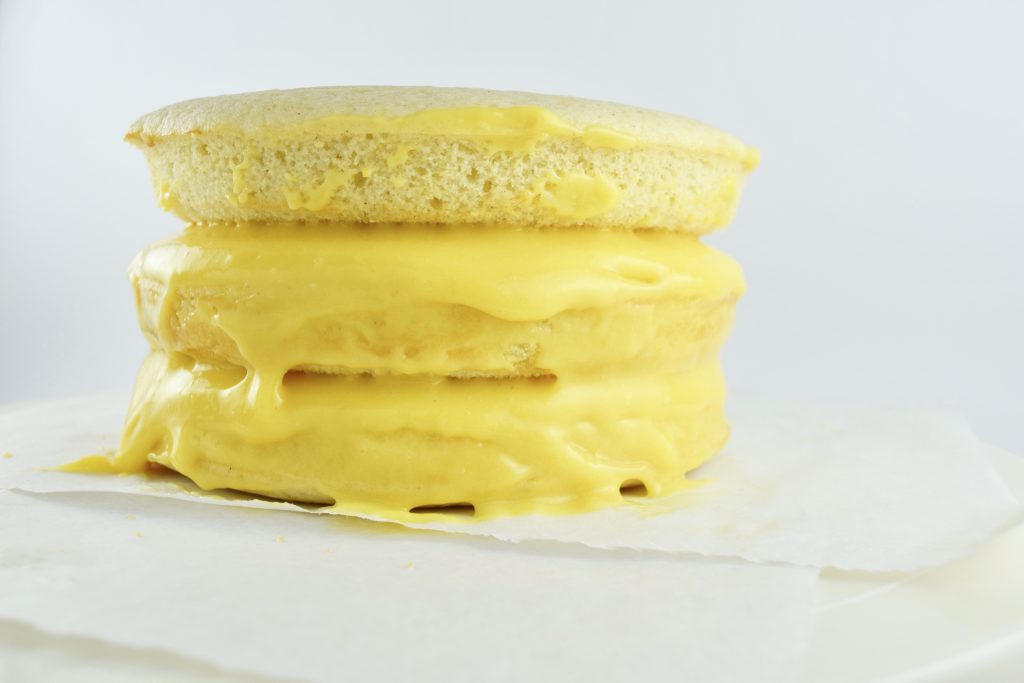
Now set the other layer of cake directly over the curd. Let it settle for a minute or two, and you’ll see the curd start to ooze out the sides. That’s actually what we want.
Using an offset or other flat spatula, spread that oozing curd all over the sides of the cake. Here’s a photo of mine as I started working the curd around the sides. I like to begin at the bottom and work my way up, so I take all that excess from the bottom layer and spread it upward. Once you’ve coated the sides with the curd, pop the cake into the fridge for 15 minutes or so to let it firm up and soak into the cake a bit. Now would be the ideal time to pull the frosting out if it’s chilling.
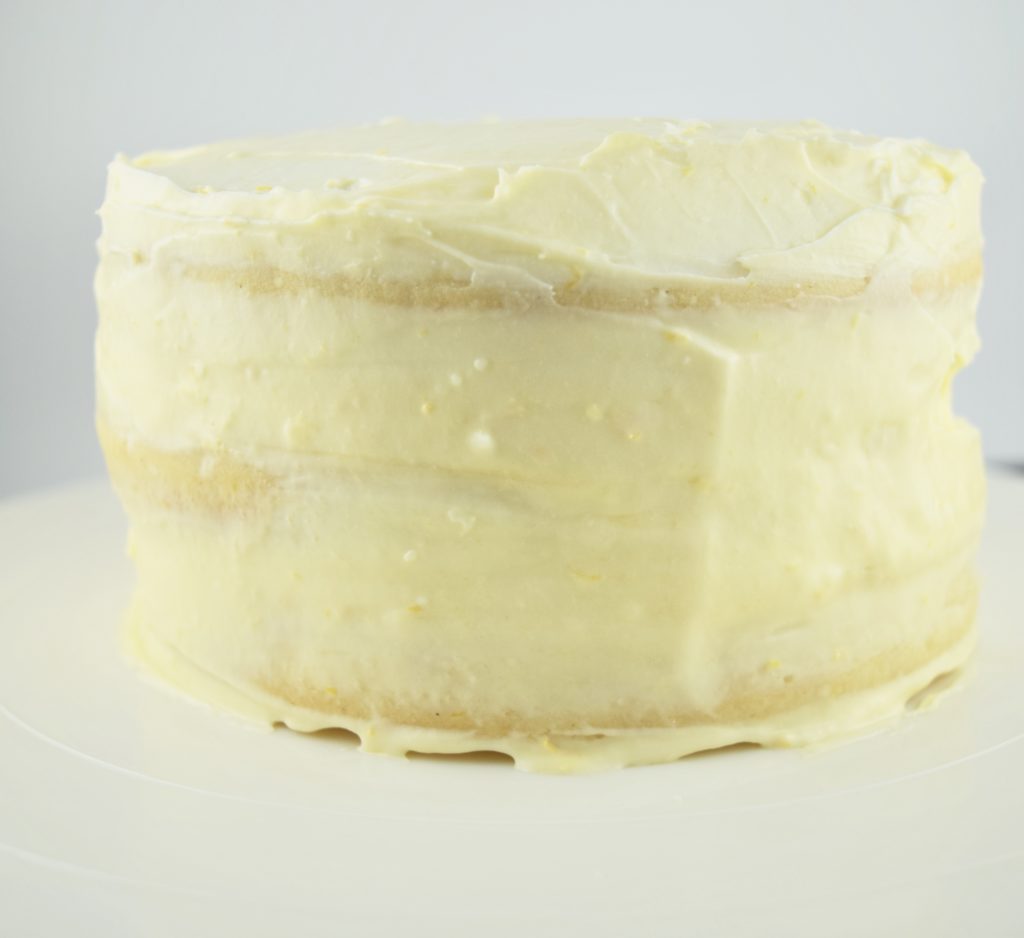
After you’ve given the curd time to do its thing, pull the cake out of the fridge and get going on the frosting. This recipe makes enough to frost the cake really generously, but I personally prefer to go the “naked cake” route with a spare coating around the sides that allows the cake to peek through, and a thin layer on the top of the cake. I love that shabby chic appearance, but it’s up to you. Either way, you’ll want to start by spreading frosting onto the sides of the cake and working it around into an even, thin layer. The frosting will pick up a little bit of curd as you go, and that lovely, creamy curd will probably get worked/swirled into the frosting. That’s a good thing!
Once you’ve got the sides coated pretty evenly, slather some onto the top of the cake and smooth it out. Here’s mine at that point. Now scrape all the excess off the top and sides, and pop the cake back into fridge for about 10 minutes to firm up the frosting.
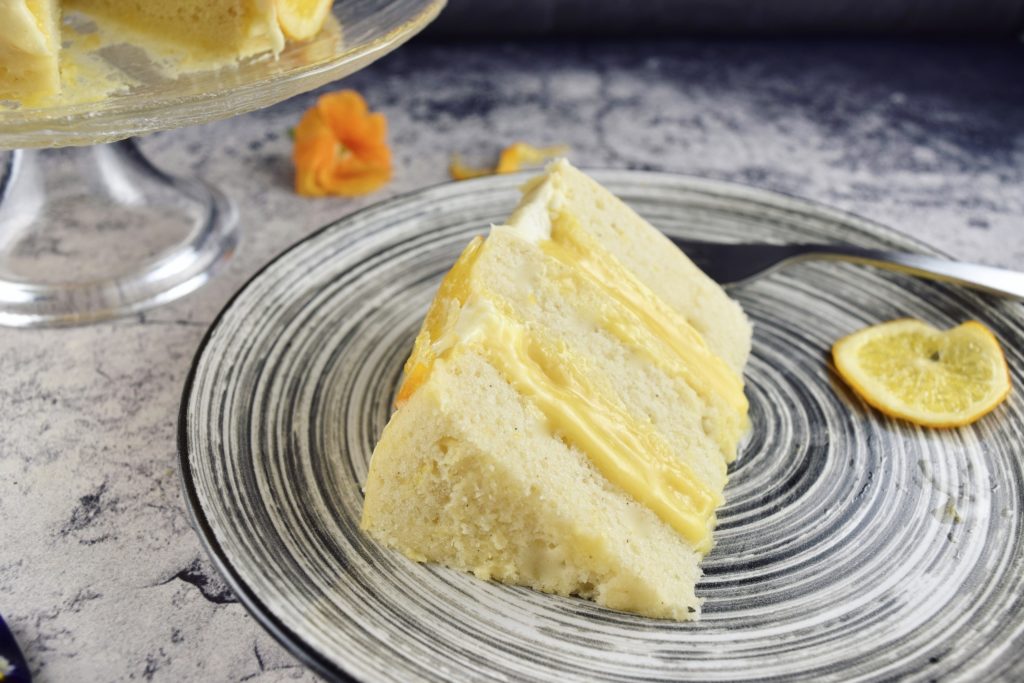
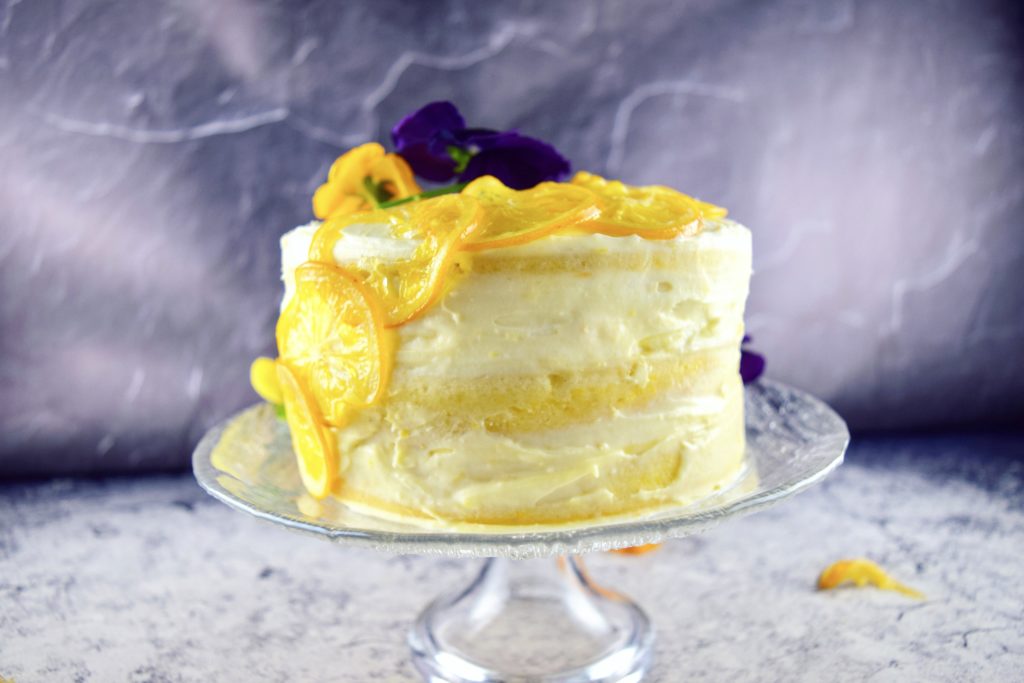
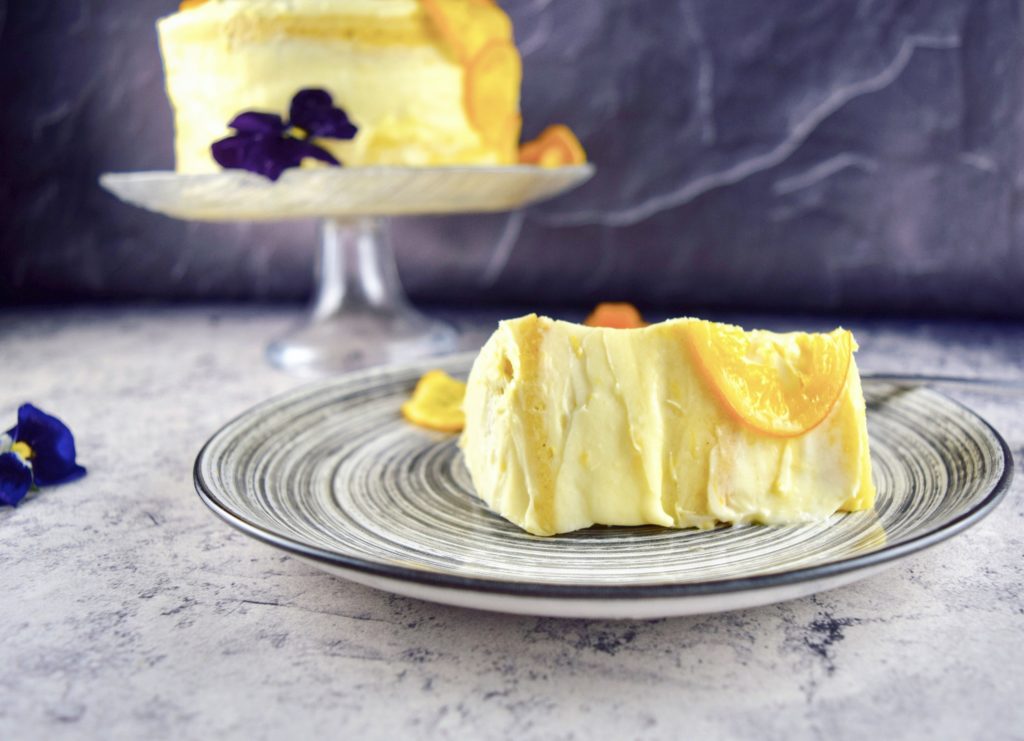
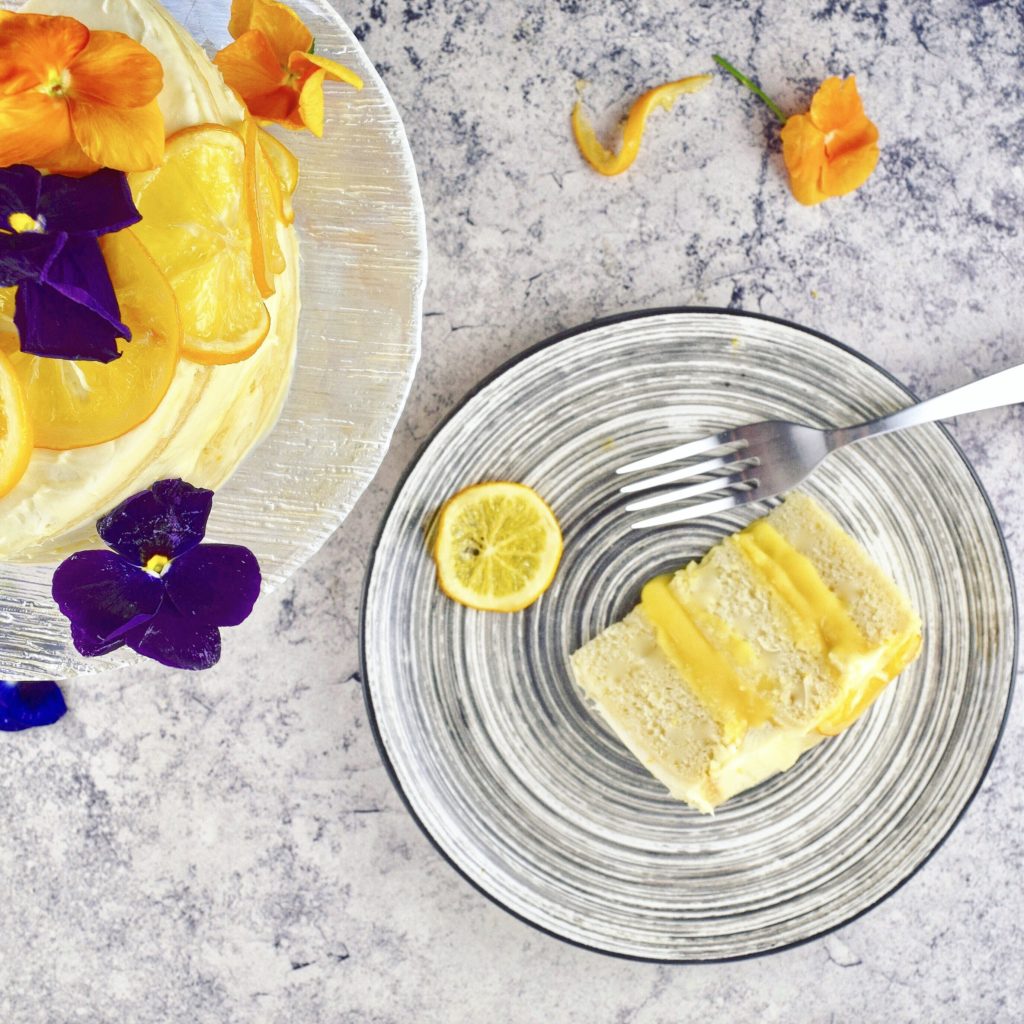
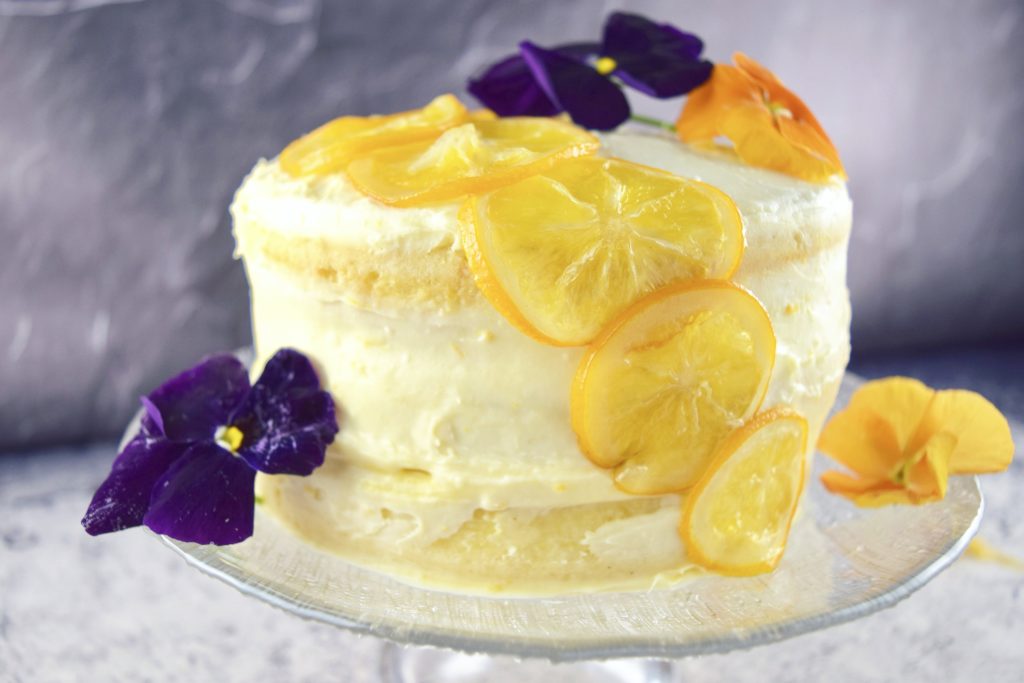
It’s up to you if you want to add more frosting and cover the cake completely. If so, go for it. Otherwise you can stop here like I did and keep it “naked” style. Feel free to decorate or enhance it further with fresh or candied Meyer lemon slices, edible flowers, sanding sugar, sprinkles, or whatever else your heart desires. Enjoy!
- For the curd:
- 132 g (⅔ cup) granulated sugar
- 27 g (3 Tbsp) arrowroot starch
- ¼ tsp salt
- Zest from 1 lb (5-6) scrubbed Meyer lemons
- 180 ml (¾ cup) fresh Meyer lemon juice (from about 1 lb lemons)
- 4 large eggs, lightly beaten
- 4 large egg yolks, lightly beaten
- 56 g (¼ cup or ½ stick) butter, softened and cut into cubes
- Optional: a few drops of pure lemon oil or extract
- For the cake:
- 346 g (2 ½ cups) gluten-free baking flour blend*
- 62 g (½ cup) tapioca starch or arrowroot
- 2 tsp baking powder
- ½ tsp baking soda
- ½ tsp salt
- 300 ml (1 ¼ cups) buttermilk
- Zest of 2 scrubbed Meyer lemons
- 60 ml (¼ cup) fresh Meyer lemon juice (from 2 lemons)
- 5 ml (1 tsp) pure lemon extract
- 2 ½ ml (½ tsp) pure vanilla extract or paste
- 149 g (10 Tbsp + 2 tsp) butter
- 324 g (1 ½ cups + 2 Tbsp) organic cane sugar
- 4 large egg whites
- 1 large egg
- For the frosting:
- 227 g (8-oz pkg) reduced-fat cream cheese, room temperature
- 56 g (¼ cup or ½ stick) butter, room temperature
- 50 g (7 Tbsp) confectioners sugar, sifted
- Large pinch of fine Kosher or sea salt
- ¼ tsp pure lemon extract
- 1 ½ tsp Meyer lemon zest
- Optional garnish: candied Meyer lemon slices, edible flowers, sanding sugar
- Make the curd: Set a fine mesh strainer over a heatproof mixing bowl and place next to stove.
- In a medium saucepan whisk together sugar, arrowroot and salt to combine. Zest and juice the lemons, and whisk in the lemon juice. Add the whole eggs and yolks and whisk until smooth. Stir in the lemon zest.
- Cook over medium-low heat for 6-9 minutes, stirring gently and frequently with a wooden spoon or stiff rubber spatula and scraping along the bottom and sides of the pot as you stir, until the mixture reaches 155°F. If you don’t have a thermometer to check the temperature, it should be thick enough to coat the back of the spoon/spatula, and when you swipe your finger through it, the cleared trail you left on the spoon should remain.
- Remove the pan from the heat and scrape the curd into the strainer set over the bowl. Working it against the sides and bottom of the strainer with your utensil, scrape and push the curd through the mesh into the bowl, leaving behind the zest and any clumps of coagulated egg. Discard the solids in the strainer.
- Stir the butter into the warm curd until completely melted. Add optional lemon oil if using, and stir to distribute. Cover and refrigerate until ready to use, transferring about a cup of the curd to a piping bag if making cupcakes.
- Make the cake: Preheat oven to 350°F. Grease and flour or line pans with parchment and set aside. If making cupcakes you can ether grease and flour the pans or use cupcake liners.
- Sift baking flour, tapioca starch, baking powder, baking soda and salt into a large bowl. Whisk to combine and set aside.
- In a liquid measuring cup or medium bowl, whisk together buttermilk, lemon zest, lemon juice, lemon extract, and vanilla. Set aside.
- In a stand mixer (or large bowl with hand mixer), cream together butter and sugar on medium-high speed until light and fluffy. Reduce speed to medium and beat in egg white and whole egg until foamy. Reduce speed to low, and pour in half the buttermilk/lemon mixture, and half the dry ingredients. Mix to combine, then add the remaining buttermilk and dry ingredients and slowly increase speed to medium-high. Beat for 30-60 seconds until thick and creamy.
- Spoon batter into prepared pans, and tap gently but firmly on counter to release any trapped air bubbles. Bake cakes for 28-32 minutes, standard cupcakes for 14-18 minutes, and mini cupcakes for 7-10 minutes, rotating pans 180 degrees halfway through baking time. When done, tops will feel firm when pressed and a toothpick inserted in the center will come out clean.
- Turn cakes out onto a rack and cool completely before assembling.
- While the cakes are cooling, make the frosting: In a large bowl, use a hand mixer or stand mixer on medium-high speed to combine the cream cheese and butter until light and fluffy.
- Carefully add the confectioners sugar and salt, and mix on medium speed until smooth. Add the lemon juice and zest, and beat to combine. If piping onto cupcakes, transfer to a piping bag. Chill until ready to use, and remove from refrigerator about 10 minutes ahead of time to allow to soften.
- To assemble a layer cake: Set one layer of cake on a flat plate or a rotating cake decorating stand. Scoop anywhere from ⅔ to 1 cup of curd onto the center of the cake, and use a spatula - I prefer an offset - to spread the curd over the surface, taking it to about ¼ inch from the edge. Leave it somewhat thicker in the center because the weight of the cake you're going to place on top will squeeze it out to the sides.
- Using an offset or other flat spatula, spread the oozing curd all over the sides of the cake. I like to begin at the bottom, taking the excess that drips down and spreading it upward. Once you've coated the sides evenly with the curd, chill the cake for about 15 minutes to let the curd firm up and soak into the cake a bit. If your frosting is in the fridge, take it out now.
- After the cake has chilled for 15 minutes you can proceed with frosting it. Begin by spreading frosting onto the sides of the cake and working it around into an even, thin layer (if you’re familiar with a crumb coating, that’s pretty much what you’re doing). The frosting will pick up a little bit of curd as you go, which is fine. Let the curd swirl into the frosting if it wants to.
- Once you've got the sides coated pretty evenly, slather some frosting onto the top of the cake and smooth it out. Now scrape all the excess off the top and sides, and pop the cake back into fridge for about 10 minutes to firm up the frosting.
- At this point it's up to you if you want to add more frosting and cover the cake completely - the recipe makes more than enough frosting the be generous with it. Otherwise you can stop here like I did and keep it "naked" style. Feel free to decorate or enhance it further with fresh or candied Meyer lemon slices, edible flowers, sanding sugar, sprinkles, or whatever else your heart desires. Enjoy!
- To assemble cupcakes: Using an open star piping tip (½ inch length) or a small apple corer centered above the top of a cupcake, carefully press it into the cupcake and push down to about ½ inch depth. Twist gently, and pull out to remove the “core” of cake. Drop that bit of cake into a bowl and repeat with remaining cupcakes. (You can turn those cupcake cores into cake balls or pops with the leftover frosting; buzz them in the food processor to sprinkle onto yogurt or ice cream; or use to make a press-in crust for cheesecake.)
- Once you’ve cored all the cupcakes, fill each one with lemon curd using a piping bag or heavy ziploc with the corner snipped off. You want the curd to come all the way to the very rim of the core so it’s even with the surface of the cake.
- Now frost the cupcakes using your preferred method - either spreading with a spatula or piping it on. Garnish as desired, and enjoy!
If you'd rather mix up a simple blend at home, I recommend the following:
125 g (1 cup) brown rice flour
67 g (½ cup) millet OR 57g (½ cup) sorghum flour
70 g (½ cup) sweet white rice flour
38 g (¼ cup) potato starch
Generous ½ teaspoon xanthan gum
Whisk together and use in place of the 2¼ cups flour blend called for in the recipe.


[…] Once the crust is baked and cooling on a rack, you can tackle the curd. This is another component that I’ve already featured in a different post, but I’m including the recipe and a few photos here as a refresher. For the complete blow-by-blow, see here. […]