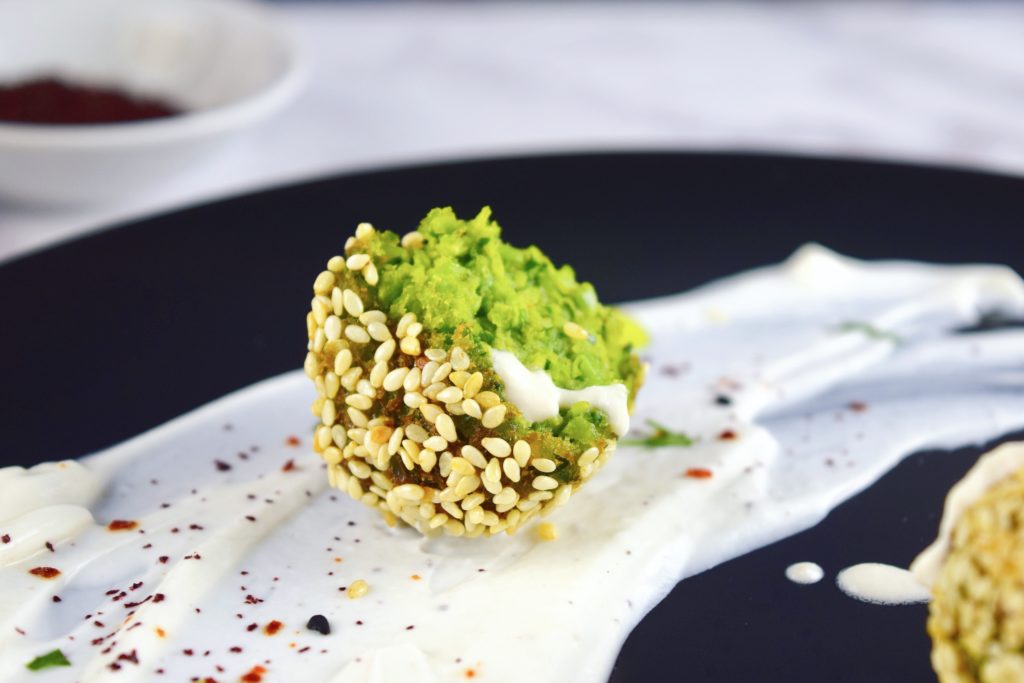
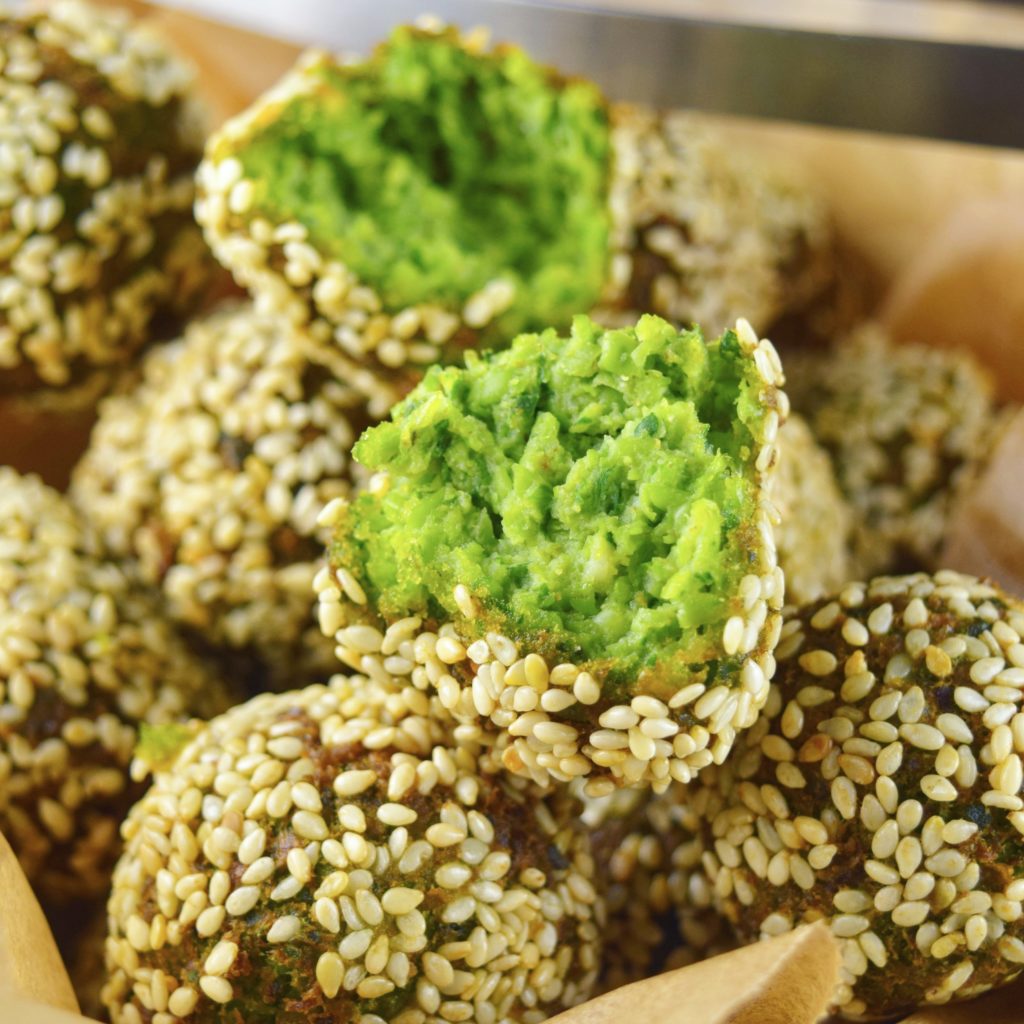
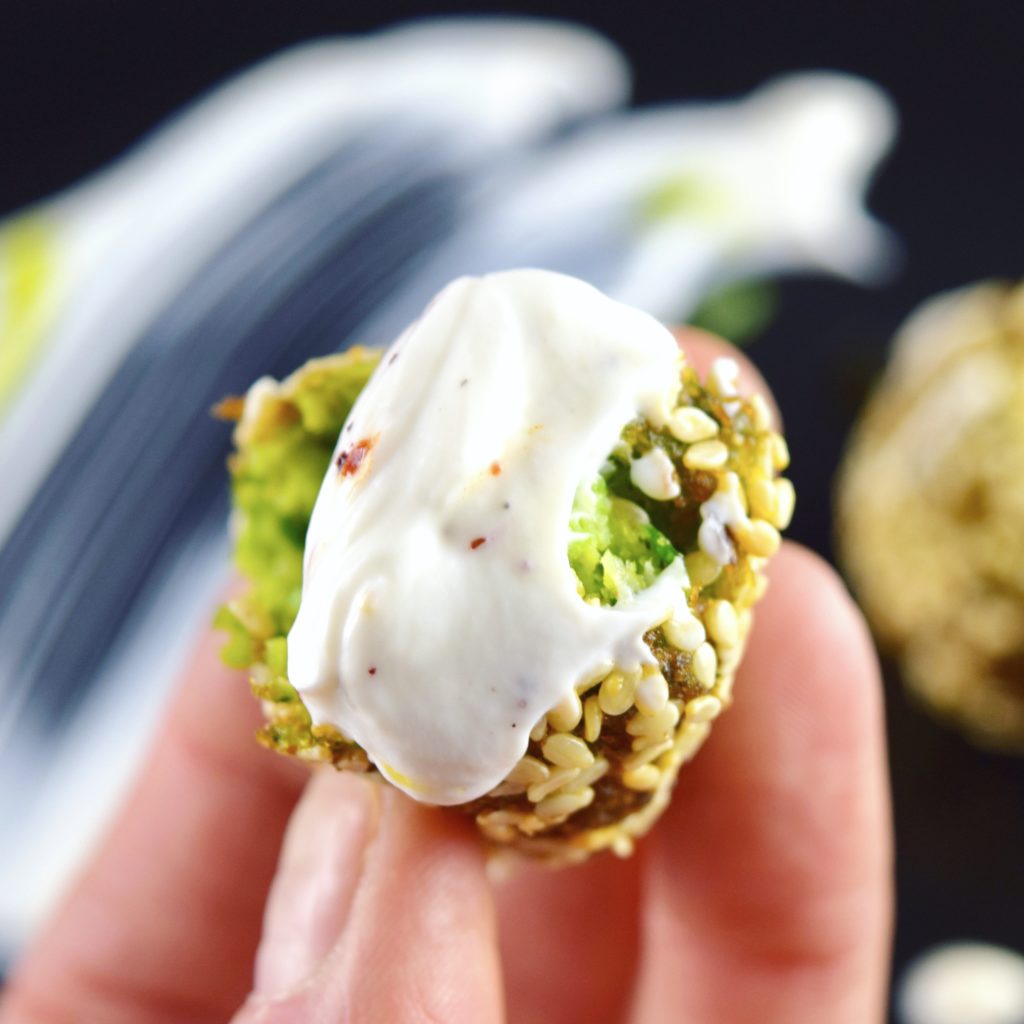
Falafel is one of the few fried foods I really love. Crisp on the outside with a light and creamy herb-flecked interior, these little fried balls of plant-based goodness are a treat. It’s pretty challenging to find good gluten-free falafel so I make my own, and I don’t do it often. As I’ve mentioned before I’m just not crazy about deep-frying at home, but some things are worth it and falafel is one of those things. (Mind you, it’s not the fat content that bothers me – properly fried food shouldn’t absorb much oil. It’s the potential for splattering and mess that I don’t like. Kitchen life has its challenges when you’re an obsessive clean freak.)
Though it originated in Egypt, this fantastic street food is now known as the national snack of Israel and has become immensely popular across the Middle East and here in North America. Falafel was initially made with fava beans, but as it moved into Israel, Lebanon and Syria, chickpeas replaced the fava beans; the modern-day falafel you’ve had was likely made with chickpeas or a combination of chickpeas and fava beans. Authentic falafel typically uses dried beans that have been soaked overnight, but it’s the height of fresh pea season right now and I’m always looking for excuses to make the most of gorgeous seasonal produce, so I’ve worked up this recipe for falafel made with sweet peas.
One of the best things about making falafel is the simplicity of the process. Soak or prep the beans/peas, toss the ingredients into the food processor, chill the mixture for a bit, roll into balls, and fry. That’s it! I do prefer to give the herbs and aromatics a rough chop before they hit the processor so everything breaks down more uniformly, but even with that extra step the mixture comes together in just a few minutes.
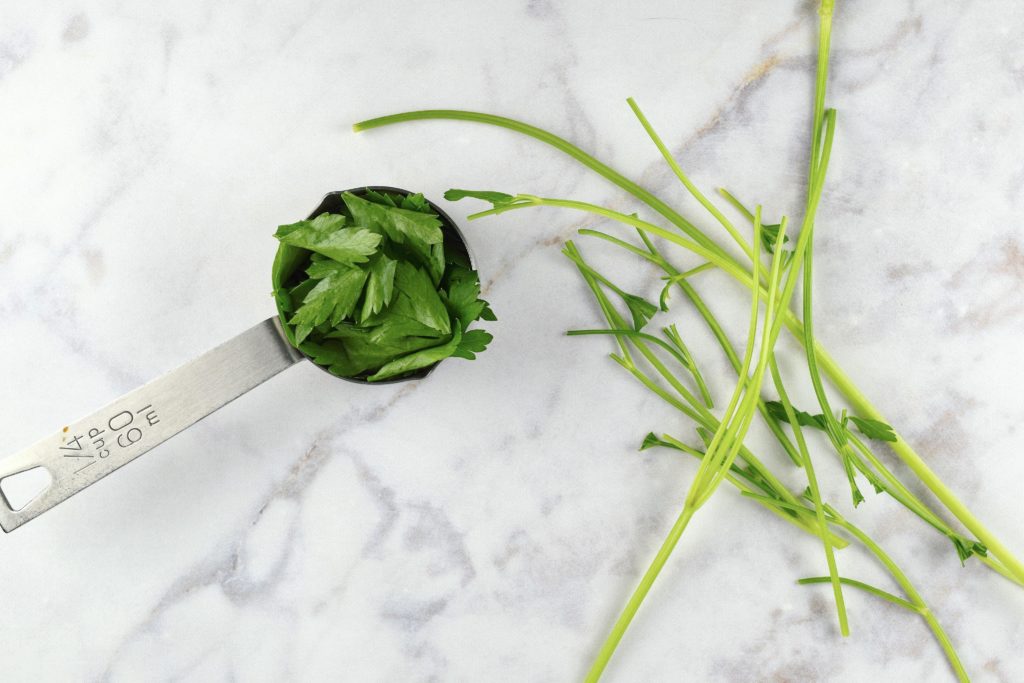
Speaking of herbs and aromatics, the recipe calls for the parsley and cilantro leaves to be “lightly packed” when measuring. To give you a sense of what that looks like, here’s a photo of my parsley in the measuring cup alongside the stems it took to reach that volume of herbs. My parsley leaves were really large, so it only took a few stems to reach ¼ cup; if your leaves are small you’ll need to use more. Notice that I didn’t fold or cram the herbs down into the cup – I added enough leaves to fill the cup to the top when I pressed them in there gently, and when I let go, they sprang back up over the rim just a bit.
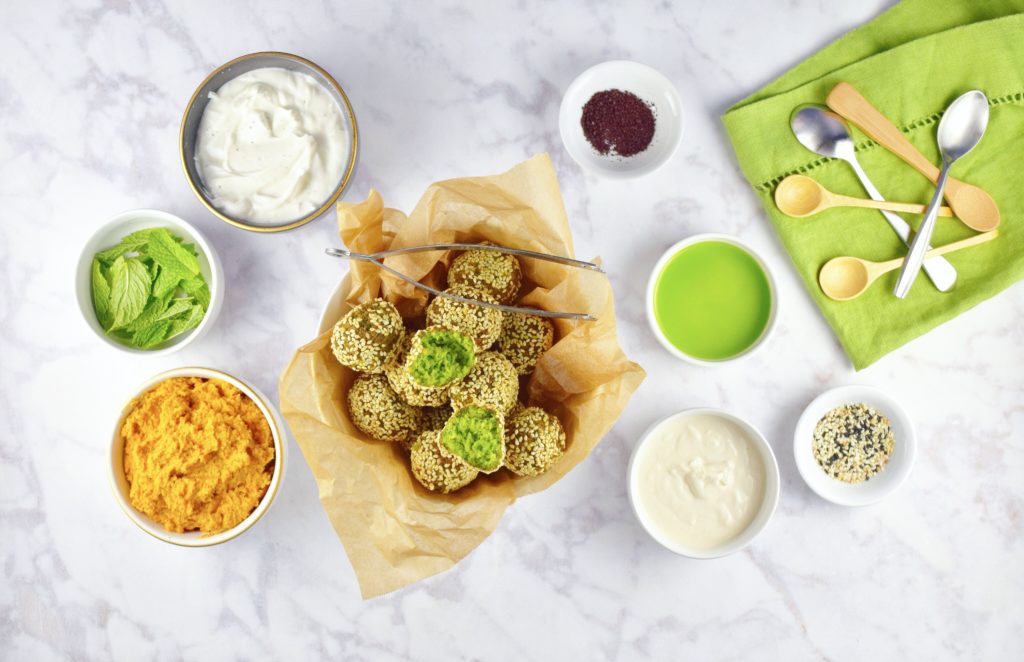
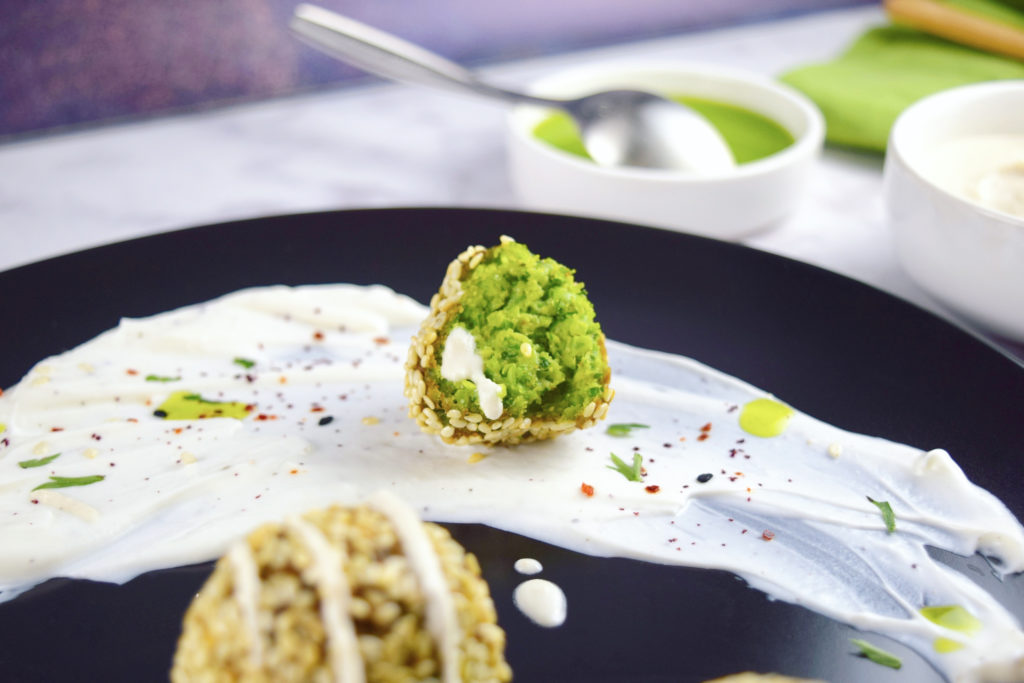
Moving on, how you serve or eat your falafel is up to you. It’s most commonly stuffed into pita pockets along with tomato, cucumber, onion, and tahini for a portable yet satisfying meal on the go, so feel free to do that. I personally prefer to keep my falafel front and center instead of burying it inside bread, so I like to serve it on a platter with fresh crudités, plus an assortment of sauces for dipping. Tahini- and yogurt-based sauces are the classic accompaniments for falafel, but get creative here. One of my favorite nontraditional options is Roasted Carrot Pâté with Middle Eastern Spices. The beautiful orange color provides a lovely contrast to the browned exterior and bright green center of the falafel, and we all know peas and carrots are a match made in heaven.
Okay, ready to make some delicious falafel? We’re going to blanch and shock the peas first, so get a pot of salted water going on the stove, and prepare an ice bath (fill a bowl about halfway with water and ice and set aside). Once the water on the stove is simmering, add the peas and let them cook for 30 seconds. Drain the peas and add them to the ice bath to cool for 2-3 minutes, then drain them well and gently pat them dry with a clean kitchen towel. Note: if you’re using frozen peas, skip the blanching step and just thaw them before proceeding.
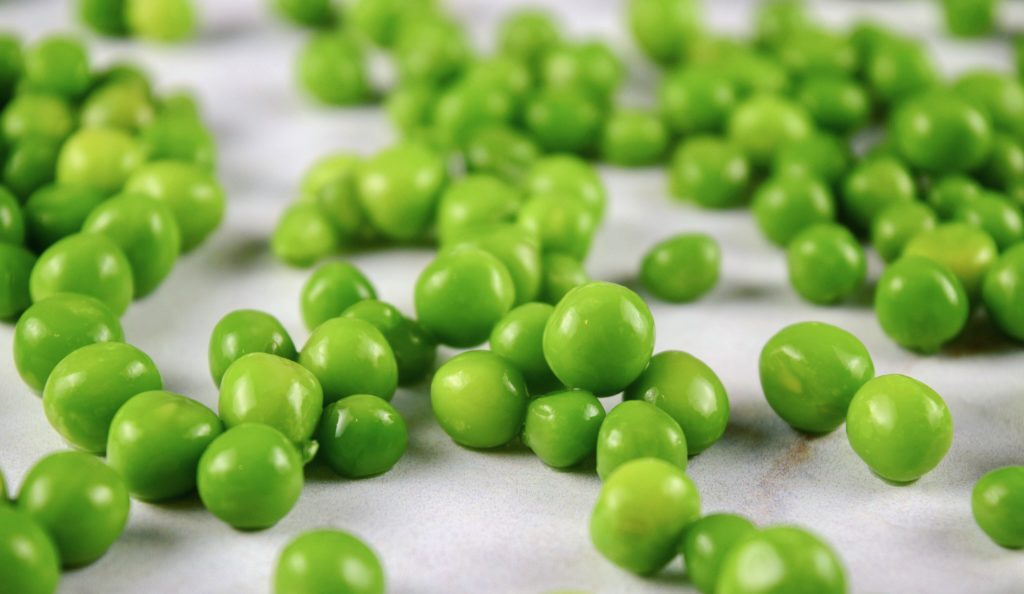
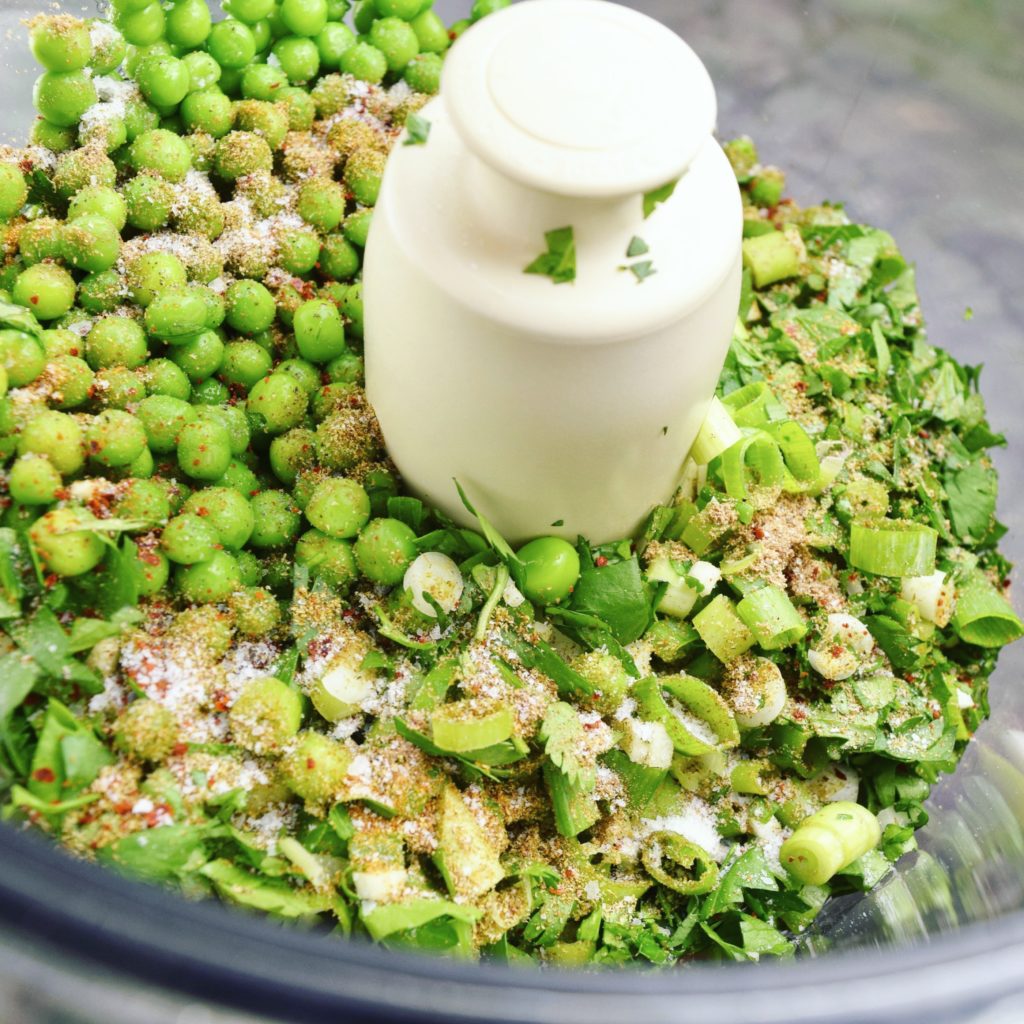
Such little beauties, aren’t they? Drop them into the bowl of the food processor, and add the green onion, garlic, fresh herbs, dried spices, salt, and a couple of twists of pepper.
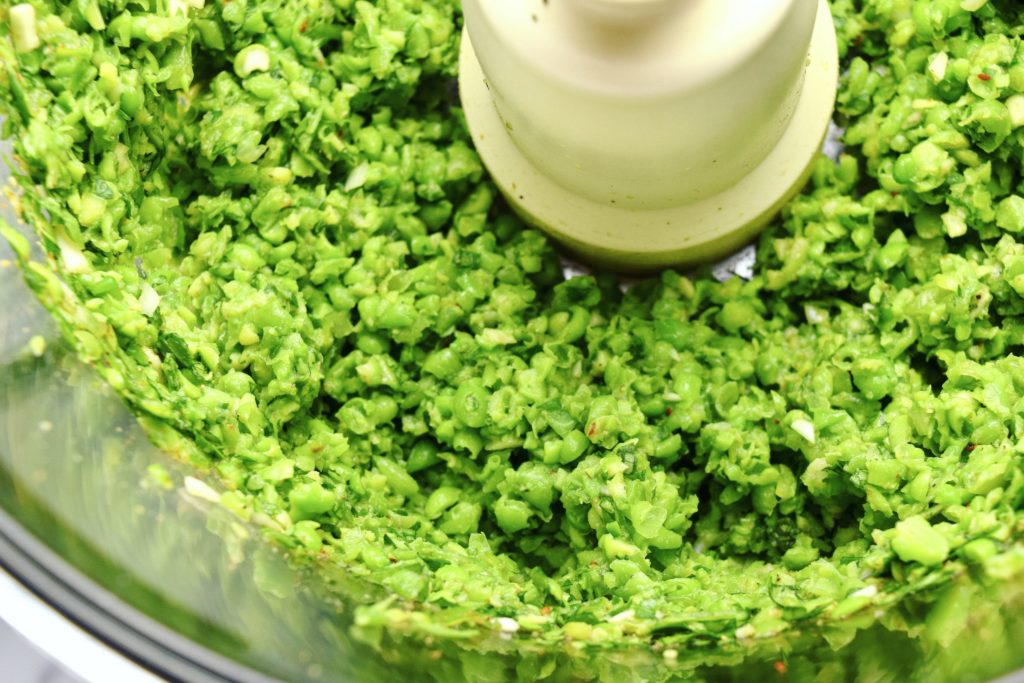
Looks good already and we’ve barely done anything with it! Now process until everything is uniformly chopped, but not pureed.
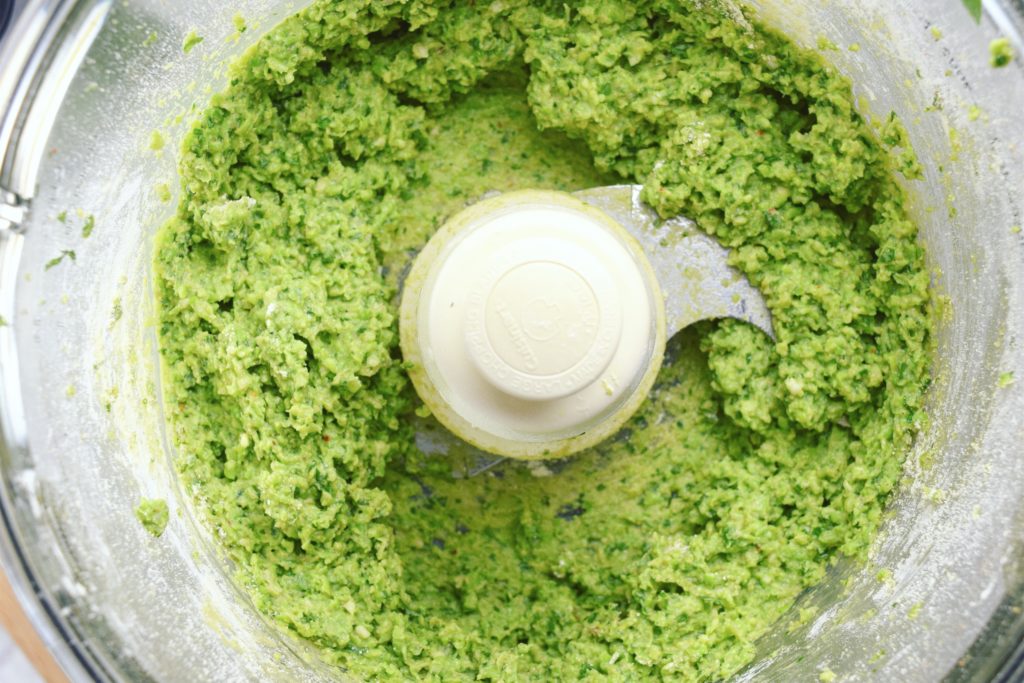
See? Still nicely textured, just chopped to break everything down. Sprinkle in the arrowroot starch, baking powder, and chickpea flour, and pulse until the mixture starts to pull together into a cohesive, textured mass, but not quite a smooth paste.
Notice how it’s starting to pull together on the sides? You’re there. Transfer the mixture to a bowl, cover it, and let it chill in the fridge for at least 30 minutes to firm up.
You’ve got some time to kill while the falafel mixture chills, so now would be the ideal opportunity to prepare your condiments. Mix up a tahini-based sauce with some garlic, lemon juice, salt, a pinch of cumin, and a little water to thin it out to the consistency you like. Or whisk your favorite plain yogurt or dairy-free alternative with lemon zest, lemon juice, salt, pepper, and minced fresh herbs like parsley, dill, cilantro or mint. Or make my Roasted Carrot Pâté with Middle Eastern Spices. Or blend up some toum or a garlicky aioli. See where I’m going with this? Get saucy!
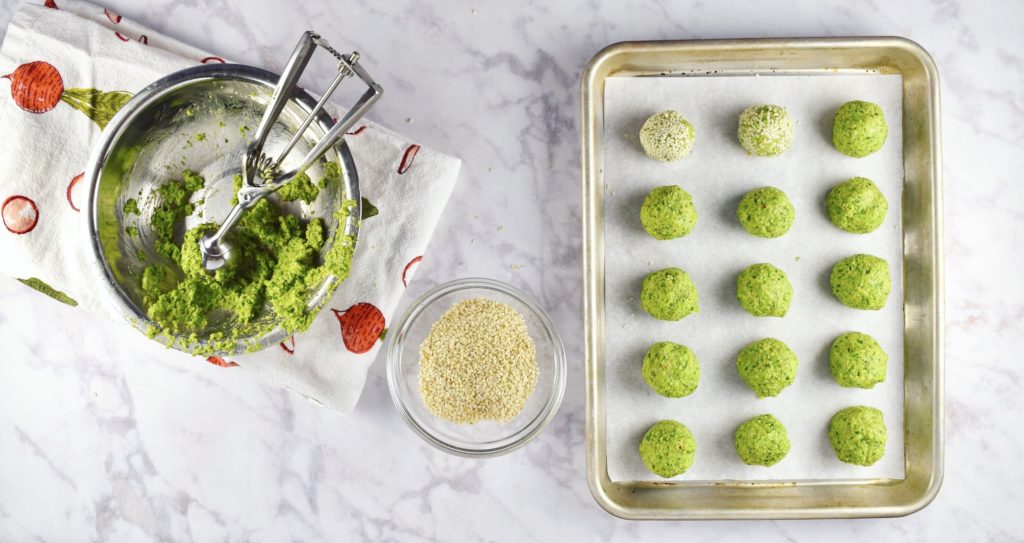
When you’re ready to fry the falafels, put the sesame seeds in a small bowl and set a sheet tray or flat plate on your work surface. Wetting your hands slightly as necessary to prevent sticking, roll the mixture into small, uniformly-sized balls. I like to use a 1-ounce cookie scoop to portion each one into my hand before rolling, but if you don’t have one a heaping tablespoon works just fine.
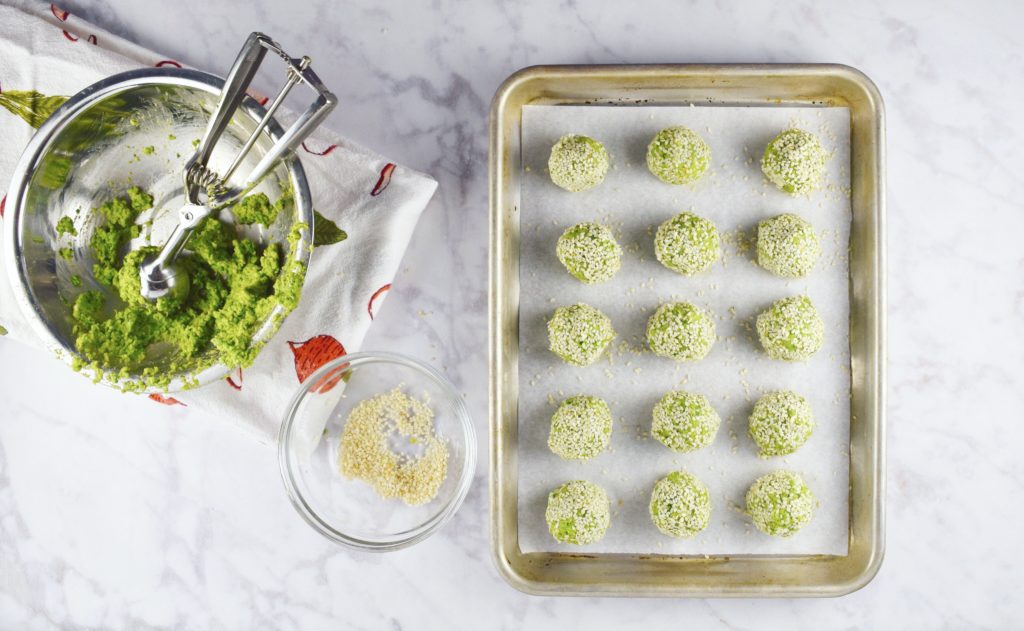
This is my little assembly line. Scoop the falafel mixture into your hands, roll it into a ball, and set it on the tray. Once you’ve formed all your falafels, go back and roll each one in the sesame seeds. (Technically you can dunk each one in the seeds immediately after rolling, but I find that to be far messier because the seeds stick to your hands and you have to clean them off before rolling each ball.)
All rolled, coated, and ready to take a hot oil bath!
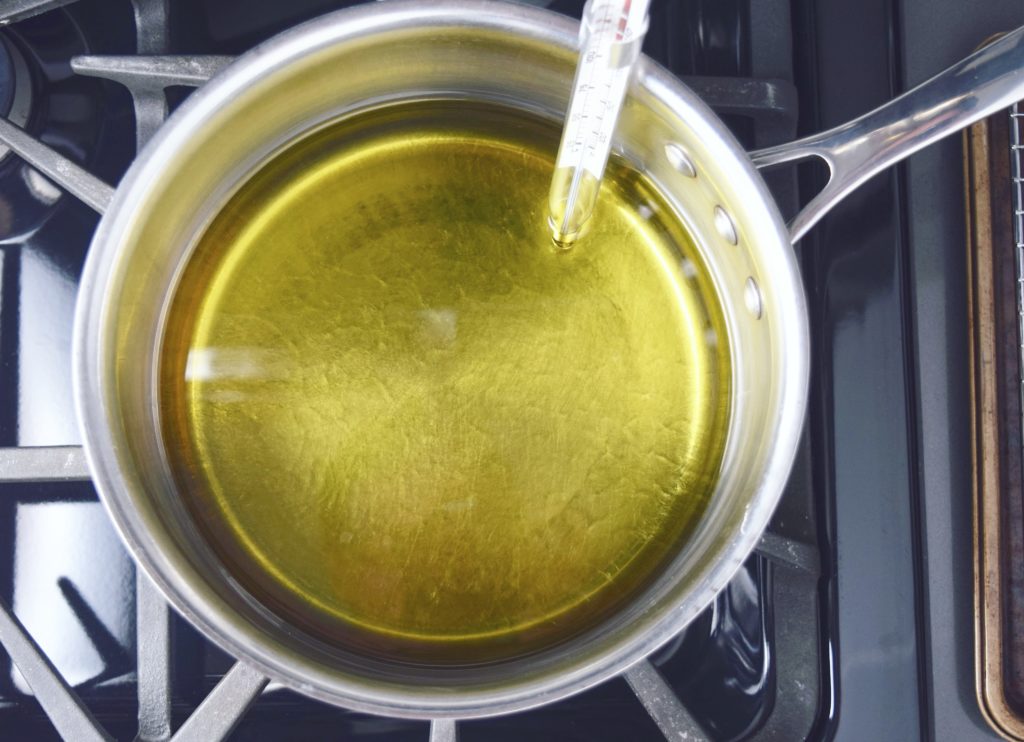
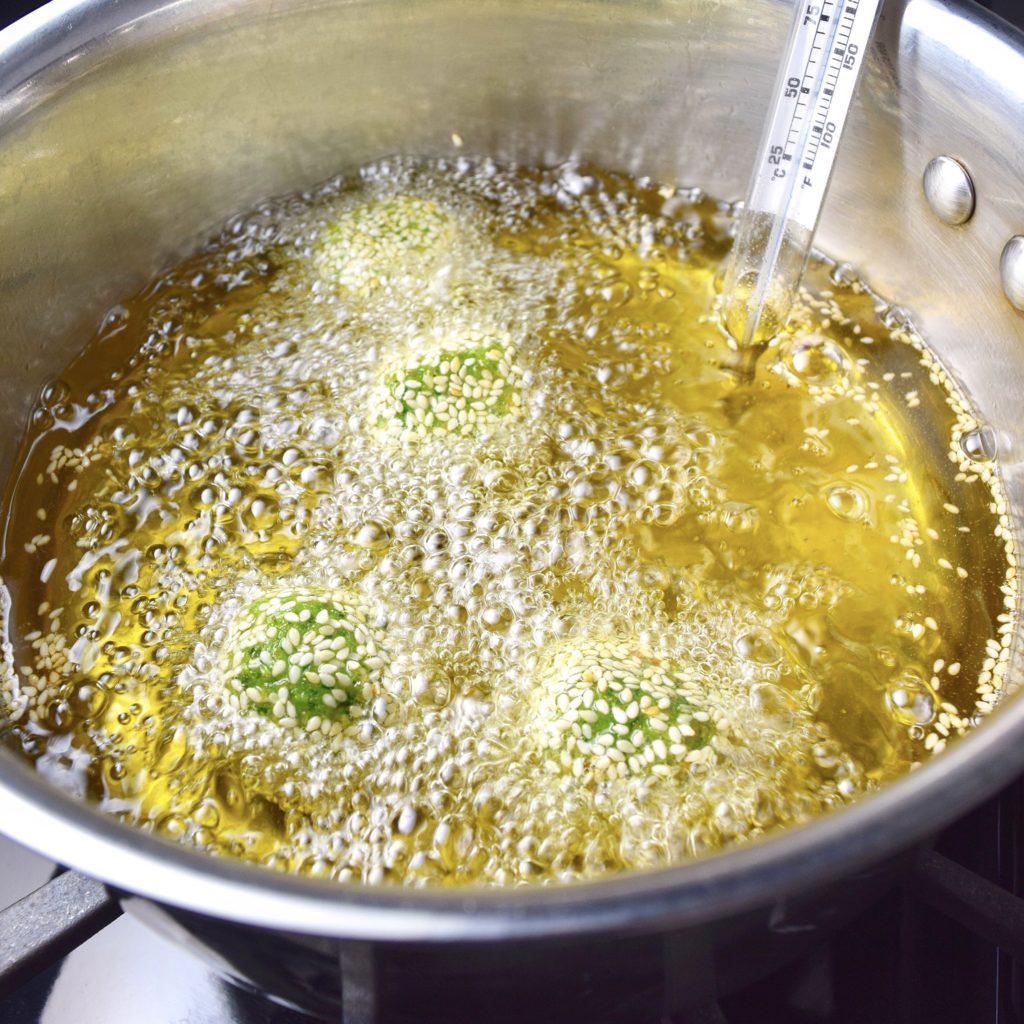
Heat a couple of inches worth of oil in a saucepan or skillet until it reaches 350°F. I recommend using a thermometer to track the temperature if you have one. I love the type of candy and deep-frying thermometer you see in the photo because it’s designed to clip onto the side of the pan and stay put, and you can adjust it to fit pans of all sizes, and varying depths of oil. If you don’t have a thermometer, once the oil is shimmering you can test it by dropping a small piece of the mixture into the pan. You’re looking for it to sizzle when it hits the oil, but it should sink a bit. If it stays afloat on the surface and browns immediately, the oil is too hot and you’re going to end up with falafels that are burnt on the outside and undercooked inside. However, if it sinks to the bottom without sizzling, the oil is still too cold. (This whole frying thing always reminds me of Goldilocks and the three bears – too hot; too cold; just right!) When the oil is at the proper temperature, fry the falafels in small batches of 3 or 4 pieces at a time. Adding too many at once will cause the oil temperature to drop rapidly, and you’ll end up with sad, soggy, falafels that boiled instead of fried. That would be a bummer.
Fry each batch for 3-4 minutes, turning the balls occasionally to ensure that they’re nicely and evenly browned on all sides. Keep an eye on the oil temperature and adjust your flame up or down accordingly to keep it as close to 350°F as you can. (Tip: if the sesame seeds are blackening, it’s too hot.)
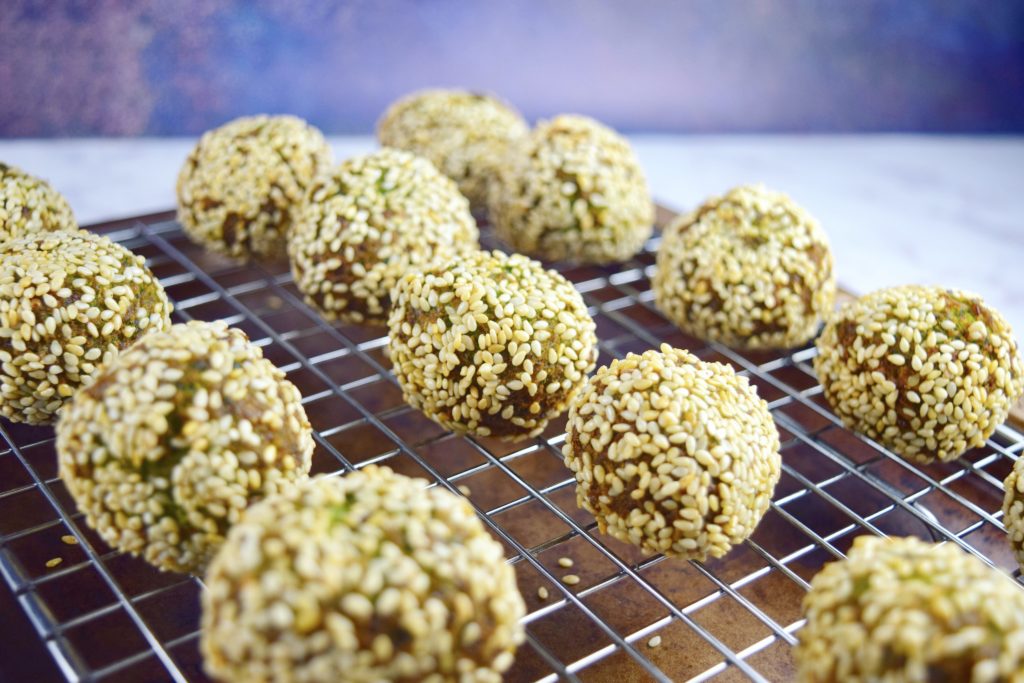
Transfer the cooked falafels to a metal cooling rack or paper towel-lined tray to drain, and repeat the process until all the falafels are fried. (Once that cooking oil has cooled completely, strain out any solids by pouring it through a fine sieve lined with cheesecloth, discard the solids, and store the oil in a small jar. You can use it again the next time you make falafel.)
Right now, though, it’s time to eat these perfect little balls of crispy, creamy, fried deliciousness. Pile the falafels onto a platter or build yourself the perfect pita, and chow down. Enjoy!
- 12 oz fresh green peas* (may substitute thawed frozen peas**)
- 2 oz (about 4 whole) green onions, ends trimmed, roughly chopped
- 1 clove garlic, roughly chopped
- ¼ cup lightly packed fresh cilantro leaves, roughly chopped
- ¼ cup lightly packed fresh parsley leaves, roughly chopped
- 1 tsp ground cumin
- 1 tsp ground coriander
- ¼ tsp cayenne or Aleppo pepper
- ½ tsp Kosher salt (or more to taste)
- 2-3 grinds black pepper
- ½ tsp baking powder
- 8 grams (1 Tbsp) teaspoon arrowroot or corn starch
- 38 grams (5 Tbsp) chickpea flour (I use Bob's Red Mill)
- 35 grams (¼ cup) raw sesame seeds
- Neutral oil (for frying)
- Yogurt, tahini sauce, or other condiments for serving
- Blanch the peas: Bring a pot of salted water to a boil. Add the peas and cook for 30 seconds, then transfer to an ice bath to cool. Drain well, and gently pat dry with a clean kitchen towel.
- Make the falafel mixture: Add the peas, onion, garlic, herbs, spices, salt, and pepper to food processor. Process until mixture is uniformly chopped but still has a bit of texture (you don’t want a smooth paste). Sprinkle in baking powder, arrowroot starch, and chickpea flour and pulse just until mixture begins to pull together into a cohesive mass around the sides of the processor; it still shouldn’t be a puree. Transfer to a bowl and refrigerate for at least 30 minutes. Put sesame seeds in a small bowl and set aside.
- (You’ve got some time to kill here, so why not whip up a batch of Roasted Carrot Pâté with Middle Eastern Spices while you’re waiting for the falafel mixture to chill? Then you can serve them together - peas and carrots are a pairing for the ages, after all.)
- Form the falafels: Use a 1-ounce cookie scoop or heaped tablespoon to portion out the mixture, rolling it into balls (if the mixture is sticking to your hands, dip them in a bit of cold water). Gently roll each ball in the sesame seeds, and place the finished balls on a sheet pan or large, flat plate.
- Set a cooling rack inside a sheet pan, or line the sheet pan with paper towels (this will be used to drain the fried falafels), and place next to your cooking surface.
- Fry the falafels: Fill a deep skillet or a saucepan with 2 inches of oil, and set over medium-high heat until oil reaches 350F. If you don’t have a thermometer to track the oil temperature, check by dropping a small piece of the mixture into the oil - if it sinks for a moment and floats back up to the surface, the temperature is perfect. (If it sinks and stays at the bottom, the oil is still too cold; if it floats and browns immediately, the oil is too hot and the outside will burn before the falafel is cooked through.)
- Working in batches so as not to crowd the pan, fry the falafel balls for 3-4 minutes, turning occasionally, until nicely and evenly browned. Transfer cooked falafels to rack or towel-lined pan to drain. Repeat until all falafels are cooked.
- Serve: Falafels may be enjoyed as finger food for dipping, or stuffed into pita pockets along with tomato, cucumber, onion, and tahini or yogurt sauce. For dipping, I recommend tahini sauce, a yogurt-based sauce like tzatziki, or my Roasted Carrot Pâté with Middle Eastern Spices.
**If using frozen peas, do not blanch them - just thaw in a colander and make the falafel mixture. You can speed up the thawing process by running the peas under cool water, but be sure to drain/dry them well before proceeding.



[…] lemon zest if you feel like it, and get to dipping. You can use crudités, pita chips, flatbread, falafel, or whatever else strikes your […]