I’m super excited to share my basic gluten-free pie crust recipe with you for this post. I’ve spent years tinkering with various recipes in my quest for a perfectly flaky and buttery pastry dough – one that’s easy to handle without tearing or crumbling, and can hold up as a top crust or latticework. I’ve *finally* gotten it! Even better, it doesn’t require a zillion flours and starches (only 4 of the basics), and you don’t need any special equipment – just your hands and a rolling pin.
There are two secrets to the flaky layers of this dough. The first is buttermilk, which contributes a bit of natural acid to tenderize the dough. The second is a classic French pastry technique called “turning,” which allows you to build layers of dough by rolling it out and folding it back in on itself multiple times. If you’re not familiar with this technique don’t worry, I’ve got a detailed explanation with accompanying pictures to walk you through it and it’s actually pretty simple.
As a rule, gluten-free dough is more fragile than conventional wheat-based pastry. It’s prone to tearing and cracking, and can dry out easily. I’ve adjusted the ratios of fat, starch and liquid and bumped up the xanthan gum for this recipe, so the dough is a bit easier to handle than a standard gluten-free pastry dough. Still, be gentle with it, and if you have trouble with cracking, you can always patch it. A little tip: you’ll want to make sure that the butter, buttermilk, and water are cold, so keep them in the fridge right up until you need them. Okay, let’s get started.
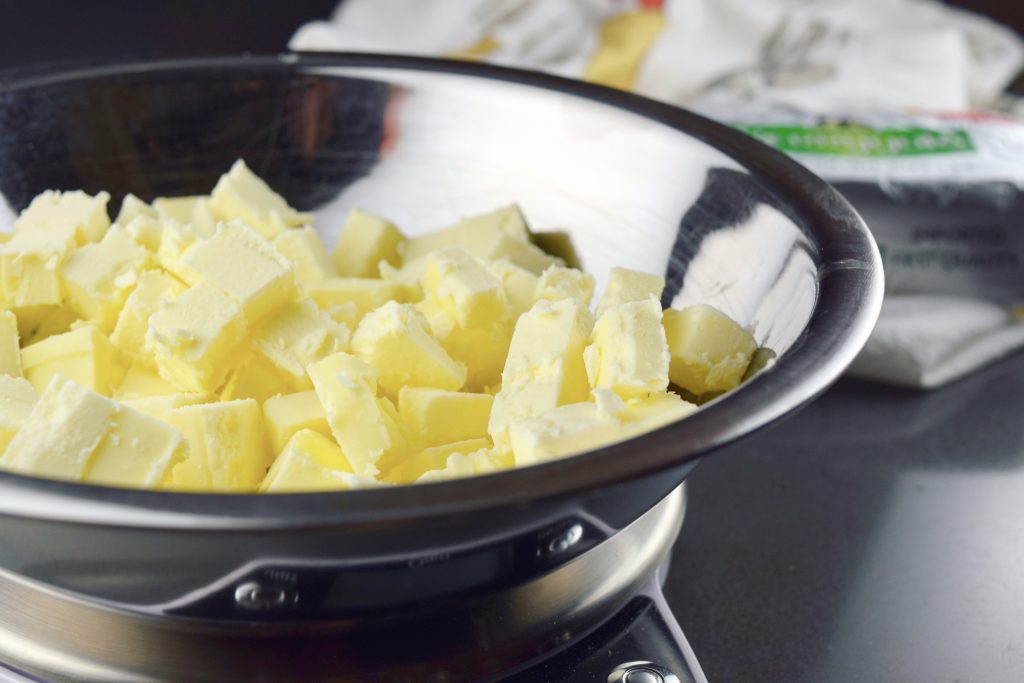
Dice the butter into ¼-inch cubes and refrigerate them in a small bowl.
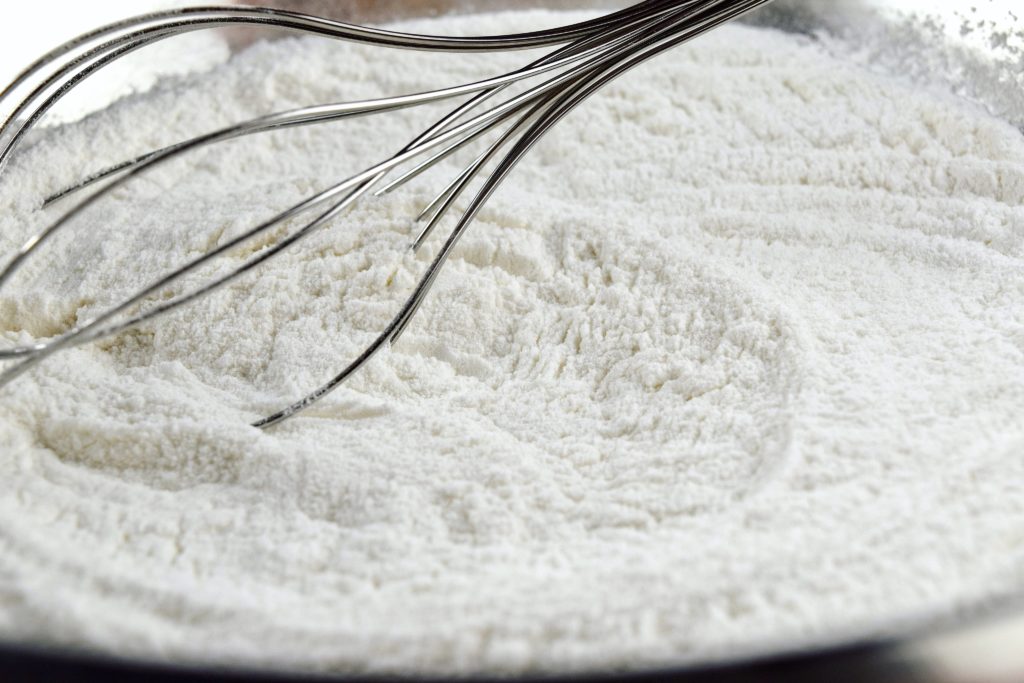
Measure the dry ingredients into your mixing bowl and use a whisk to stir it all together until it’s completely uniform, making sure to scrape the bottom of the bowl to incorporate whatever is settled at the very bottom. Take your time and go easy with the whisking motion here so you don’t send everything flying out of the bowl.
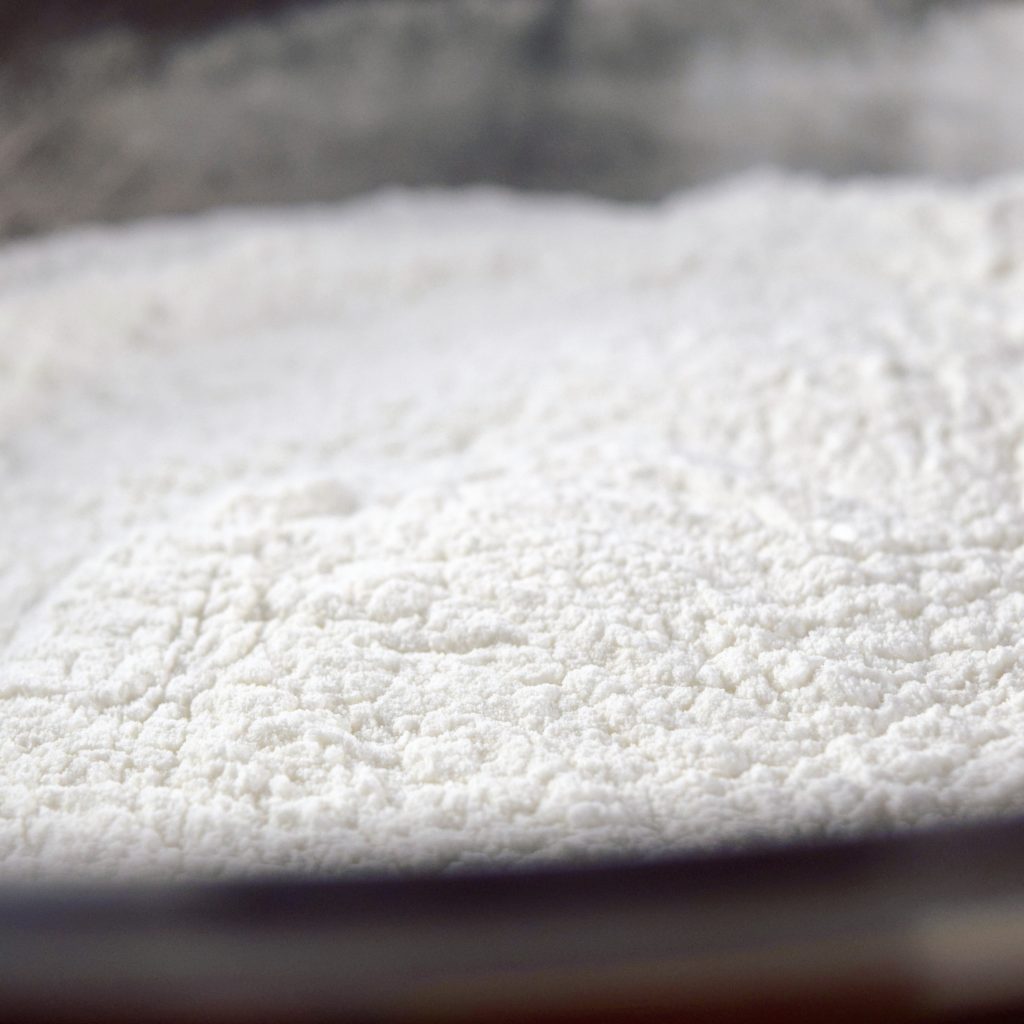
See how powdery and silky the flour mix looks? That’s why it’s important to use a good superfine rice flour – no grittiness here!
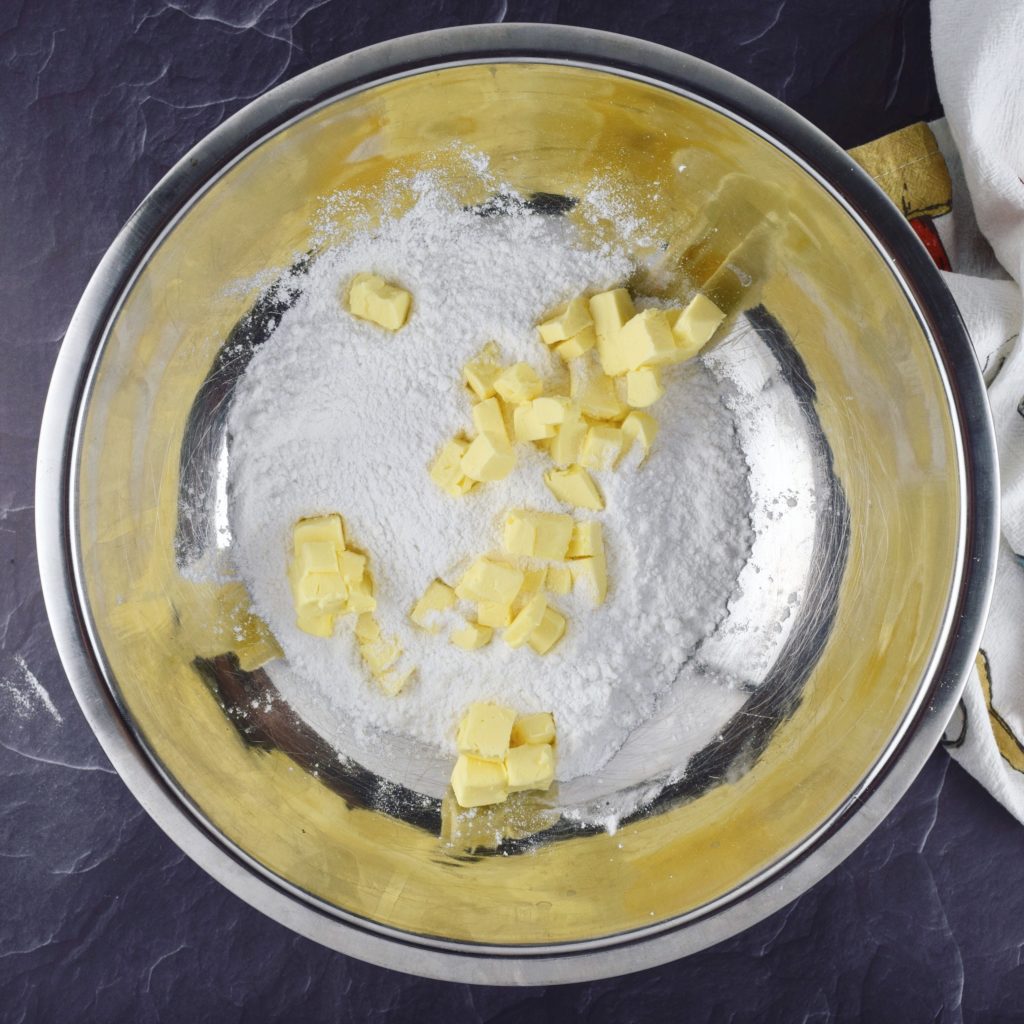
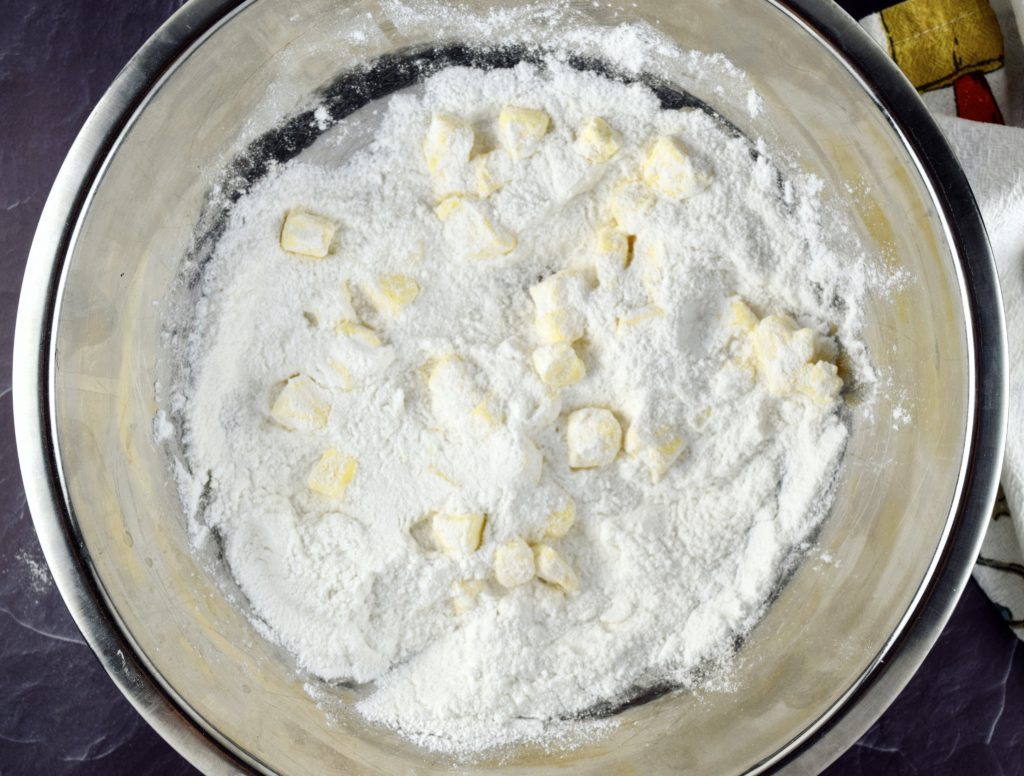
Now get those butter cubes from the fridge, scatter them over the dry mixture, and toss everything with your hands until all the cubes are coated.
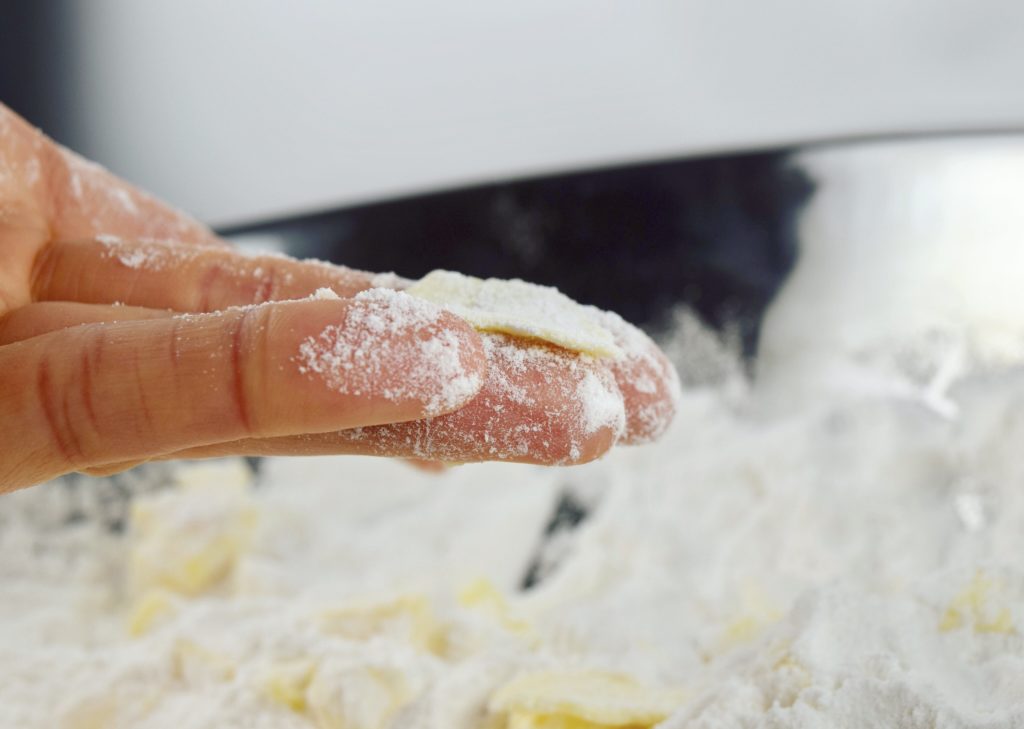
You’ll want to work pretty quickly here so the butter doesn’t warm up too much and melt in your hands. Body heat is your enemy in this moment, so if your hands are really warm I suggest dipping them in cold water before you work the butter (just be sure to dry them completely before you stick your hands into the flour). Working your way through the bowl, flatten each cube between your thumb and fingertips into a thin sheet. I use a simultaneous squeeze-and-swipe motion to do this. Are you familiar with the universal hand gesture for money – rubbing your thumb across your fingertips? That’s what I want you to do with the pieces of butter, but only in one direction – it should be a single swipe, not a continuous back-and-forth rubbing motion.
See? A flattened sheet of butter coated with flour. Do that with all the butter, dropping the sheets back into the bowl as you go, then give the contents of the bowl a thorough toss again, and go wash and dry your hands.
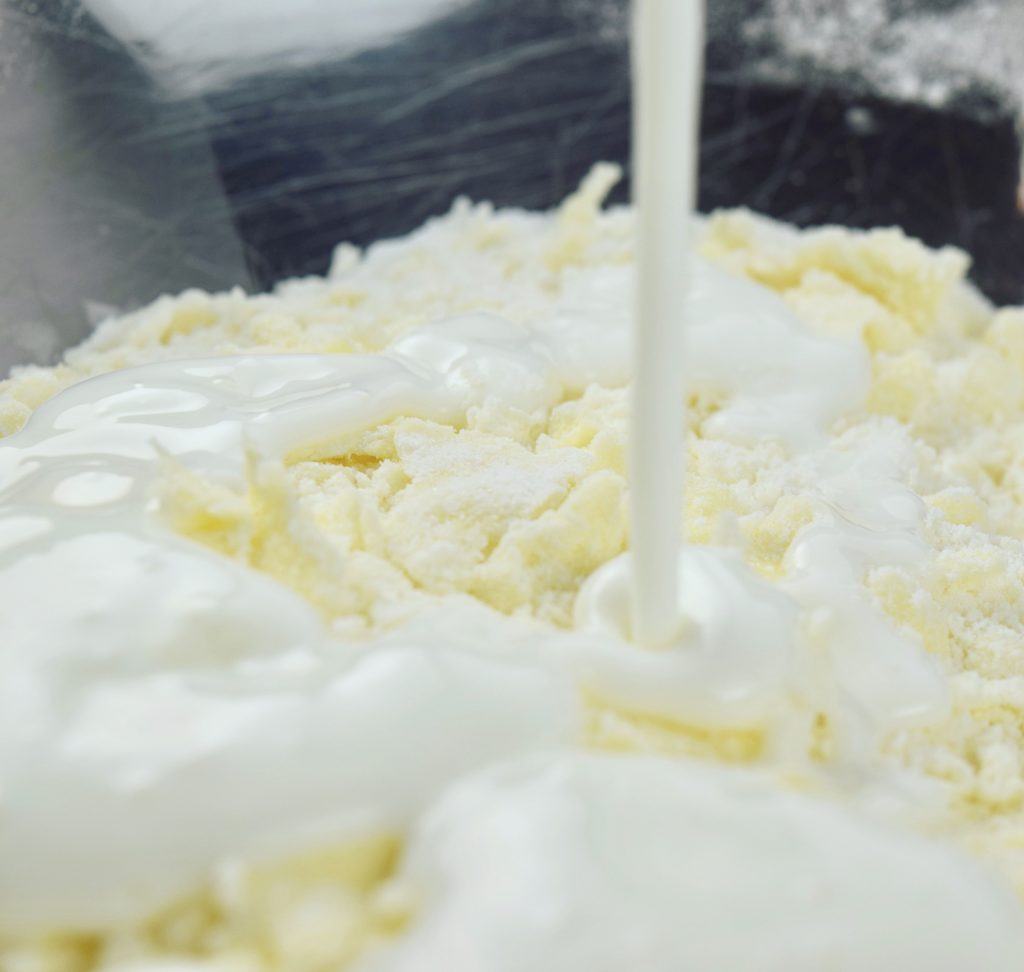
Shake the buttermilk well, measure it out, and drizzle it over the mixture in the bowl. Using a fork, mix the dough together. Be sure to get the fork all the way to the bottom of the bowl so you can scrape up any flour hiding underneath. Your goal here is to distribute the buttermilk throughout the dough to moisten the flour and starch as evenly as possible.
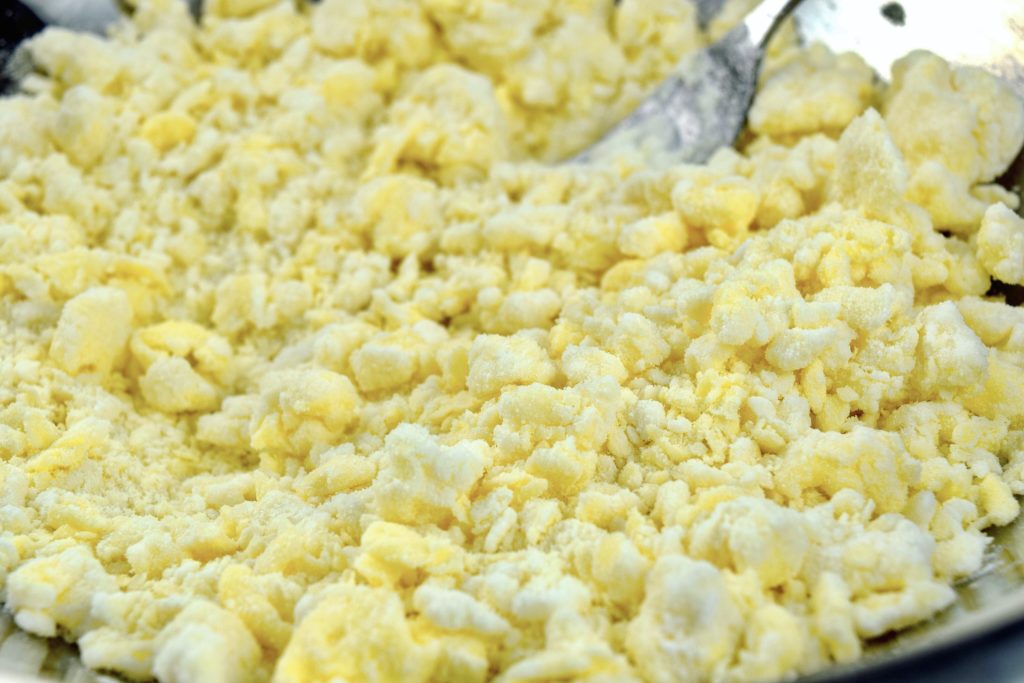
Once you get there it will resemble scrambled egg curds and you should be able to pull it all together with your hands. If the mixture still looks very dry or you see a lot of flour settled at the bottom after you’ve mixed in the buttermilk, drizzle in the cold water a teaspoon at a time just until the dough starts to pull together.
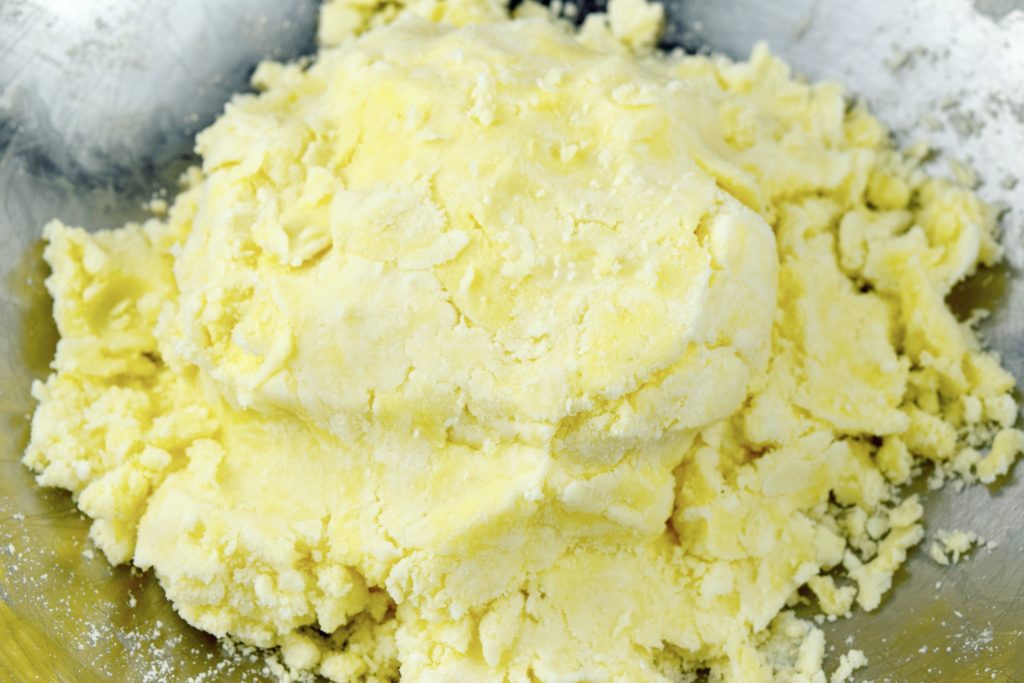
Pull the dough together and use your hands to work or knead it in the bowl until it’s a relatively cohesive and smooth mass. Here’s an example of what it looks like pulled together but before kneading. After you’ve worked it into a smooth dough, set out a sheet of plastic wrap and turn the dough out onto it, scraping out any errant bits that are stuck to the bowl.
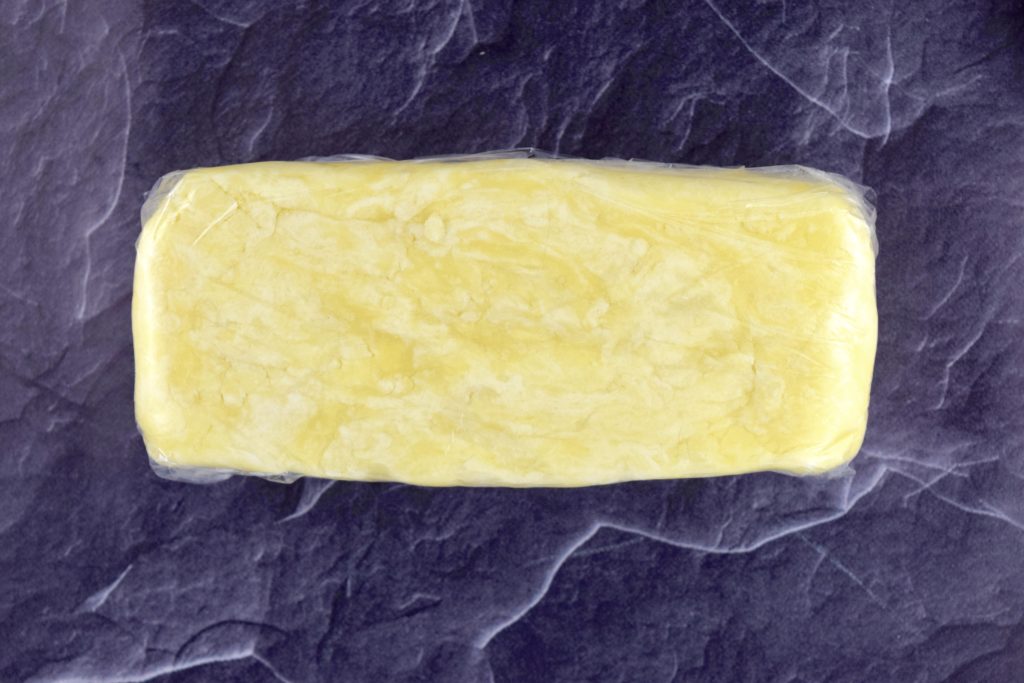
Pat the dough into a rectangular log of even thickness, and wrap it up tightly in the plastic. Refrigerate the dough for at least 30 minutes to give the dry ingredients a chance to hydrate thoroughly. (P.S. See that marble/swirled effect? Butter, baby.)
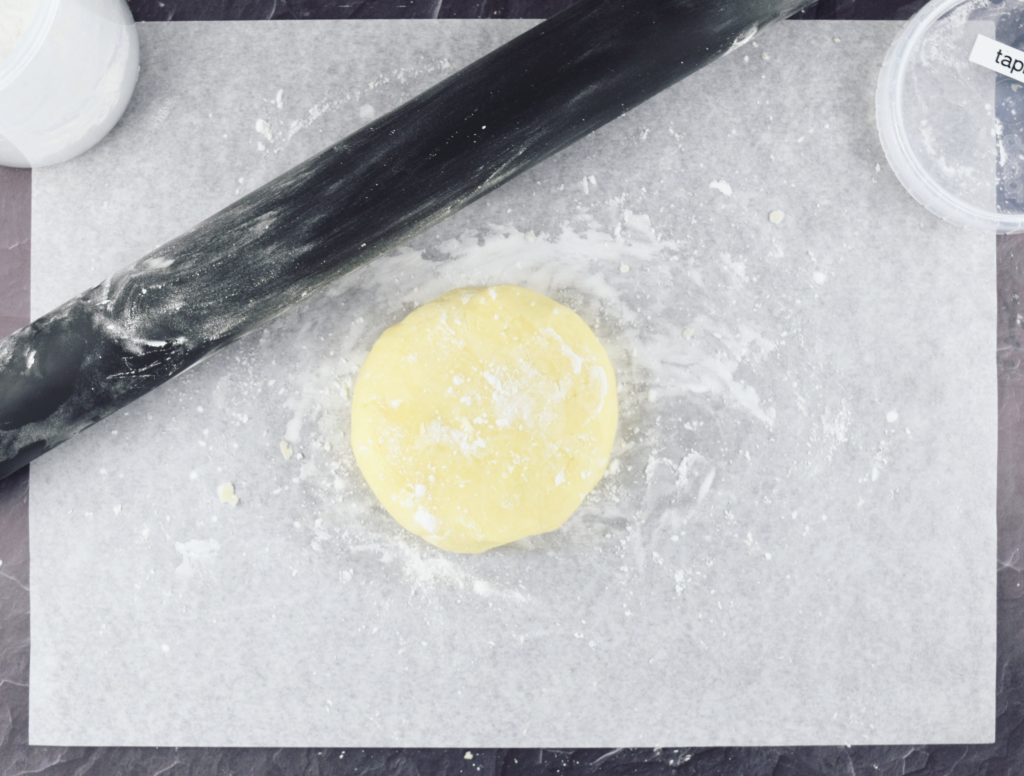
When you’re ready to roll out the dough, lay a sheet of parchment on your work surface and let it sit at room temperature for a couple of minutes so it’s not ice cold. Now comes the fun part. Sprinkle the surface of the dough with a bit of tapioca and rub some onto your rolling pin while you’re at it.
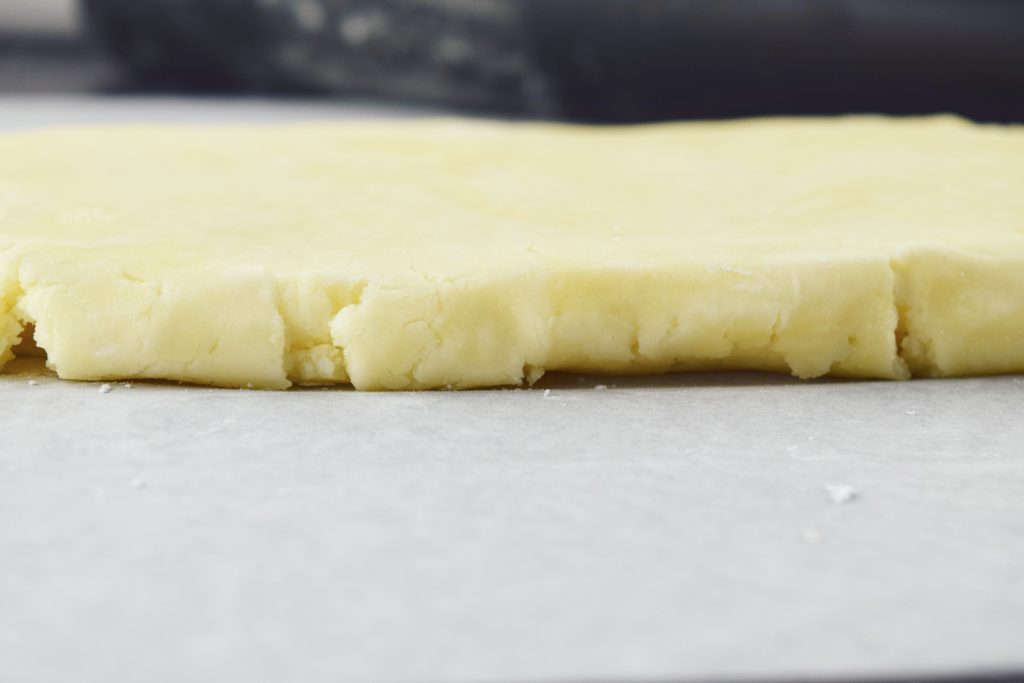
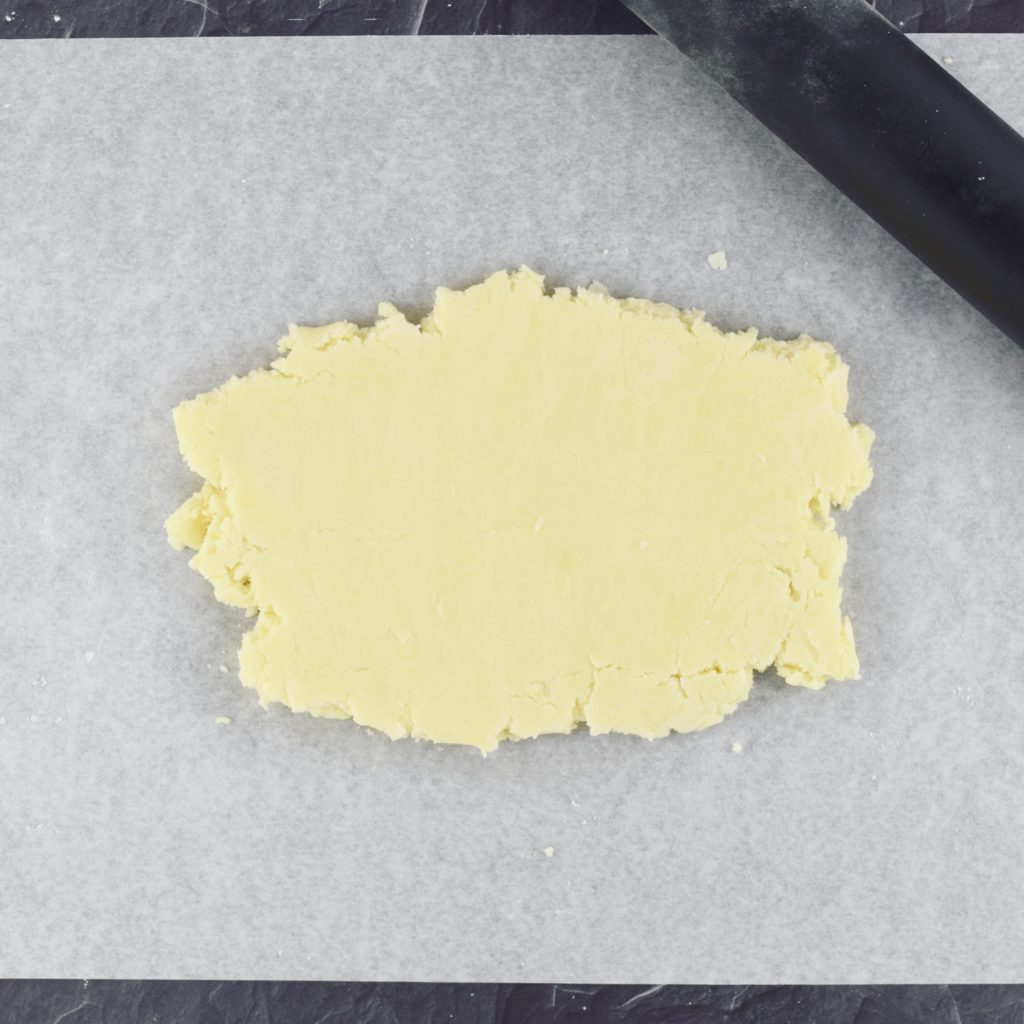
Roll the dough out, maintaining an approximate rectangular shape by working from the center out to each side, until it’s a uniform 1-inch thick. Now visually divide the rectangle into thirds (you can even use your fingertip or a knife to make small indentations as guides if you’d like).
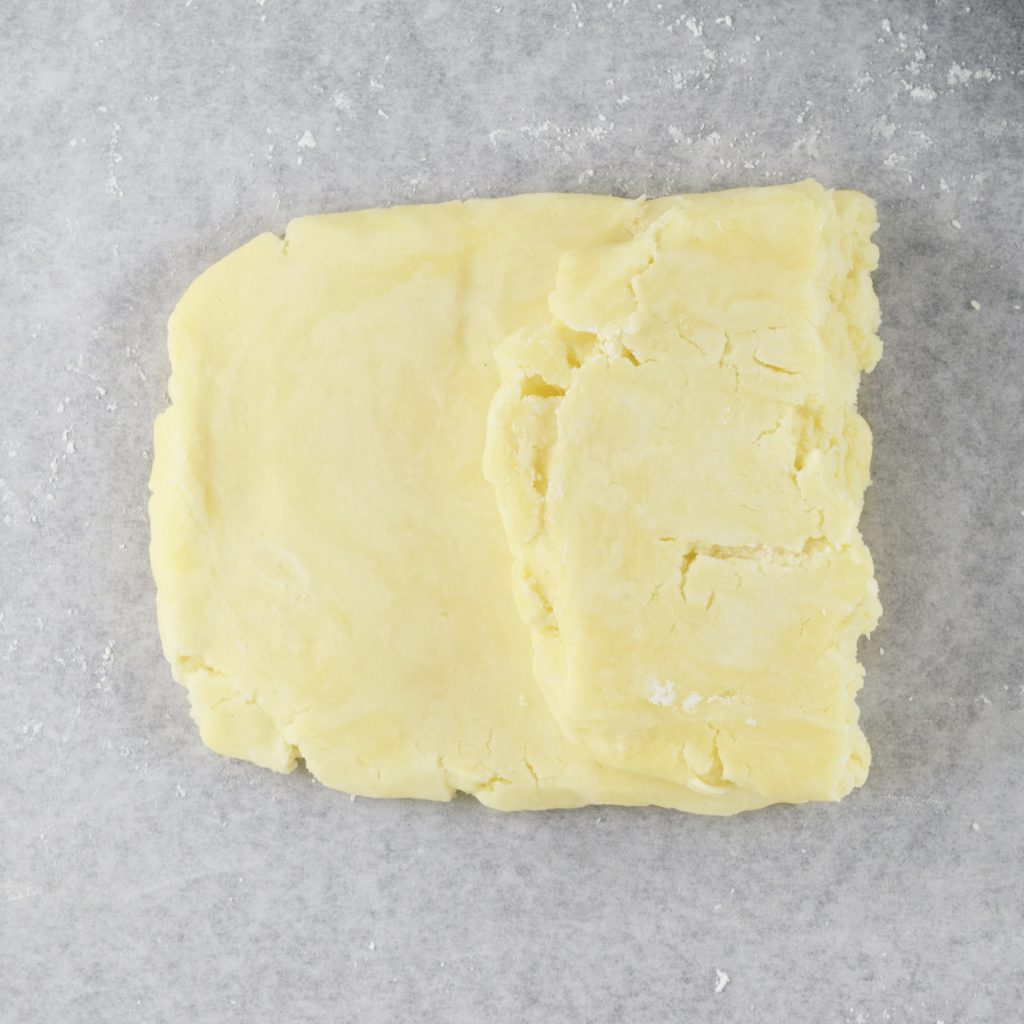
Fold the right third of the dough inward onto the center.
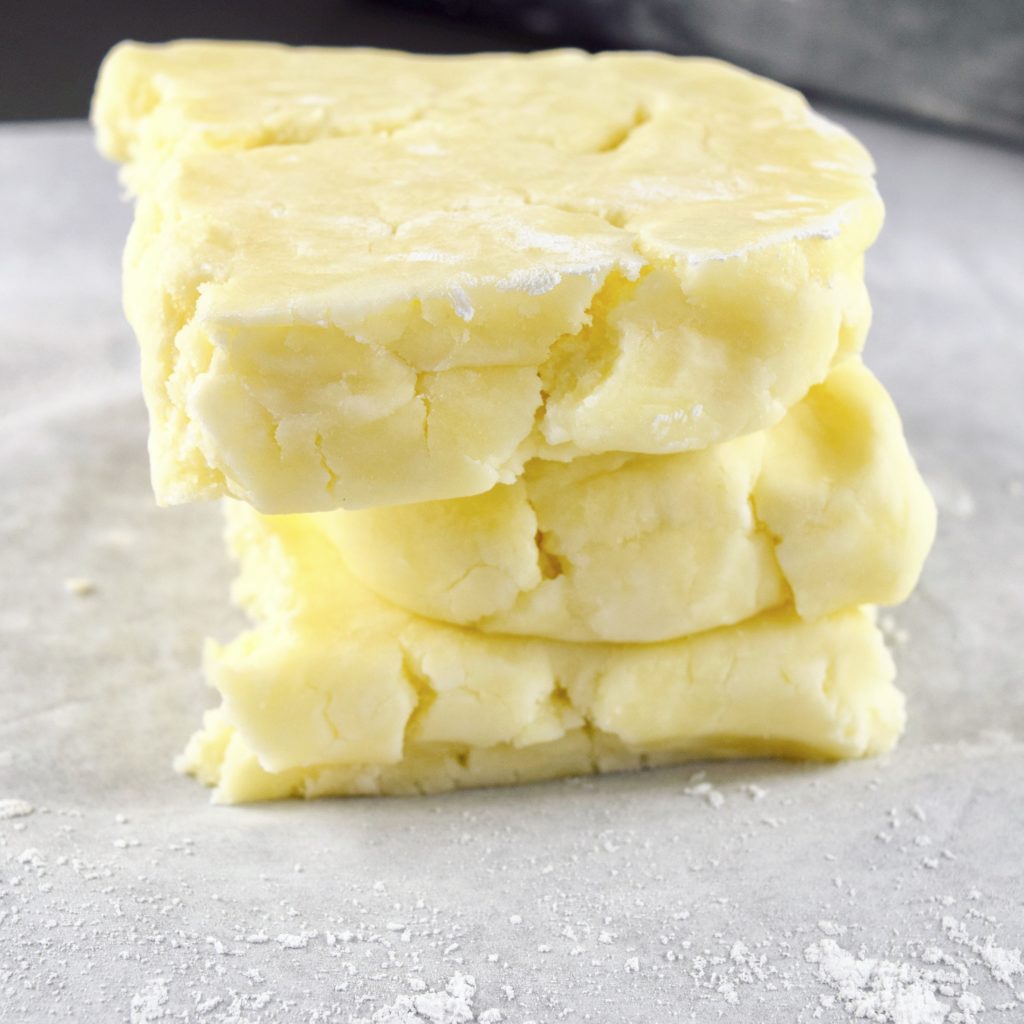
Now fold the left third of the dough over the center so you’ve built up a 3-layer square-ish stack of dough.
See?
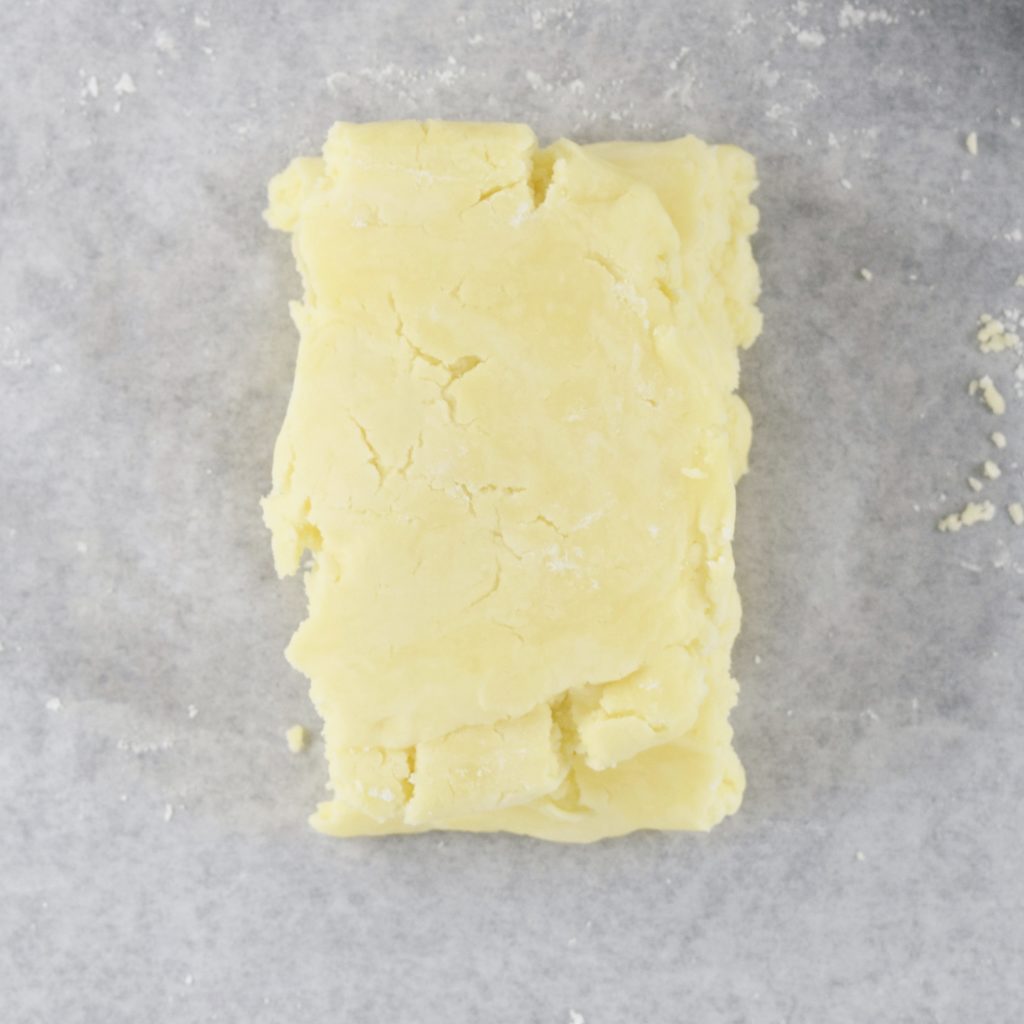
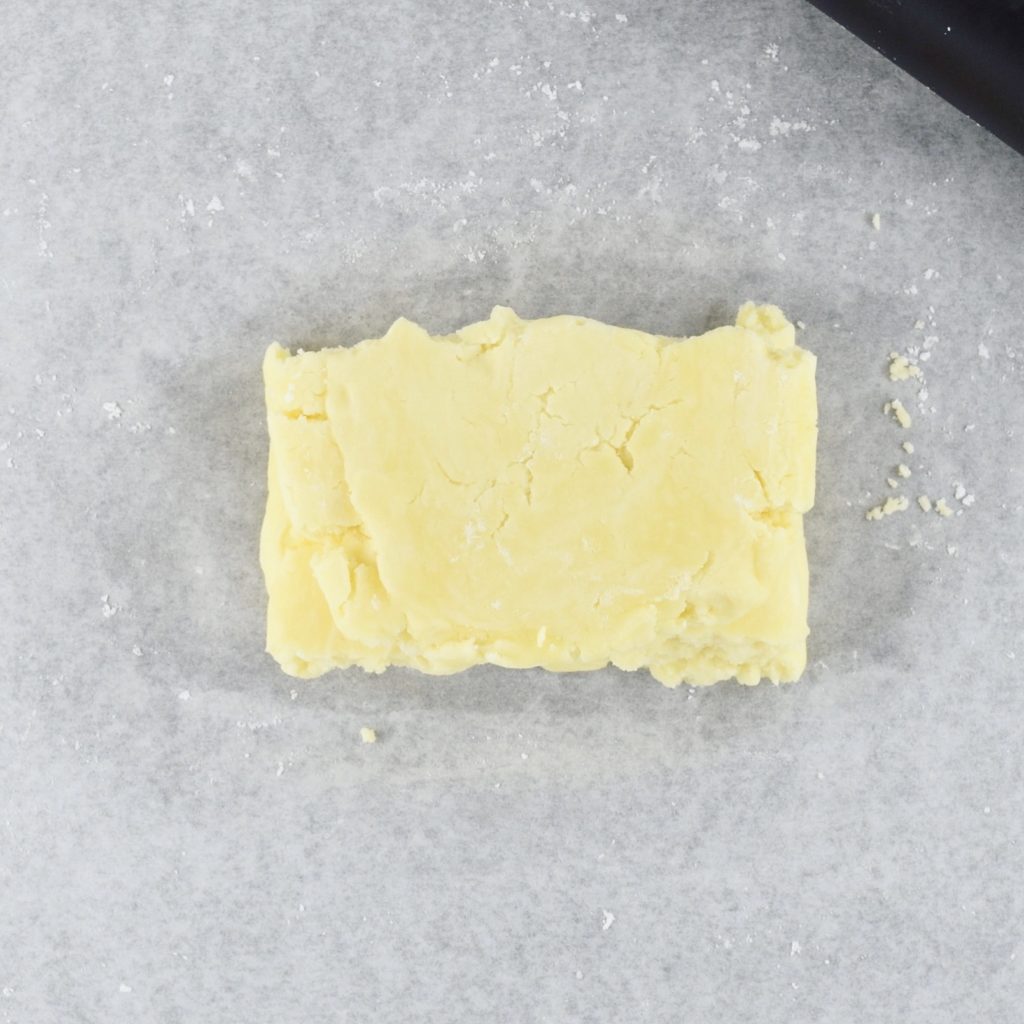 Rotate the stack 90 degrees (a quarter-turn) to the right. Dust the dough and your pin with tapioca again, and start from the center to roll the dough back out into a 1-inch thick rectangle.
Here it is after that last roll-out. Repeat the entire process of folding in the sides, give the dough another quarter-turn, and roll it out into a rectangle again. Follow the steps a third time so you’ve completed three turns.
Roll the dough out a final time, do the folds again, and this time use your hands to pat the dough into a disc. Dusting the dough and your pin as needed, roll the dough out into a circle that’s about ⅛ inch thick.
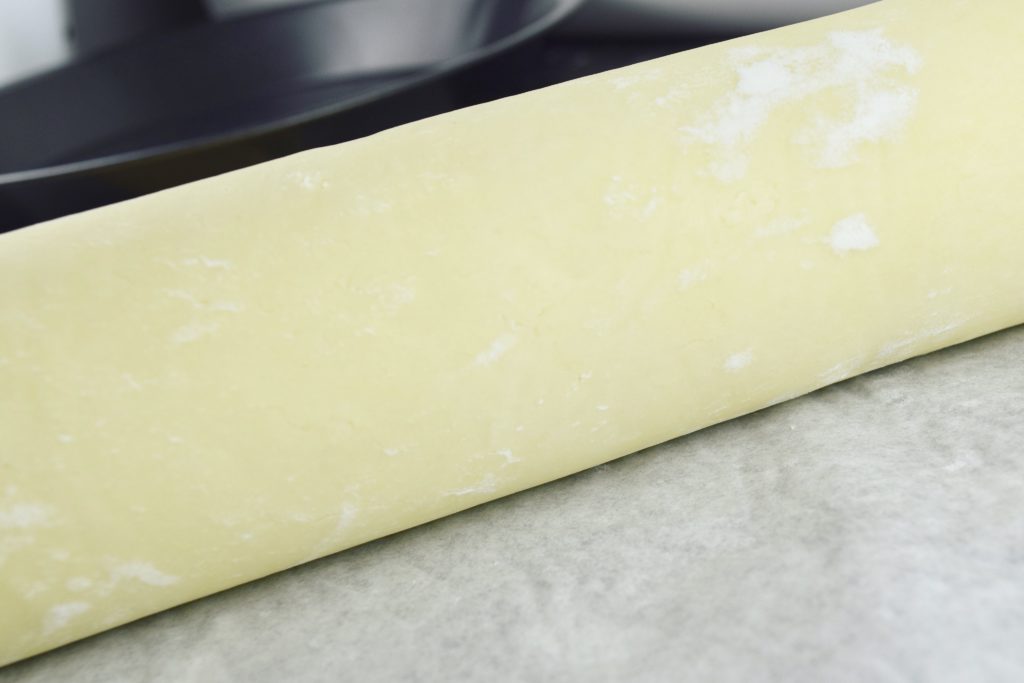
Fold/wrap the dough gently over the rolling pin to make it easier to transfer to your pie pan. Alternatively, you can rest the pan face down onto the dough, slide one hand underneath the parchment, and hold the pan in place with the other hand as you flip everything over. Then peel off the parchment and tuck the dough into the pan.
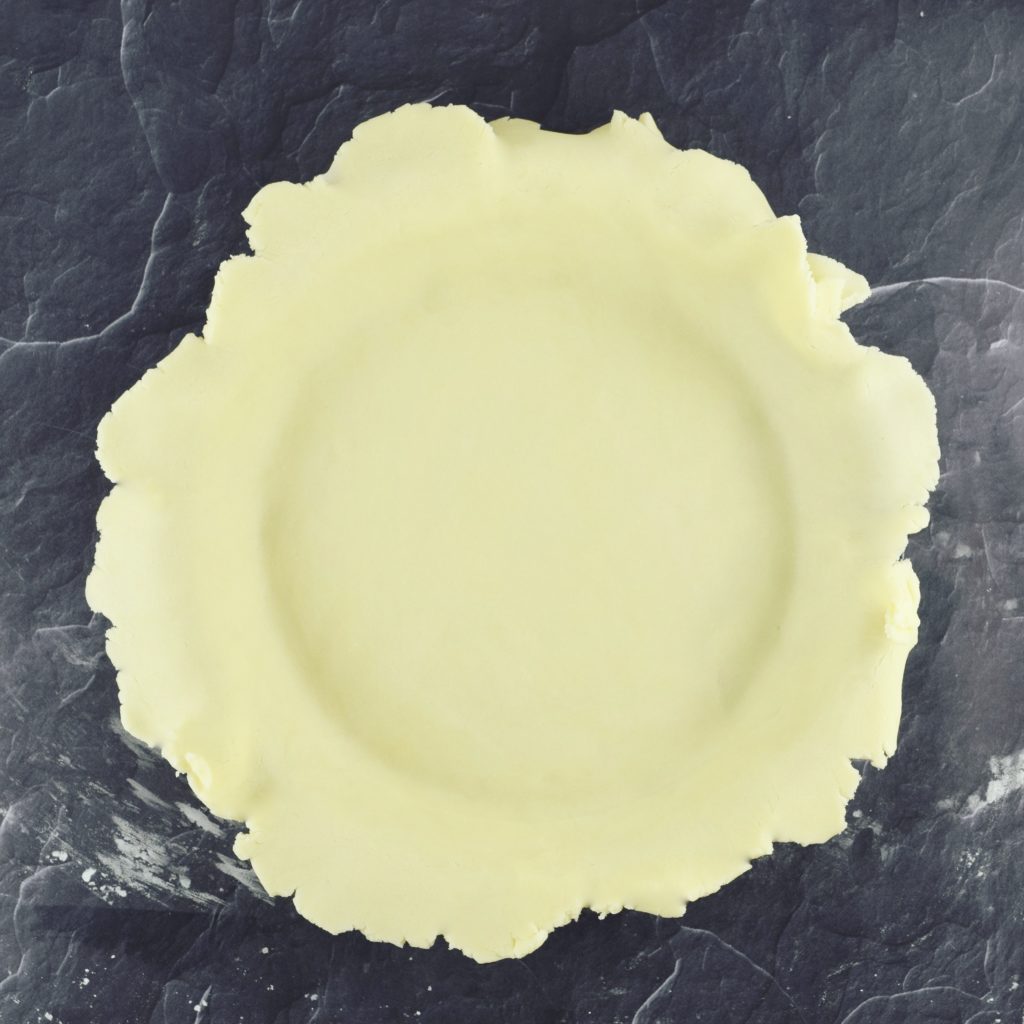
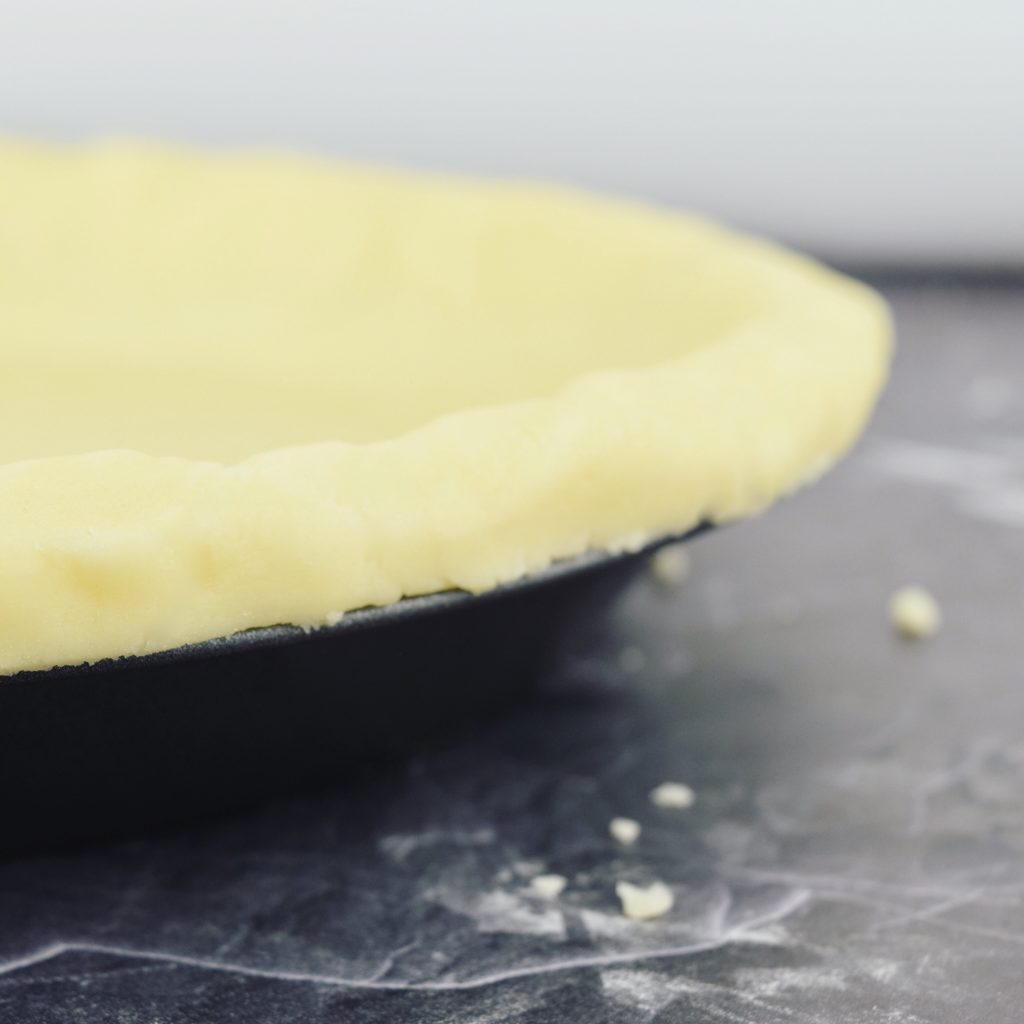
Center the dough over the pan and drape it loosely into the bottom, being sure to leave enough slack so it tucks all the way into the crease around the base of the pan, then smooth it up and over the edge.
Tuck in the excess dough underneath itself all the way around the perimeter so it rests on the rim of the pan, and smooth out any major lumps or tears.
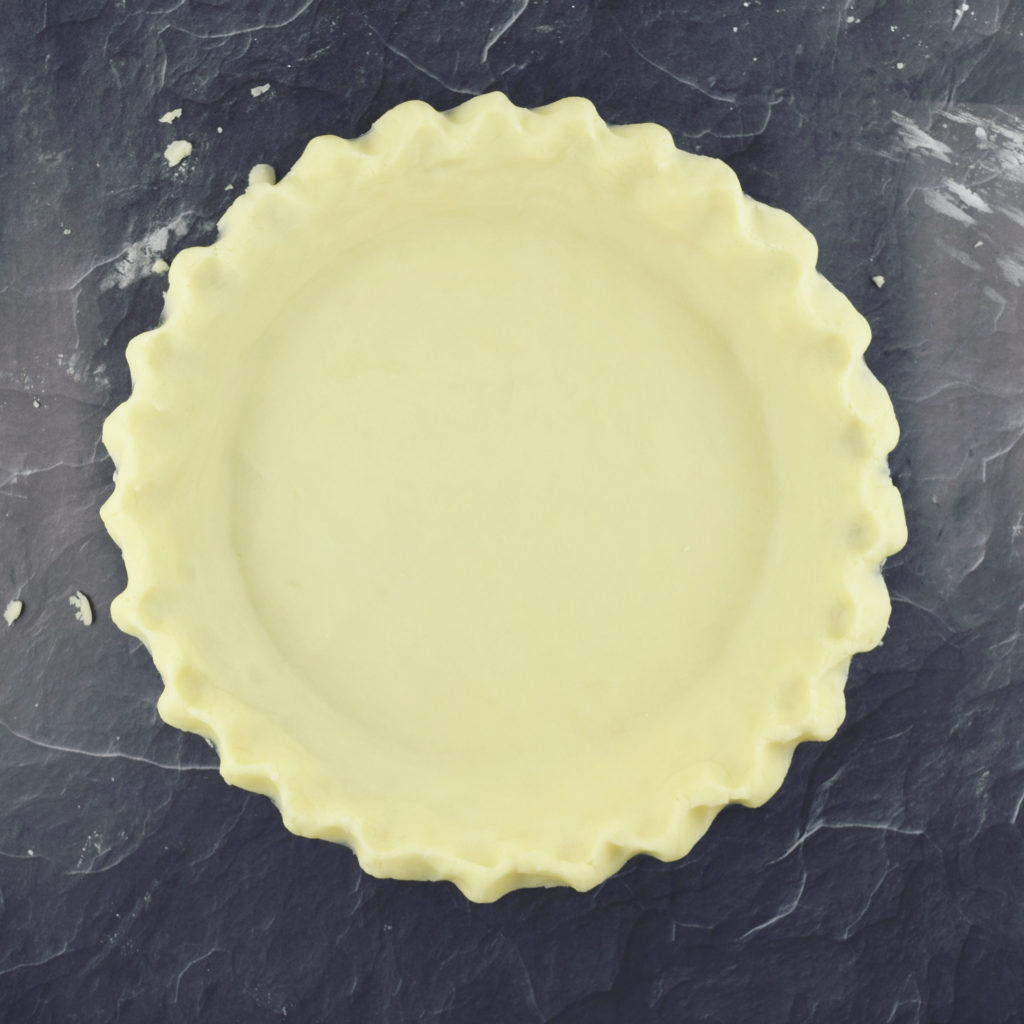
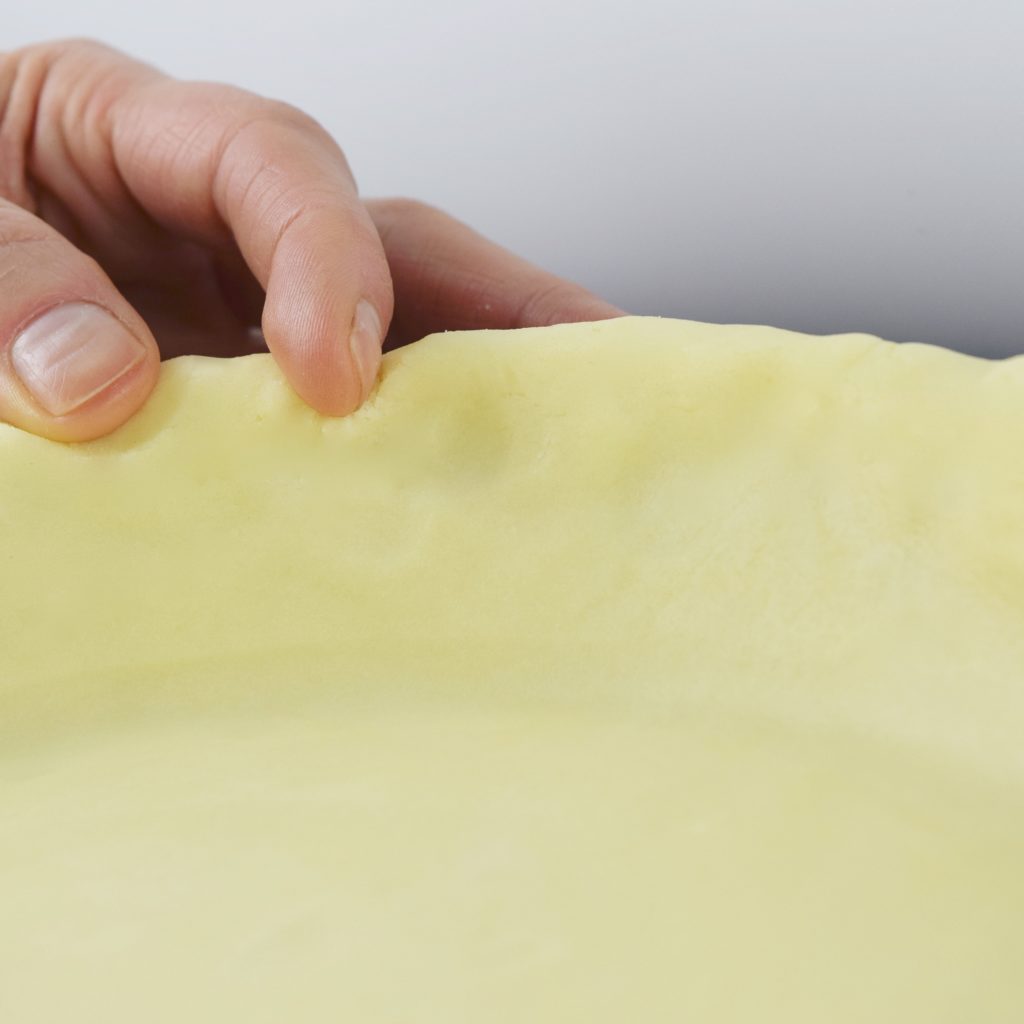
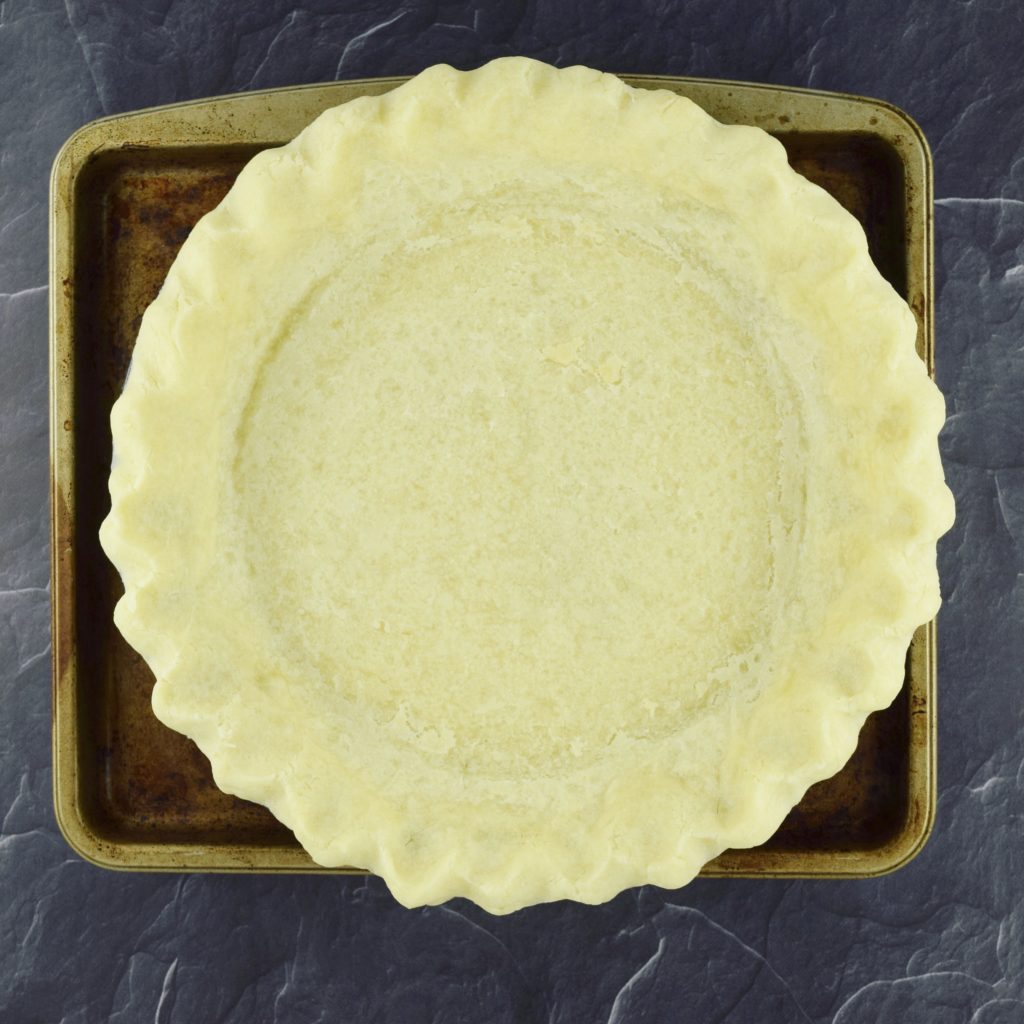
Now it’s time to crimp. Pinch the dough gently between the thumb and index finger of one hand – see in the photo how I’m doing it from the outside of the pan? Now come at it with your other hand from the inside, and use the bent knuckle of one of your fingers to press a divot right into the center of that dough while you’re pinching it. Repeat this at regular intervals around the entire perimeter. If you don’t want to bother with crimping, as an easy alternative you can use the tines of a fork to press a simple pattern all the way around the edge of the crust. Even easier, use a fluted tart pan instead, trim off all the excess, and re-roll the scraps to use as decorative cutouts.
When you’re finished crimping, carefully cover the crust with a sheet of plastic and chill for 30-45 minutes until completely firm. (I hate to use more plastic for this step, but the dough tends to dry out if you refrigerate it unprotected.) Preheat the oven while the crust is chilling.
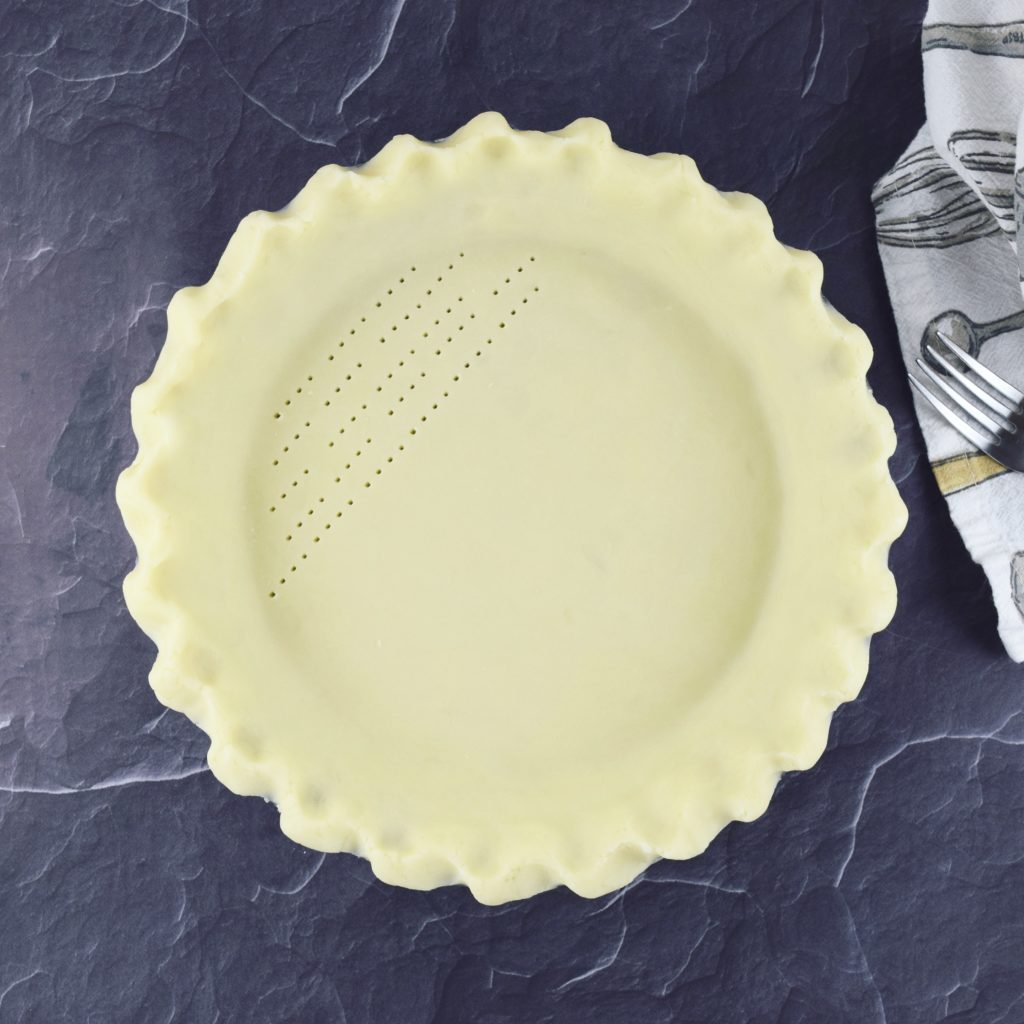
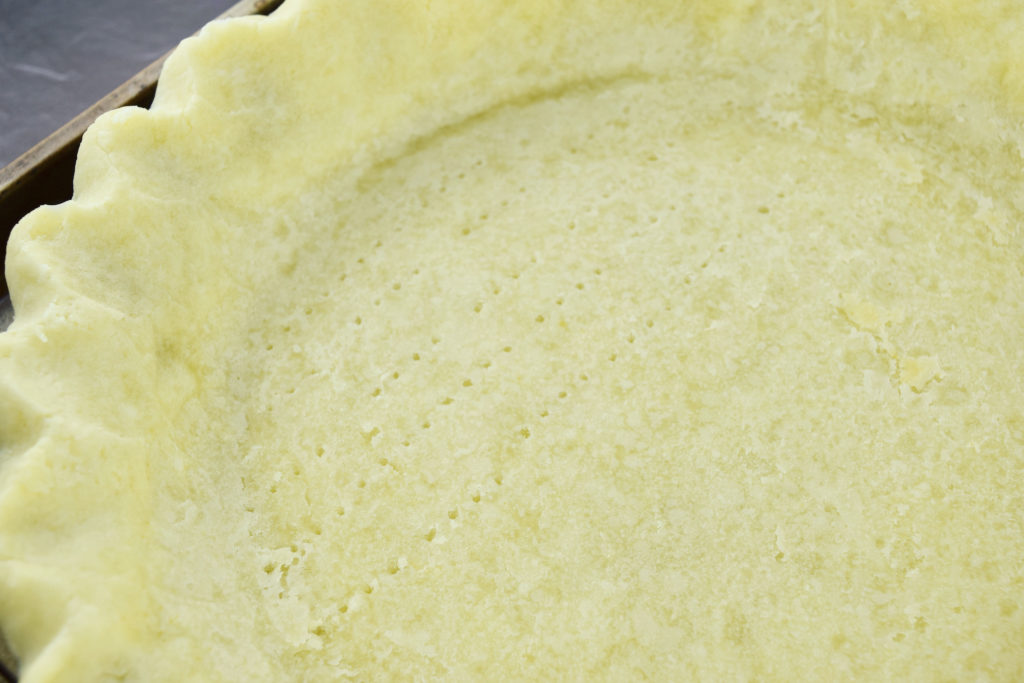
When you’re ready to bake the crust you’ll need to take precautions to make sure it doesn’t puff up too much, otherwise it may buckle or crack. I personally like to use weights to hold the crust in place for the first 20 minutes, because I find that it also prevents slumping at the sides. If you don’t want to bother with weights, you can simply “dock” the crust by poking holes all over the bottom with the tines of a fork, which allows excess steam to escape during baking.
If you’re going with straight docking, prick the crust all over the bottom (not the sides!) and slide it into the oven. (In this case you’ll let it go for the full amount of time without pulling it to remove the weights, so obviously skip that part of the recipe.)
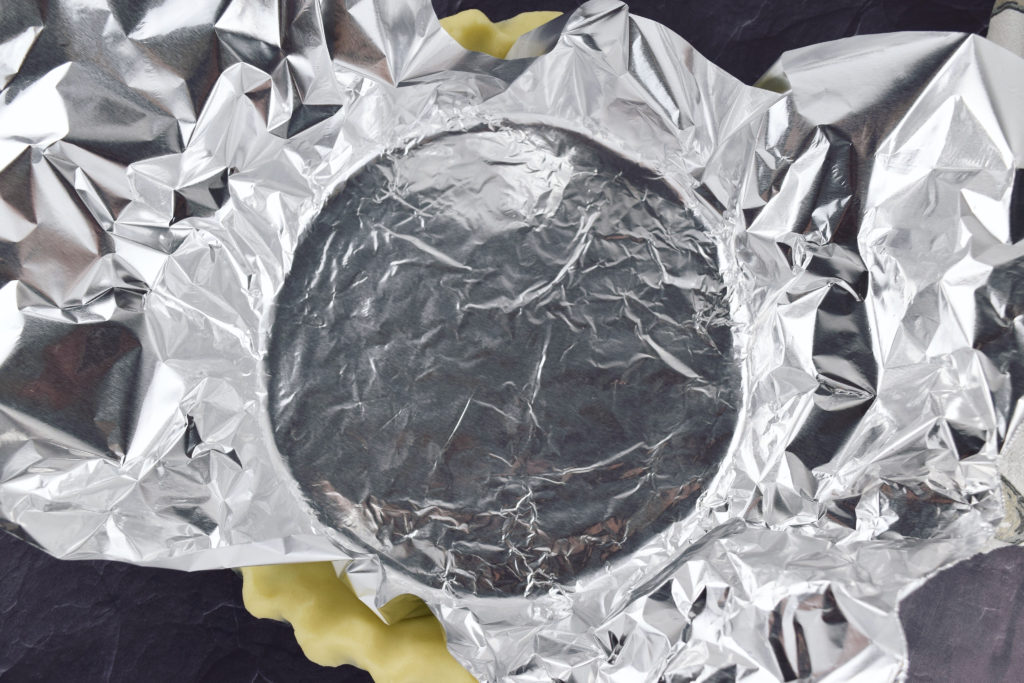
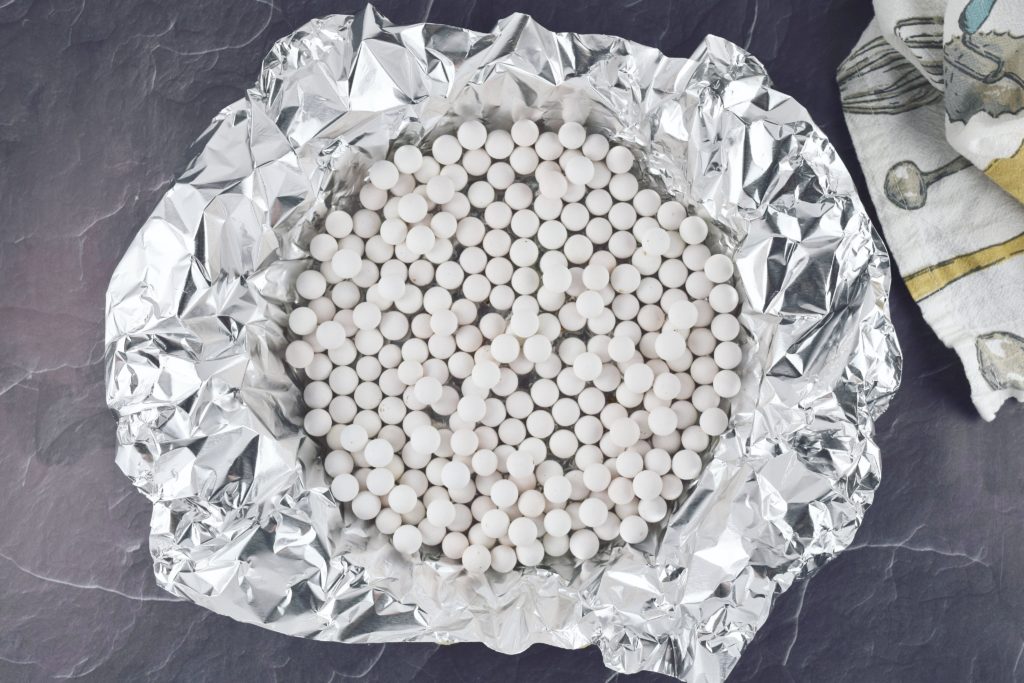
If you want to use my preferred two-step method of weighting and then docking, tear off a sheet of aluminum foil that’s a couple of inches larger than the pan, and grease the dull side with a bit of butter. Lay the foil in the pan greased side down, and gently smooth it out so it sits flush against the crust along the bottom and about ¾ of the way up the sides of the pan. Take care not to smash the crimping work you did!
Fill the foil with pie weights, dry beans/rice, granulated sugar, or clean pennies, and let the excess foil hang loosely over the edges of the crust. If you’re anti-foil you can use non-buttered parchment as a liner instead, though it doesn’t sit quite as smoothly and tends to soak up butter from the dough. It’s your call. Transfer the pan to an aluminum baking sheet for baking. Though not absolutely necessary, it makes your life much easier when you need to rotate the pan and remove it from the oven. I learned this after wrecking the edge of many crusts with an accidental bump from an oven mitt or folded kitchen towel. Bake the crust in the center of the oven for 20 minutes, rotating halfway through.
Remove the pan from the oven, carefully gather the edges of the foil together and lift the packet of weights out of the pan, pouring the contents into a bowl to cool. That’s my partially baked crust after removing the weights – you can already see the flaky texture. Notice how the bottom is nice and flat from the weights, but the color is still really pale? It’s not really cooked yet.
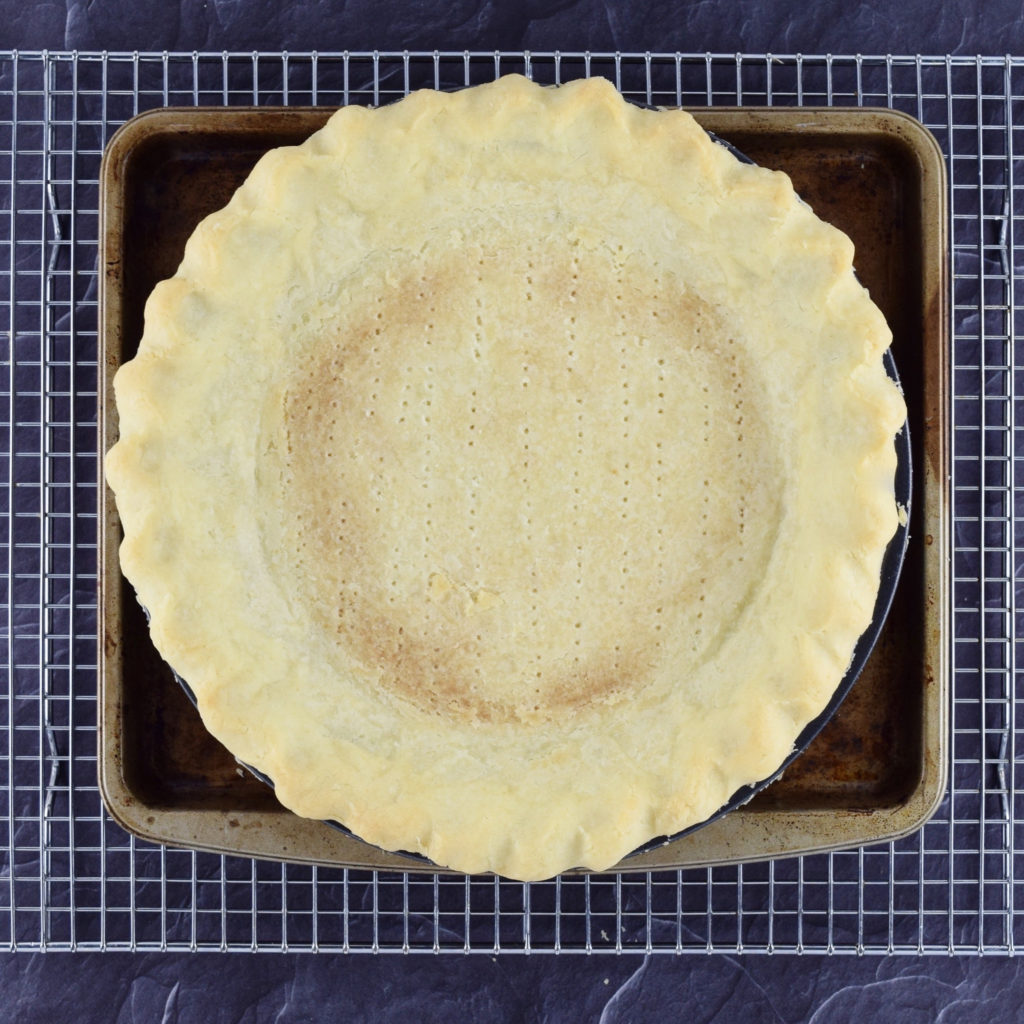
Now use the tines of a fork to gently dock/prick the crust all over the bottom, which prevents it from puffing up too much or cracking in any weak spots. Back into the oven it goes, and the amount of time will depend on the type of pie or tart you’re making. If you won’t be baking your filled pie at all, bake the crust for another 30 minutes until firm and evenly browned in the center and around the edge. If the pie will be baked again once filled, the crust only needs another 10-15 minutes right now, until just firm and barely golden in the center, and lightly golden around the edge. Whichever level of doneness you choose, transfer the pan to a rack to cool the crust completely before filling.
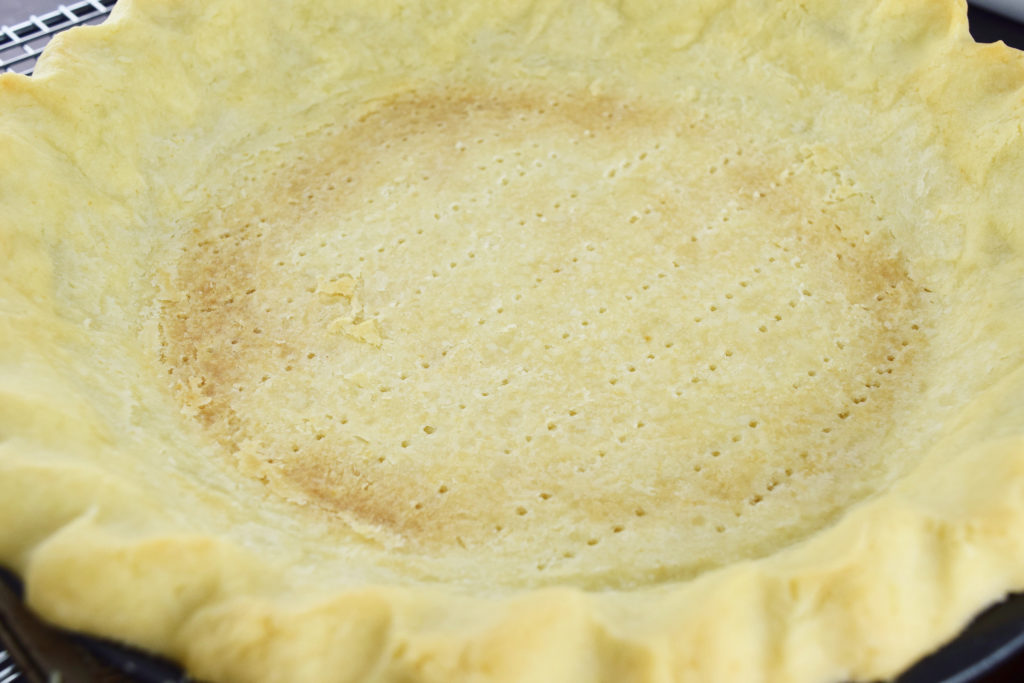
Once I removed the weights and docked it, the additional baking time on this crust was 15 minutes. The edge is nicely golden, and the center is firm and beginning to brown. It’s perfect for a pie that’s going to be baked a bit more once filled, and since this is destined to become a Mile-High Meyer Lemon Meringue Pie that’s exactly what will happen. (You may have noticed that my beautifully crimped edge spread out a bit and lost some of its defined shape. That’s my fault because I didn’t let the dough chill enough before baking. There really is a purpose to every step!)
Beautiful, Isn’t it? You can tell how airy and flaky it is, and it only gets better when it browns and crisps up even more.
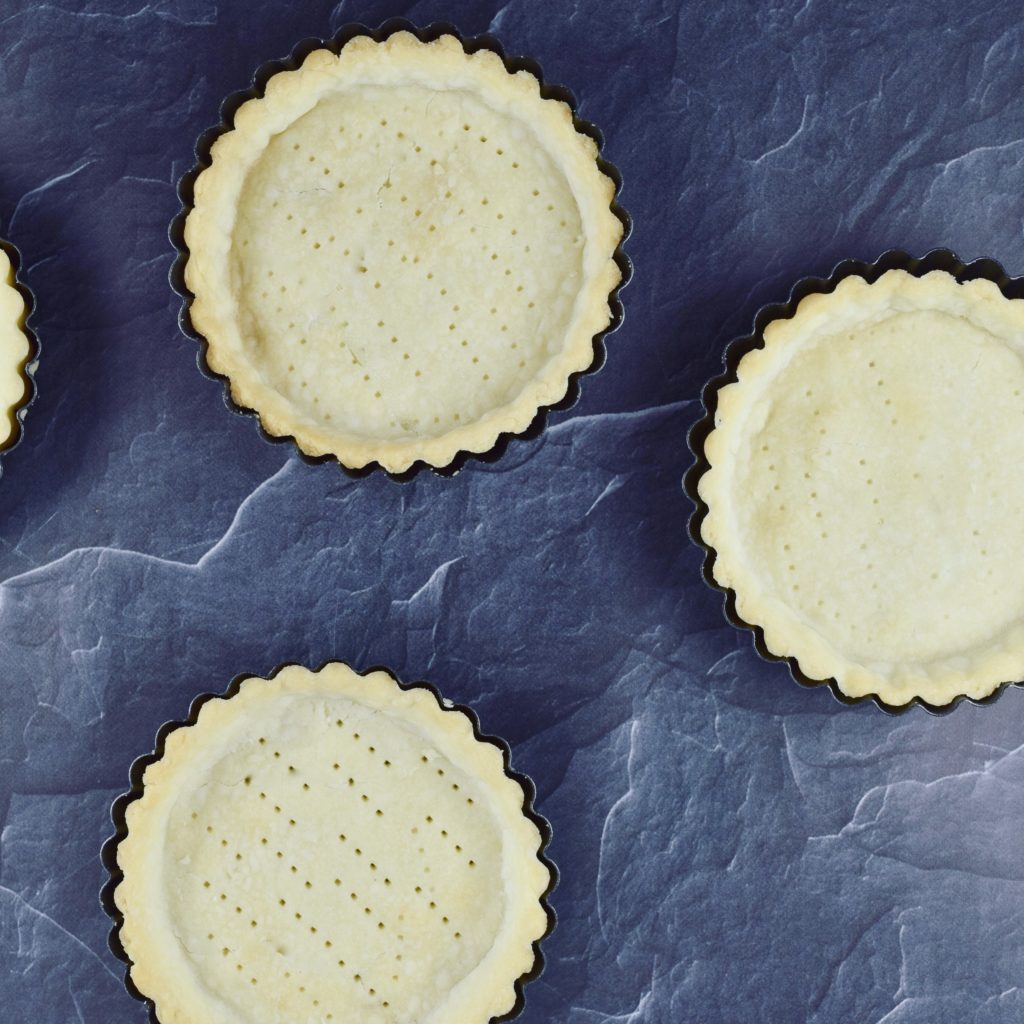
I had some extra dough in the fridge so I baked up a bunch of miniature crusts to use as savory tartlets for dinner last night. How cute are they? Like the large version, these were par-baked because they went back into the oven once filled. (If you want to see what I did with them, check out my Instagram post here.)
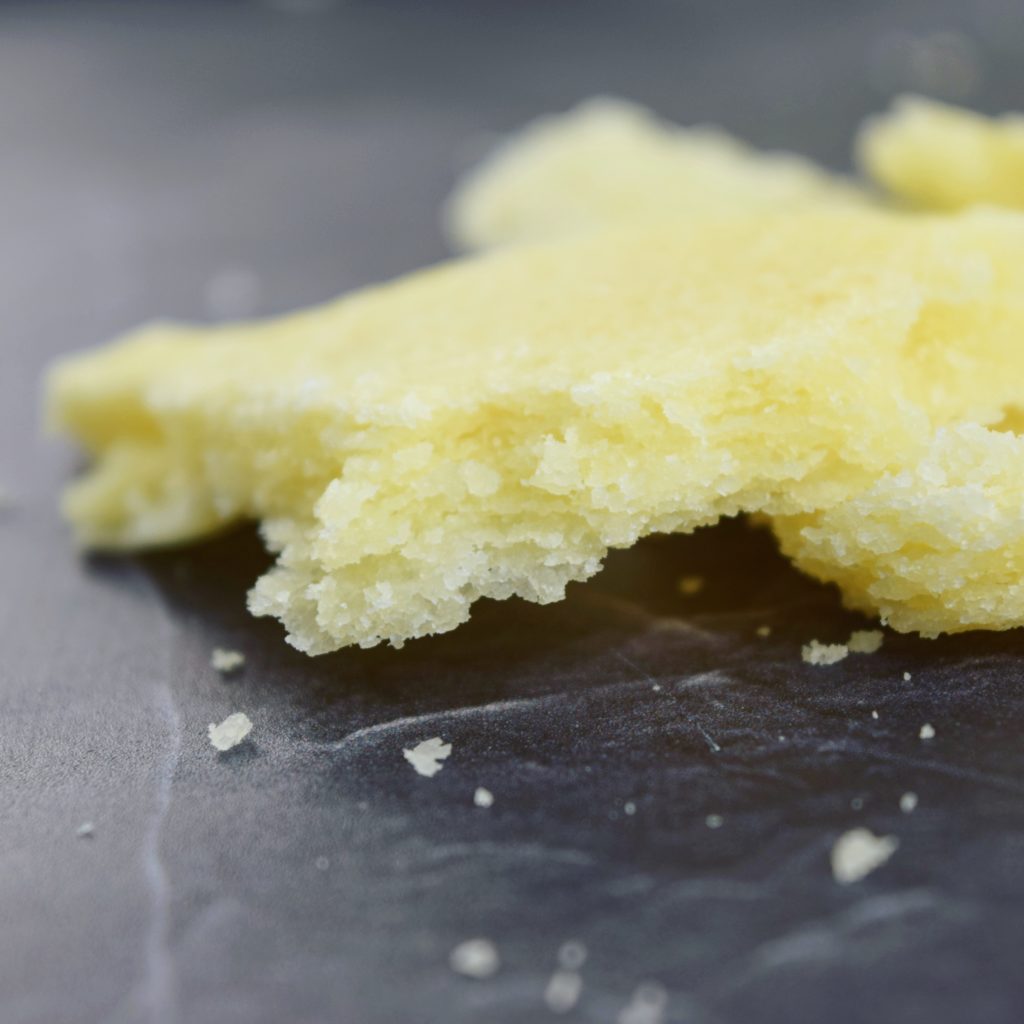
These are pieces from another crust that I par-baked through the first step. I got as far as removing the weights and docking it, and I was headed back to the oven with it when one of my cats got spooked by something and bolted between my legs, so of course I dropped the sheet pan. Miraculously it landed right side up and no one got burned, but the crust cracked into pieces in the pan. Still, can you believe those gorgeous layers? The perfect texture? It’s pale because it didn’t get a second bake, but I wanted to show you how the interior looked. You know you want to bake a pie after seeing that, so get on it!
Note: I promise this recipe doesn't require 2 hours of active prep time! The dough needs to chill on two separate occasions and those periods are included in the prep time, so much of it is actually waiting.
- 89 grams (7 Tbsp) high-quality* unsalted butter
- 70 grams (½ cup) superfine** brown rice flour
- 70 grams (½ cup) sweet white rice flour (aka Mochiko)
- 47 grams (scant ⅓ cup) potato starch
- 23 grams (3 Tbsp) tapioca starch, plus more for dusting
- 12 grams (1 Tbsp) superfine sugar
- 11 grams (1 ½ tsp) xanthan gum
- ¼ tsp baking soda
- ½ tsp kosher salt
- 80ml (⅓ cup) cold buttermilk
- 30ml (2 Tbsp) cold water, only if needed
- Small piece of butter (about ½ teaspoon) for greasing foil
- Dice the butter into ¼-inch cubes, add them to a small bowl, and refrigerate until needed.
- Sift flour, starches, xanthan gum, baking soda and salt into a large bowl and whisk to combine.
- Add the butter cubes to the dry ingredients and toss to coat. Using your hands, rub each butter piece between your fingertips to flatten into a thin sheet, working your way through all the chunks in the bowl. Give everything a quick toss, and wash and dry your hands.
- Drizzle the buttermilk over the bowl, and use a fork to fold/mix it all together until clumps of shaggy dough start to form. If it’s very dry and you see a lot of unmixed flour settled at the bottom of the bowl, drizzle in the cold water a teaspoon at a time until it comes together.
- Use your hands to work/knead the dough briefly into a relatively cohesive mass; it’s okay if there are a few errant bits. Tip the dough from the bowl onto a sheet of plastic wrap. Shape and pat it with your hands into an even rectangular log shaped like a stick of butter, and wrap tightly in plastic. Refrigerate for at least 30 minutes before proceeding.
- Lay a sheet of parchment paper on your work surface and dust lightly with tapioca. Unwrap refrigerated dough, place on parchment, and let sit at room temperature for a couple of minutes before rolling. Sprinkle a light dusting of tapioca on the surface of the dough, and use a rolling pin to roll it out to a rectangle about 1 inch thick.
- Fold the right third of the dough into the middle, then fold the left third over it. Lift the dough off the parchment and rotate it 90 degrees (¼ turn) to the right, roll it out again, and repeat the folds. Do this two more times, for a total of three turns, dusting the dough, your rolling pin, and the parchment with tapioca as necessary to prevent sticking.
- Once you’ve completed three turns and roll-outs, fold the dough a final time and pat into a disc, then roll out into a rough circle that’s at least 1 inch larger than the widest edge of your pie pan.
- Gently roll the dough over your rolling pin to make it easier to transfer to the pie pan, and carefully unroll and drape the dough loosely into the pan, being sure it sits all the way in the crease around the base of the pan. (If you’re having difficulty with the rolling pin transfer, alternatively you can rest the pan face down onto the dough, slide one hand underneath the parchment, and hold the pan in place with the other hand as you flip everything over. Then peel off the parchment and tuck the dough into the pan).
- Smooth the dough up and over the sides of the pan, and tuck in the excess dough around the edge so it rests on the rim of the pan. To crimp the edge, come at the dough from the outside of the an and pinch a section gently between the thumb and index finger of one hand. Now coming at the pinched section from the inside of the pan, use the bent knuckle of your other index finger to press a divot into the center of the pinched dough. Repeat at regular intervals around the entire perimeter. Cover with plastic and chill for 30-45 minutes until firm.
- Preheat oven to 350°F while crust is chilling.
- When ready to bake, tear off a sheet of aluminum foil that’s a couple of inches larger than the pan, and grease the dull side with a bit of butter. Lay the foil in the pan greased side down, and gently smooth it out so it sits flush against the crust along the bottom and about ¾ of the way up the sides of the pan. Take care not to smash the crimping work you did! Fill the foil with pie weights, dry beans or rice, granulated sugar, or clean pennies, and let the excess foil hang loosely over the edges of the crust. (If you'd prefer to skip the weighting process, dock the bottom of the crust all over with the tines of a fork, and bake for the desired complete time, rotating once halfway through.)
- Transfer the pan to an aluminum baking sheet and bake in the center of the oven for 20 minutes, rotating halfway through.
- Remove the pan from the oven, carefully gather the edges of the foil together and lift the weights out of the pan; transfer the contents to a bowl to cool.
- Use the tines of a fork to dock the crust, gently pricking the bottom all over. Put the crust back in the oven and bake for another 15-20 minutes for a par-baked crust, or about 30 minutes for a fully baked crust. If par-baking, you want a center that’s still pale or barely gold and just firm to the touch, edges that are lightly golden. If baking completely, the center should be lightly browned and the edges nicely browned.
- Cool completely before filling.
**Superfine flour is essential for the proper texture here. Standard rice flour is a coarser grind, and tends to be gritty. My go-to brand for superfine flour is Bob's Red Mill.


[…] up is the crust. Feel free to use a store-bought one, or make my Flaky Gluten Free Pie Crust. The key is to partially bake the unfilled crust. This ensures that it will be sturdy enough to […]