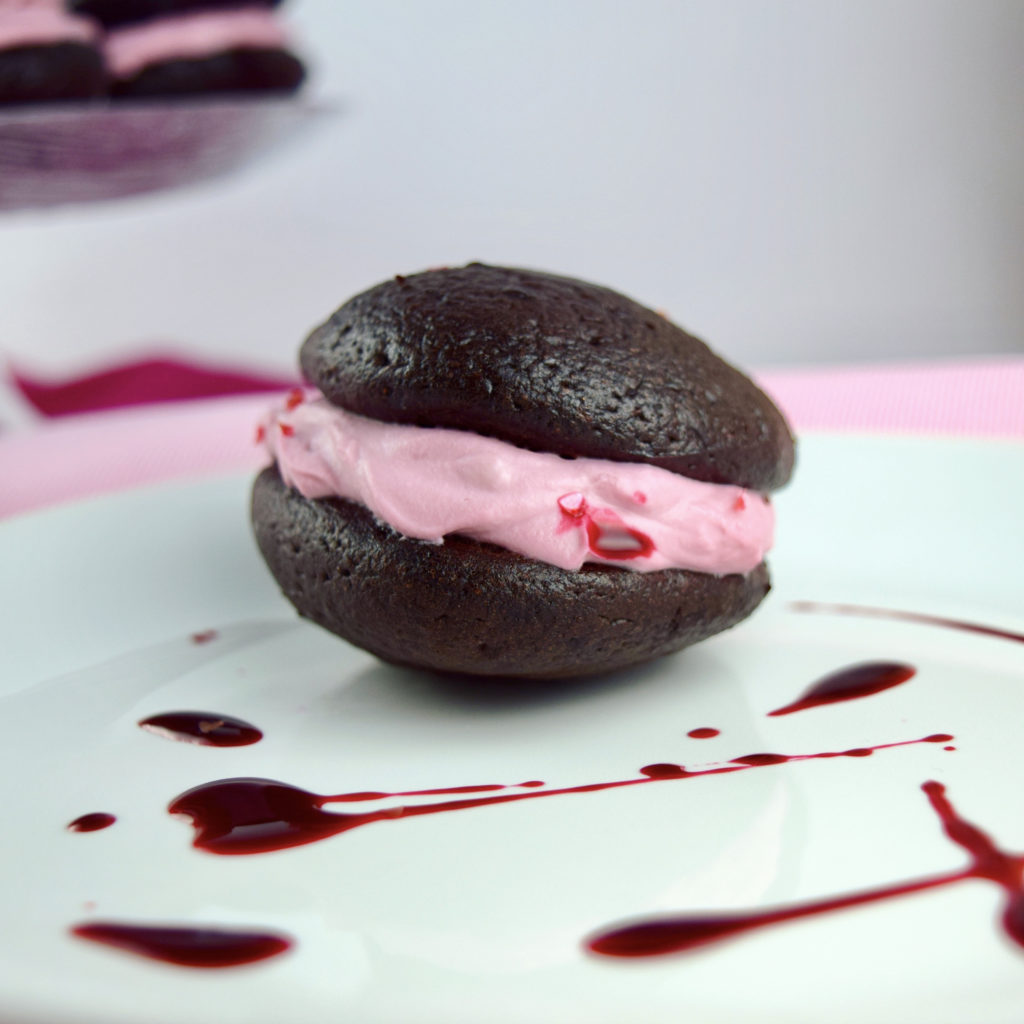
Valentine’s Day is almost here and I’m not much for all that girly hearts-and-flowers stuff, so I usually grumble about the abundance of pink and red everywhere. But this year I’ve decided to embrace it, and what better way to mark the occasion than with deep dark chocolate cake? Even better, these Dark Chocolate Hibiscus Whoopie Pies are made in individual servings so everyone can have their own, and the cakes are filled with a luscious whipped cream cheese confection that gets its lovely pink color and tart flavor from dried hibiscus flowers. No red dye #5 here! This dessert is so perfect for Valentine’s Day that it’s even got the word “whoopie” is in the name. (If you don’t understand the reference, Google Ella Fitzgerald.) Plus, flowers. And pink. All I need now is a sappy Hallmark card.
Despite their name, whoopie pies are actually handheld cake sandwiches with creamy filling. They originated somewhere in New England in the 1920’s, though their precise birthplace is a point of contention among the states of Massachusetts, Maine, New Hampshire and Pennsylvania, all of which lay claim to the invention of this treat. Regardless of where they originated, whoopie pies are delicious, fun to eat, and a lovely change of pace for dessert.
Even if you didn’t grow up eating whoopie pies there’s something comforting and nostalgic about them, and they appeal to kids and adults alike. When I worked as a pastry chef the first signature dessert I developed for the restaurant was this particular dark chocolate whoopie pie recipe, and despite initial skepticism from some of my coworkers they were a hit with diners AND staff. I often found myself in the kitchen in the morning wondering where the leftovers from the previous day’s batch had disappeared to.
I usually pair these cakes with a simple whipped mascarpone, sweetened cream cheese filling, or Italian meringue-based buttercream, but for Valentine’s Day I though it would be fun to make the filling pink. I don’t use artificial colors so I went with fragrant and colorful dried hibiscus flower, which has a tart, citrusy flavor that complements the tangy cream cheese beautifully. I’ve used powdered hibiscus petals in batters and frostings before, but this time around we’re steeping them and boiling the strained liquid with some superfine sugar until it’s reduced and thickened, and vivid ruby red in color. (Wow, I even managed to work a precious gem into this post – I’m on a roll here.)
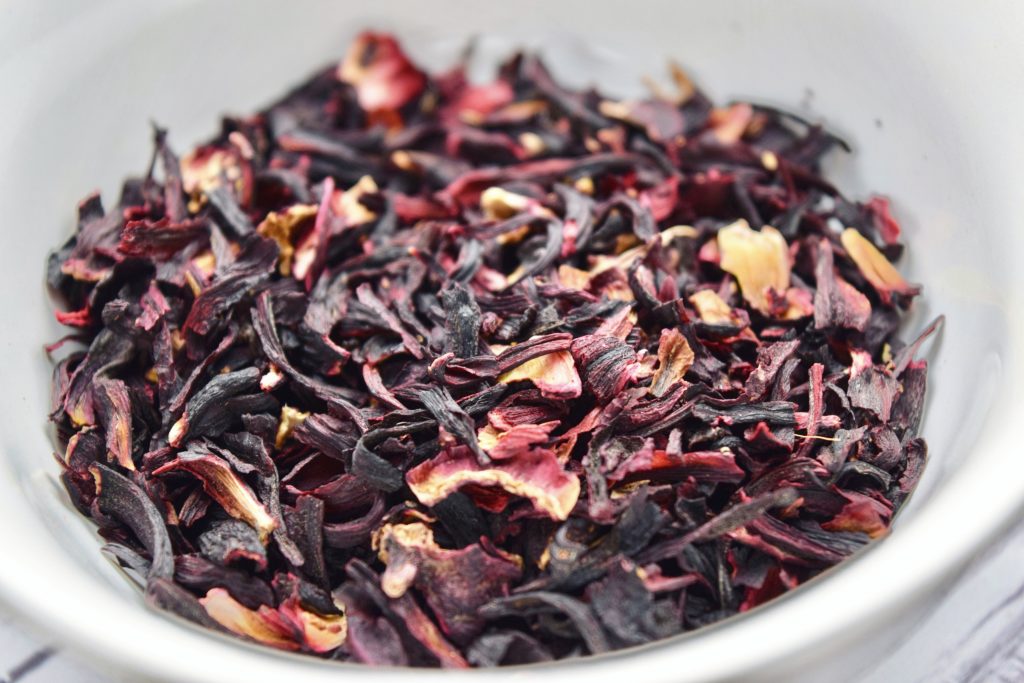
Here’s what the dried hibiscus petals look like. Lovely, aren’t they? And the transformation when you steep them is magical.
I make the syrup first so it has plenty of time to cool. Boil the water, pour it over the petals, and let them steep for about 10 minutes. I buy large bags of hibiscus petal online and they’re sold in some specialty stores, but you can substitute herbal hibiscus tea bags. Use one tea bag per tablespoon/4 grams of petals. Make sure you use pure herbal hibiscus tea and not black or green tea flavored with hibiscus.
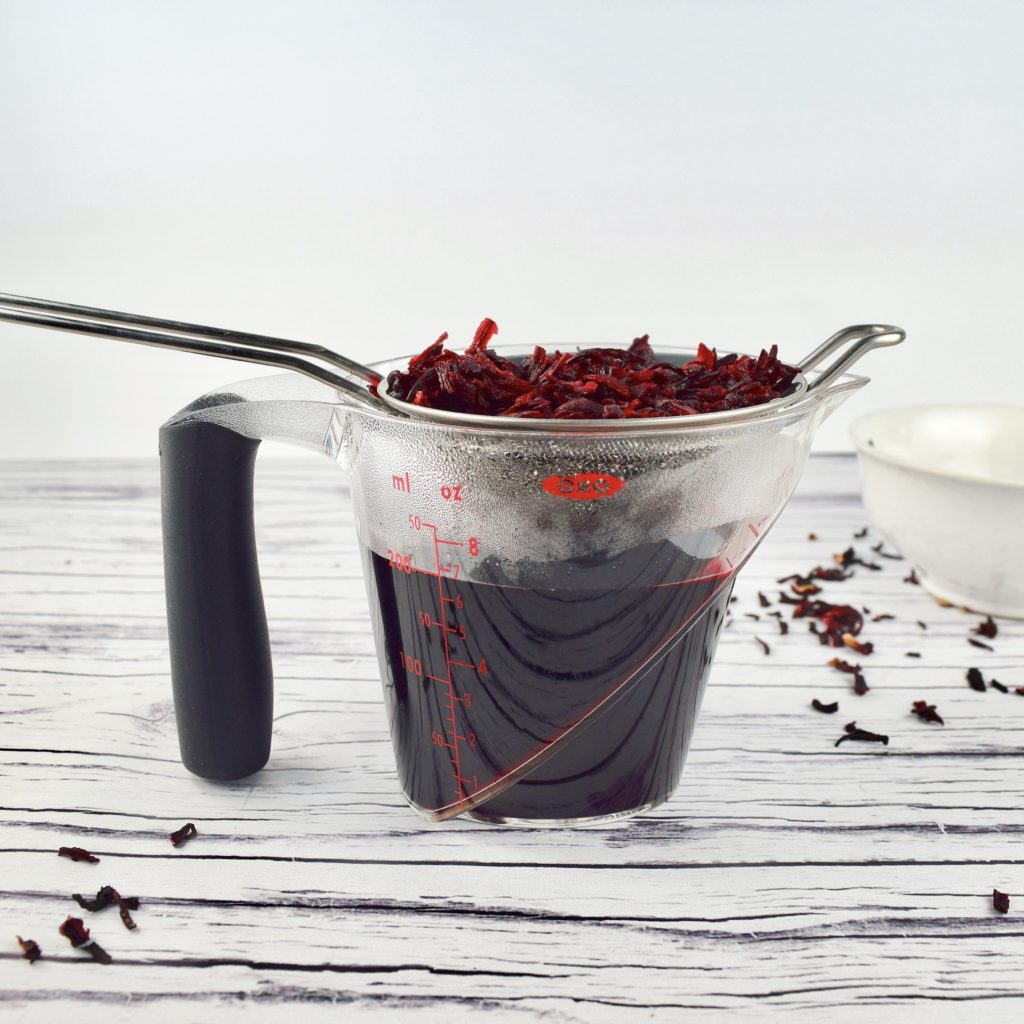
After steeping, strain out the solids. I set a small fine-mesh sieve over a measuring cup to do this, and press down on the petals with a rubber spatula or the back of a spoon to push out any liquid that’s trapped in the solids. You should have close 7 ounces of liquid after this . You won’t be able to reclaim the entire initial volume because the hydrated petals are holding it. Transfer the strained liquid to a small saucepan along with your superfine (aka caster) sugar. If you want to use regular sugar instead, I suggest giving it a quick whir in your spice grinder if you’ve got one, as the finer granules melt more easily and result in a smoother syrup. Stay close to the pot while it’s reducing, because sugar syrups have a tendency to scorch or boil over quickly. You want it at a hard simmer but not a rolling boil. You’ll reduce it down by about 75%, so you should have 60-75 ml (4 to 5 tablespoons) syrup when all is said and done. The consistency when hot is similar to maple syrup, so it’s still pretty runny. Once it cools it will thicken up a bit more.
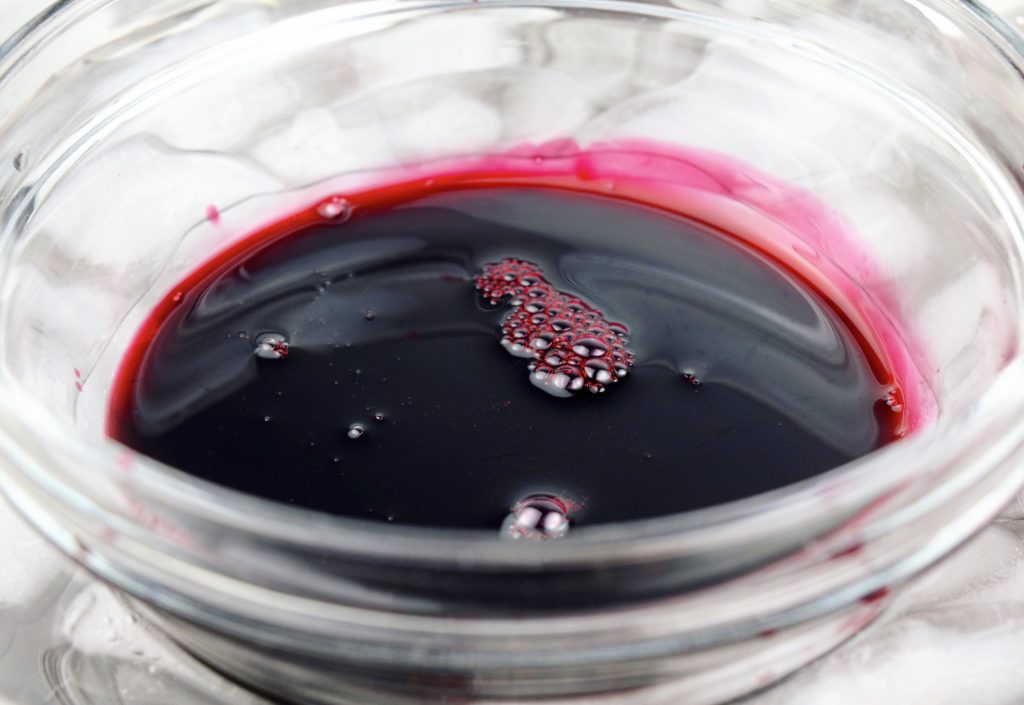
Pour the syrup into a bowl nestled in an ice bath to let it cool completely while you proceed with the cake batter. Make sure the ice bath bowl isn’t too much larger than the syrup bowl – you don’t want it to sink too much as the ice melts because you run the risk of water leaking into the syrup as the ice melts and the level drops.
The batter for the cakes comes together in no time, and since they’re divided into one- or two-ounce portions they bake quickly. They’re moist, dense enough to maintain their structure when eaten out of hand, and have a fudgy quality that’s downright irresistible. I’ve mentioned before that I don’t really have a sweet tooth so my desserts are never cloying, and these whoopie pies are no exception. The cake is dark and loaded with cocoa so it’s not super sweet – you can always add more confectioners sugar to the filling to sweeten it up, but I like to drizzle the hibiscus syrup over the cake and plate for serving, then dip each bite into a dab of syrup. (Yes I know, whoopie pies are traditionally a handheld treat, but this cake will stick to your fingers and hibiscus can stain, so I suggest eating it with a fork.)
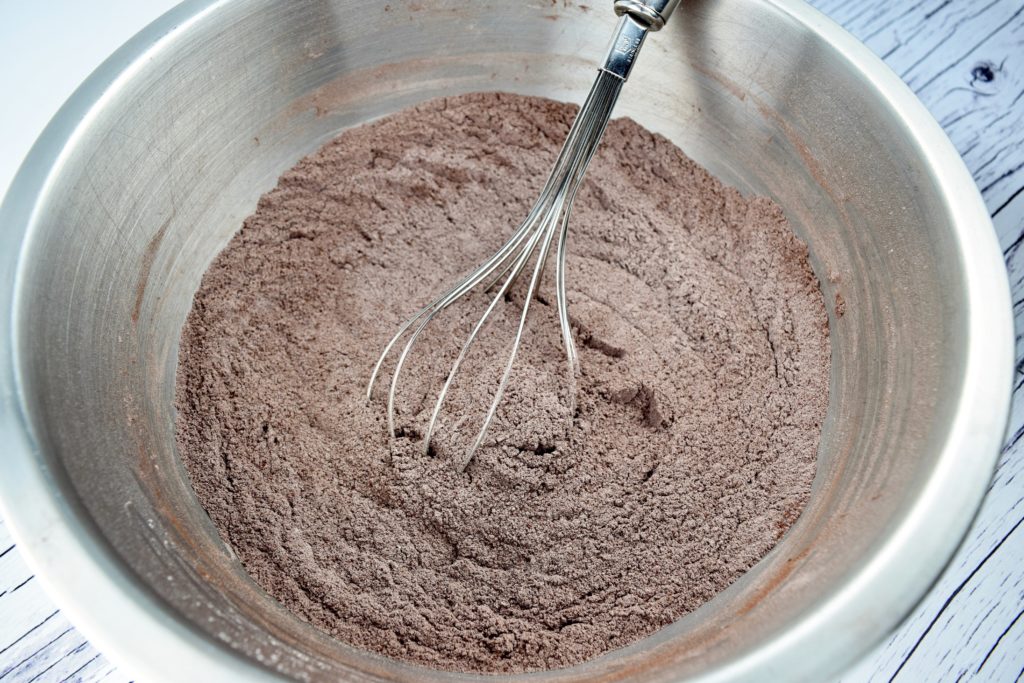
So, sift all your dry ingredients into a large, deep bowl – this is the bowl in which you’ll mix the batter, and you need enough space for the beating, plus high sides so you don’t end up with cocoa all over your kitchen and yourself. Trust me on this.
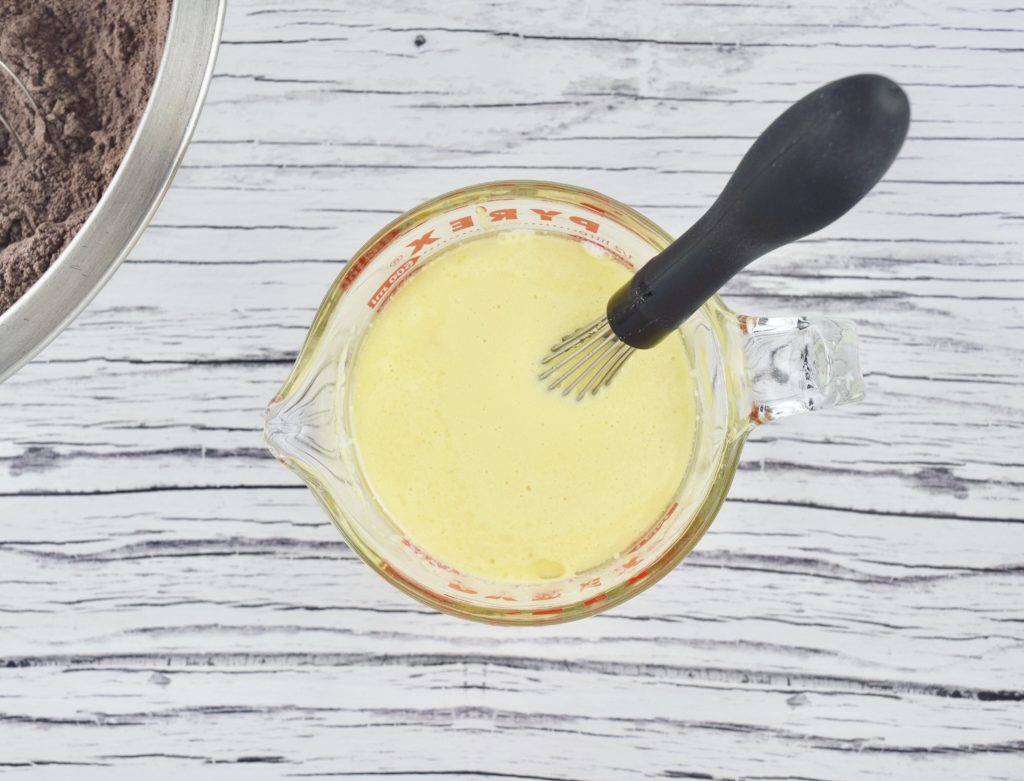
In a separate medium bowl or a measuring cup, combine all your wet ingredients. I go the cup route because I can measure the milk, oil, and yogurt directly into it without dirtying separate cups, then just add the eggs, vanilla and syrup and whisk it all together right in the cup. It’s also easier to control this way when you drizzle the mixture over your dry ingredients.
Be sure to whisk your wet ingredients thoroughly – you want the mixture to be uniform before adding it all to the dry.
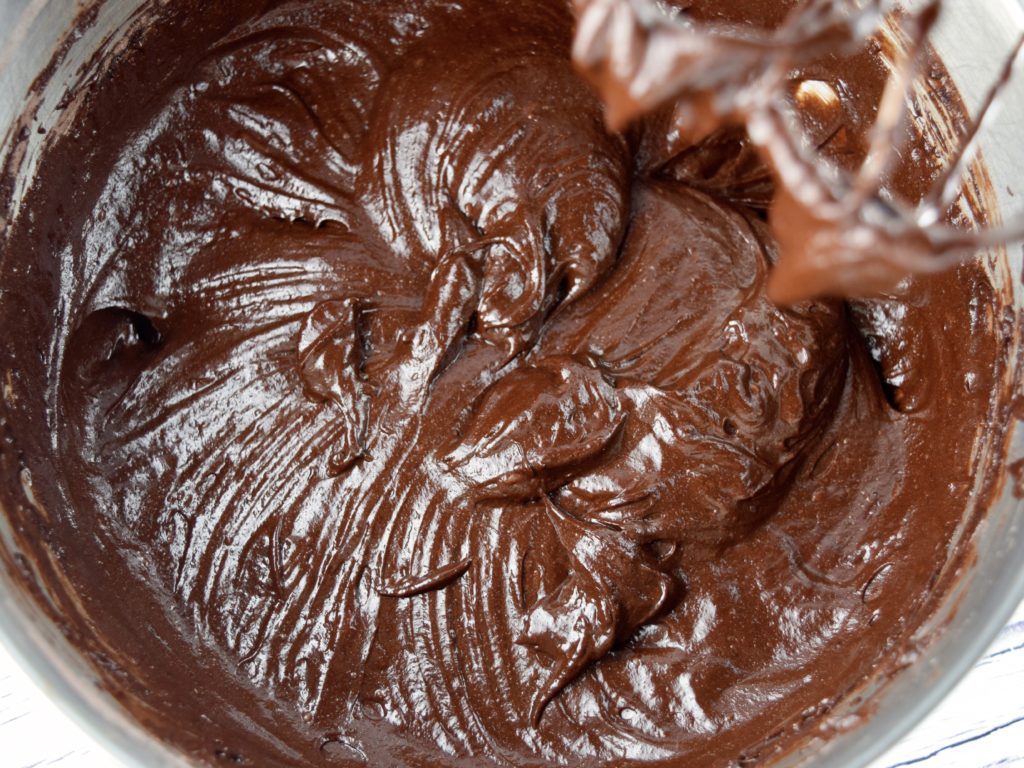
If you have a stand mixer feel free to use it to mix the batter, otherwise I recommend a handheld mixer or electric beaters. A standard whisk will suffice for combining your dry and wet ingredients separately, but once you add everything together it becomes very stiff. You’ll need that electric power to loosen it up. (Unless you have an extremely sturdy whisk and you’re looking for a really tough arm workout. If that’s the case feel free to do it all by hand). After you’ve drizzled your wet over your dry, give it a few stirs. You’ll notice that it clumps up and gets very thick and difficult to work with. That’s where the boiling water comes in. Pour it carefully and evenly over the batter, and start your mixer on low speed to incorporate some of it, then increase the speed to medium-high and let it go until you a smooth and glossy batter. Though it relaxes from the boiling water, the batter will still be very thick.
Look how shiny and beautiful it is. You can see from the way it holds its shape in the bowl that it’s a very thick batter.
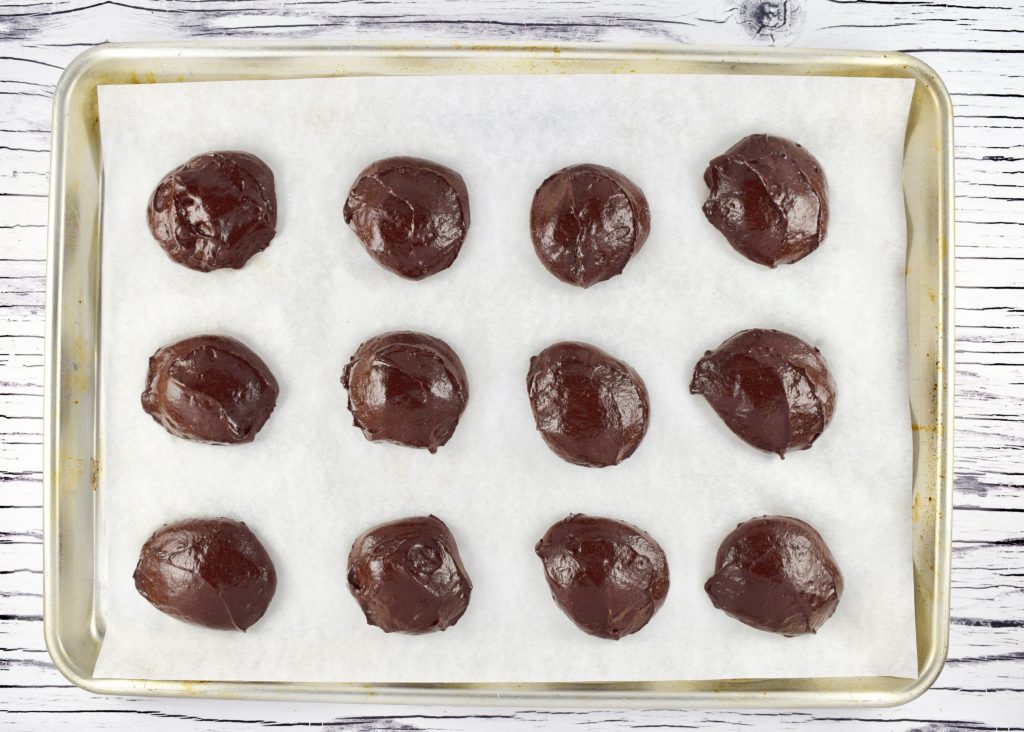
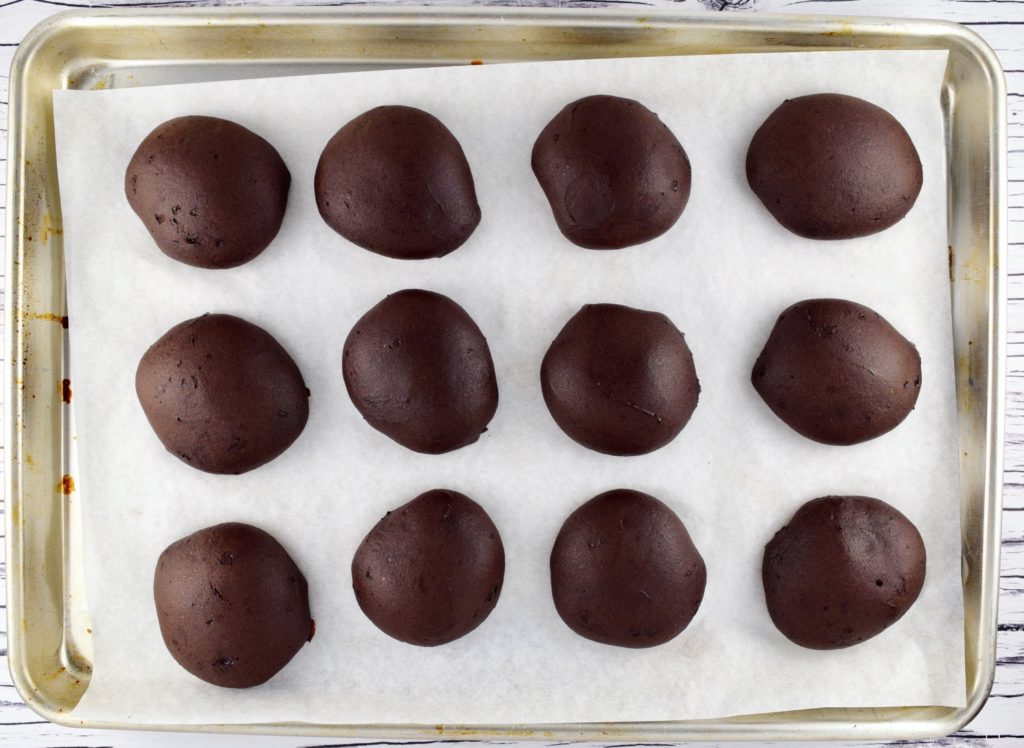
Use a one- or two-ounce cookie coop to portion mounds of the batter onto a parchment-lined sheet tray. I recommend leaving at least an inch between the mounds to allow air and heat to circulate properly. You don’t have to worry about much spreading – the batter will hold its shape very well during baking, so they won’t run together. If you don’t have a cookie scoop you can transfer the batter to a piping bag or heavy ziploc with the corner snipped off and pipe the batter into mounds, gently smoothing out any seams or peaks before transferring to the oven.
Once the cakes are baked, let them cool on the baking pan for a minute or two, then slide the entire sheet of parchment onto the cooling rack and leave the cakes on the parchment to cool completely while you prepare the filling.
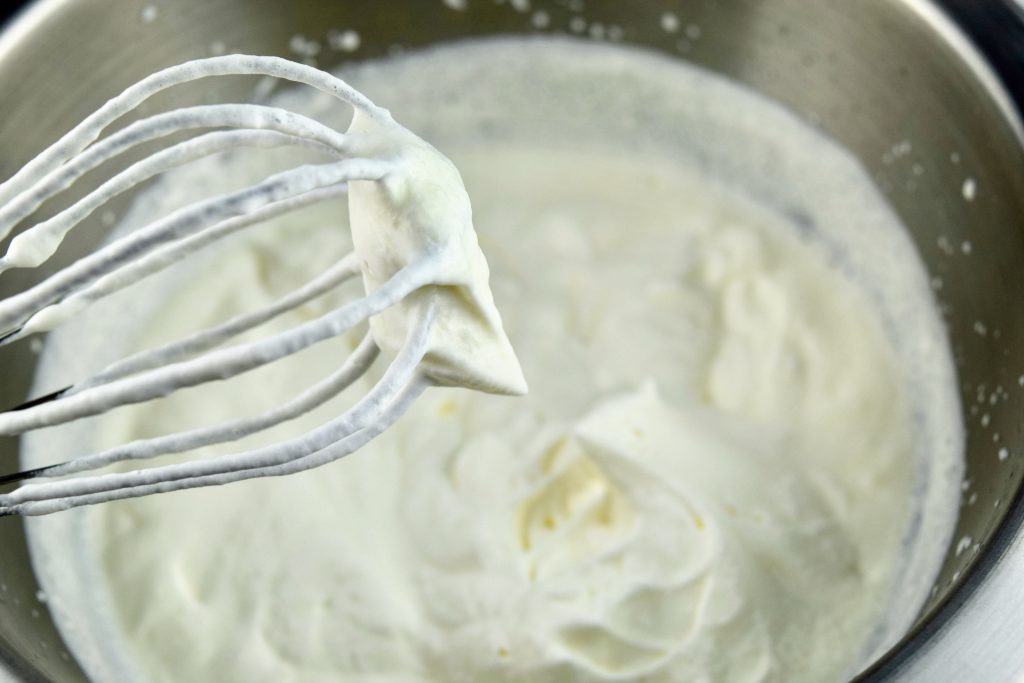
Whip your cold heavy cream in a bowl until medium-stiff peaks form. This means that when you pull your whisk up out of the cream and leave behind a peak that sticks up, it will hold its shape for several seconds before the top droops over.
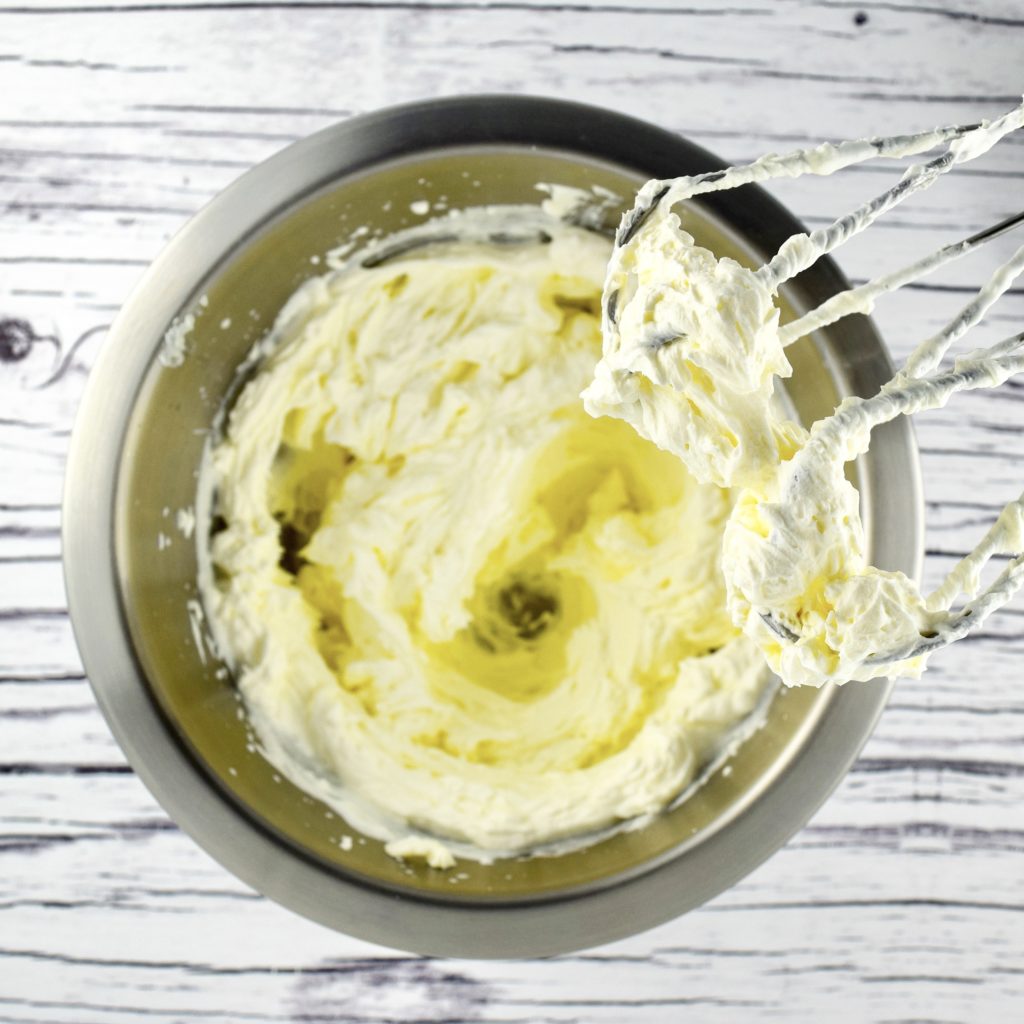
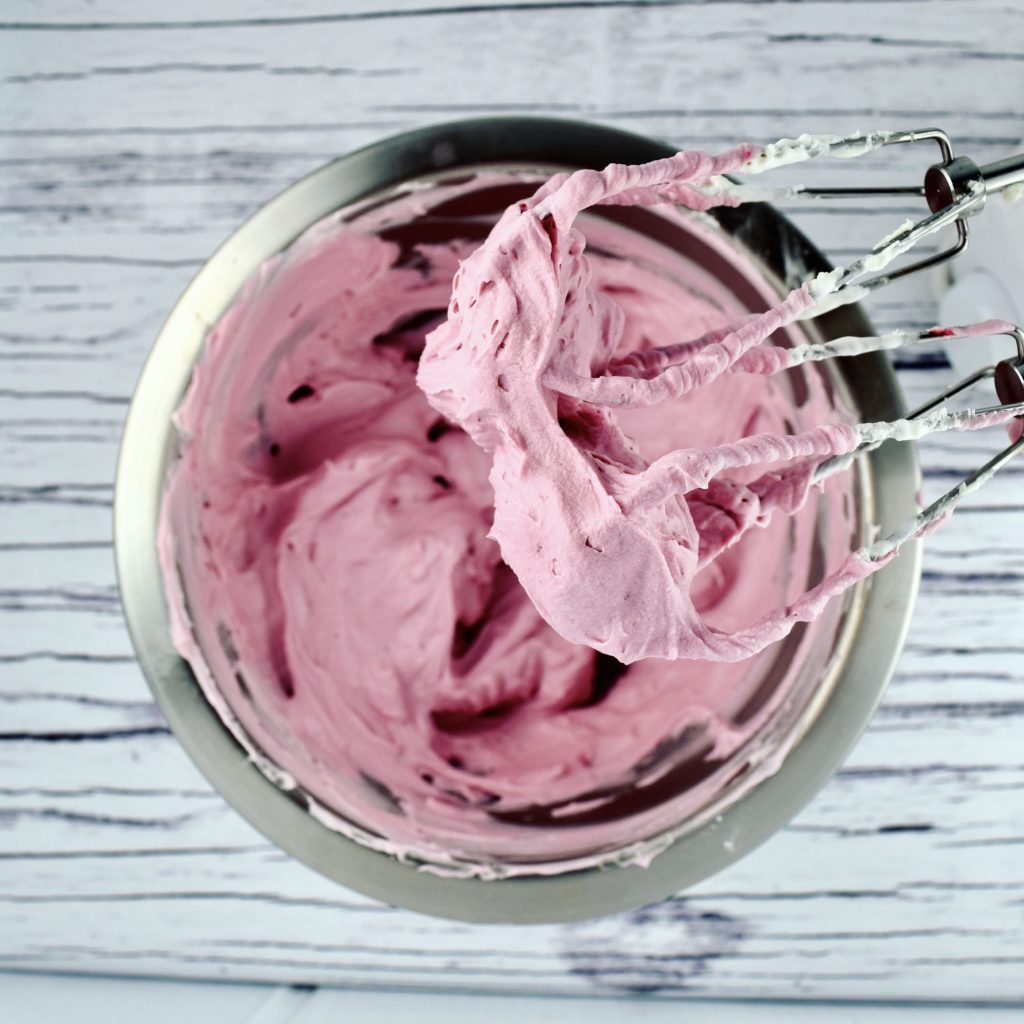
Beat the cream cheese in a separate bowl until lightened and fluffy, then add it to the whipped cream and beat them together until uniform and stiff. That will happen quickly.
See? Nice and stiff. Now sift in a tablespoon of confectioners sugar and drizzle in a tablespoon of hibiscus syrup, and beat until you have a uniform pale pink batter.
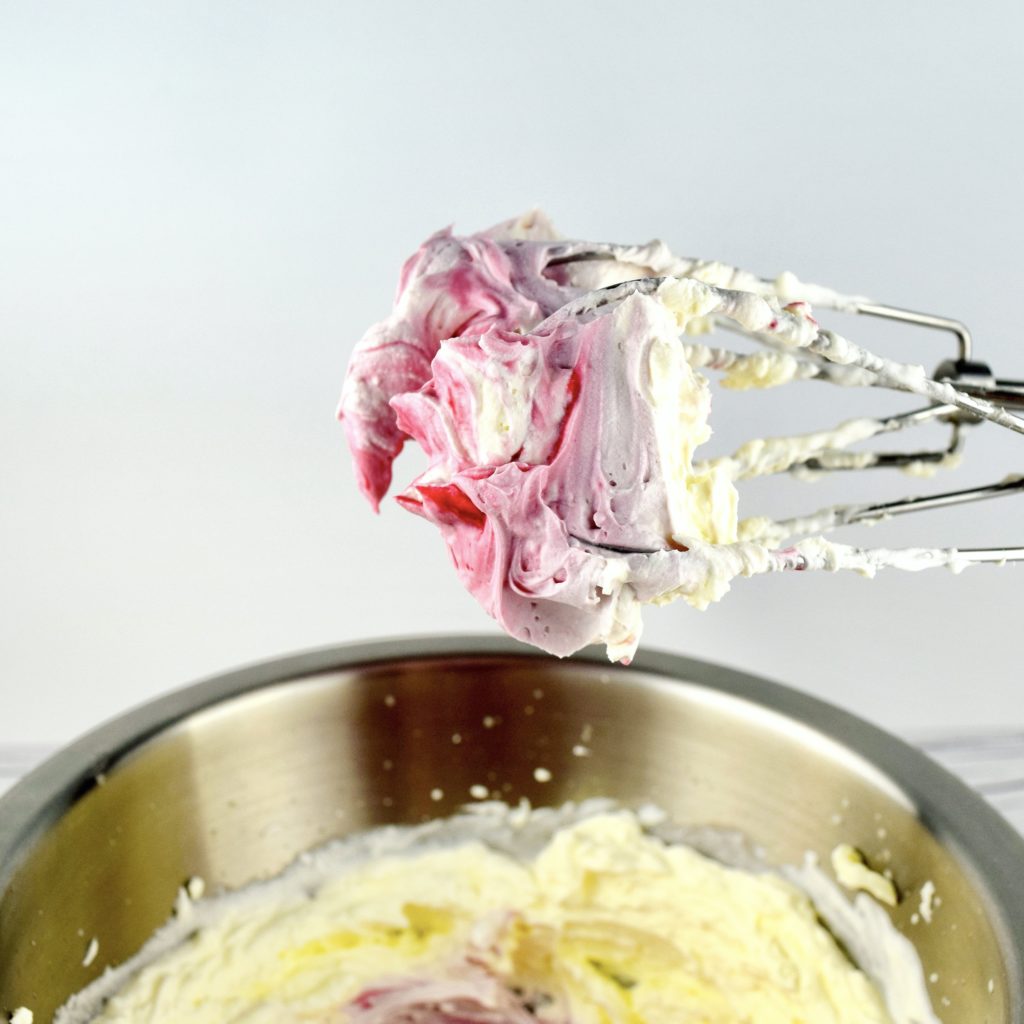
I snapped a photo when I first started to mix in the hibiscus because I thought the ombre effect was so pretty. (You can make an ombre or tie-dye filling instead of a solid pink if you’d like to. Just beat in all the confectioners sugar first, Then swirl in the hibiscus in stages by hand until you reach the desired effect.) At this point it’s up to you how far you want to go with the sugar and the syrup. I typically stick to 1 or 2 tablespoons of sugar because I don’t like very sweet filling, and I add up to 4 tablespoons (¼ cup) hibiscus syrup to deepen the color and flavor.
Here’s my filling after adding 3 tablespoons of the syrup. Can you believe I achieved that fabulous color without artificial dyes? Mother Nature is a genius.
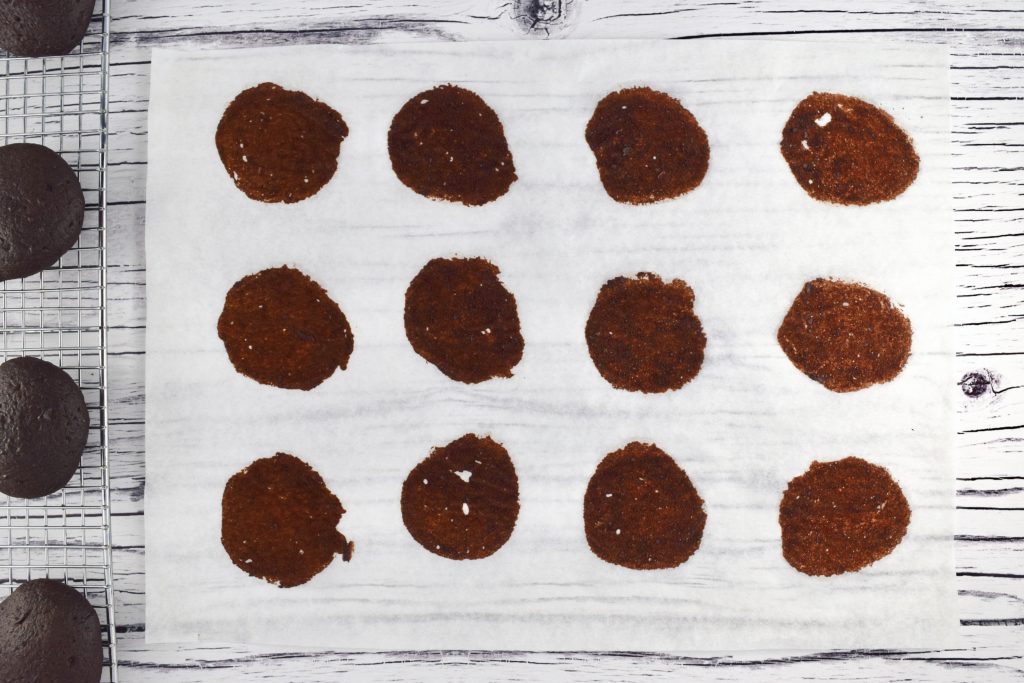
Now peel the cooled cakes off the parchment and set them back flat side down on the cooling rack. See how each cake left behind a thin layer of batter on the parchment? That’s a good sign – it means the cakes will be perfectly moist and sticky inside.
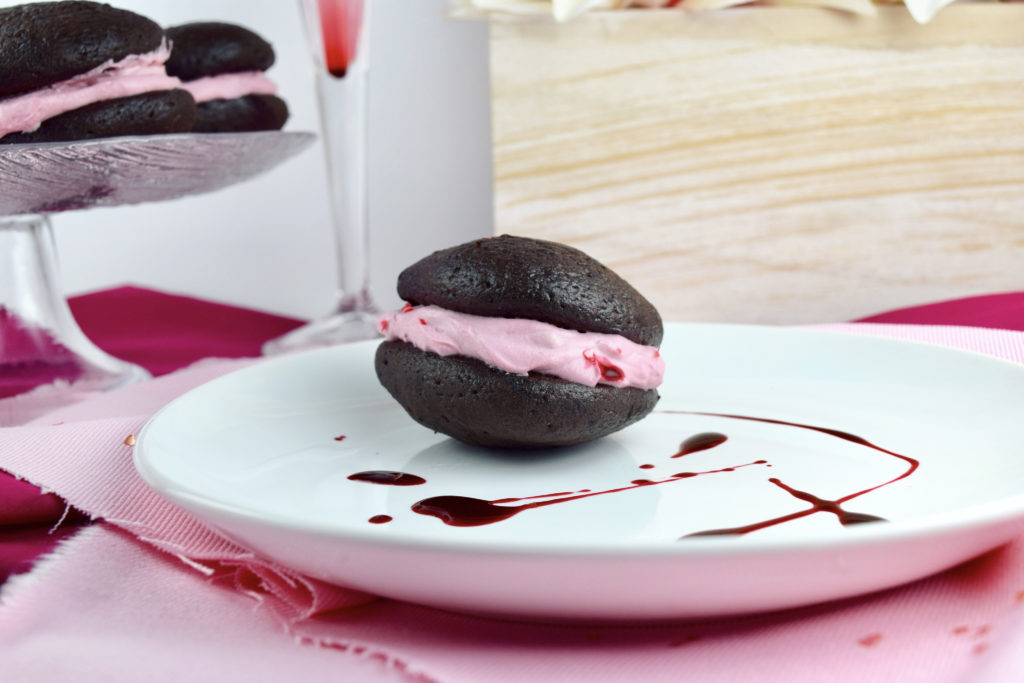
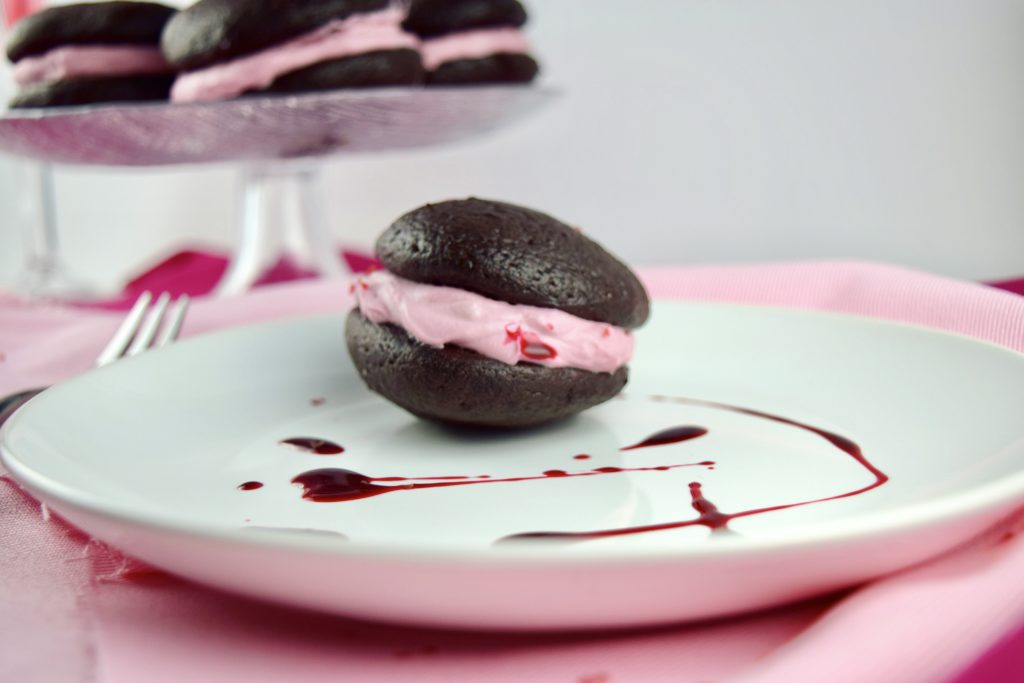
Time to assemble the whoopie pies! The amount of filling you use in each one is your call. I recommend a heaping tablespoon for small pies, and about 2 tablespoons for larger pies. You can always add more if you decide it’s not enough – you’ll have plenty of filling. Match up the cakes into pairs according to similar size and shape, and mound the filling onto the flat side of one cake. Gently press the other cake flat side down onto the filling. Voila! Whoopie pie complete. Repeat with the remaining cakes. To serve, either arrange the assembled pies on a platter and serve the leftover hibiscus syrup in a little dish or pitcher on the side for drizzling, or set each whoopie pie on a small plate and garnish with syrup. It can be a bit of a messy affair (there I go again), so I serve these with forks for eating.
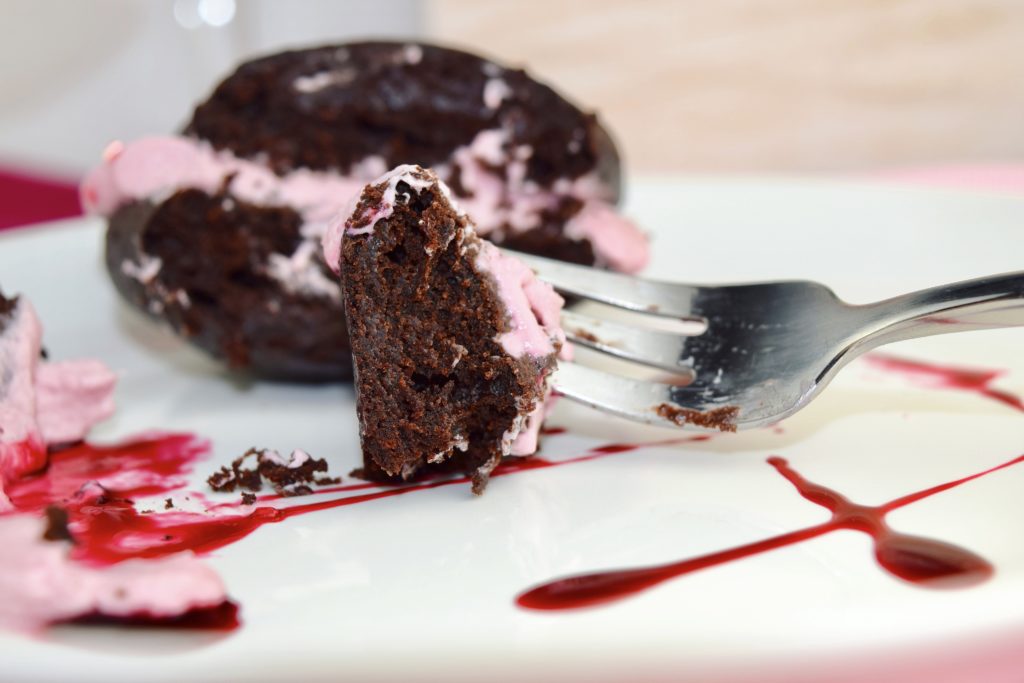
Look at that rich, fudgy cake. I know you want to reach in and grab my fork, but this one’s mine. Go make some whoopie(s) and have a Happy Valentine’s Day!
- Hibiscus Syrup:
- 16 g (¼ cup) hibiscus petals or contents of 4 hibiscus tea bags*
- 240ml (1 cup) water
- 60 g (¼ cup) superfine/caster sugar**
- Dark Chocolate Cakes:
- 184 g (scant 1 ⅓ cups) GF all purpose flour***
- 65 g (⅔ cup) cocoa powder
- 120 g (½ cup + 2 Tbsp) granulated sugar
- ¾ tsp baking powder
- ½ tsp salt
- ¼ tsp baking soda
- ⅛ tsp espresso powder
- 60 ml (¼ cup) milk
- 60 ml (¼ cup) neutral vegetable oil like avocado or grapeseed
- 2 oz (¼ cup) Greek yogurt or sour cream
- 1 large egg
- 5 ml (1 teaspoon) vanilla extract
- 15 ml (1 tablespoon) golden syrup or agave
- 120 ml (½ cup) boiling water
- Hibiscus Cream Cheese Filling:
- 4 oz cream cheese, softened to room temperature
- 90 ml (¾ cup) heavy cream
- 8-16 g (1-2 tbsp) confectioners sugar (or more to taste)
- 45-60 ml (3-4 tbsp) hibiscus syrup
- Make the hibiscus syrup: Place dried hibiscus in a heatproof bowl and boil one cup water. Pour water over petals and let steep for about 10 minutes.
- Strain out the solids, pressing down on petals to release trapped liquid. Transfer liquid to a small saucepan along with superfine sugar and bring to a boil. (Keep an eye on the pot, as sugar syrups can boil over suddenly.) Reduce heat to maintain a hard simmer, and allow syrup to cook for 10-15 minutes, until reduced by about two-thirds. The consistency will thicken to that of maple syrup and you'll have 4 to 5 tablespoons of syrup.
- Cool syrup in an ice bath. (You can either put the saucepan in a bath or transfer the syrup to a bowl first.) Syrup will continue to thicken slightly as it cools.
- Preheat oven to 350°F and line one large or two half-size sheet trays with parchment.
- Make the cake batter: Sift dry ingredients into large mixing bowl or stand mixer and whisk to combine thoroughly.
- In medium bowl or liquid measuring cup combine milk, oil, yogurt or sour cream, egg, vanilla, and golden syrup or agave. Whisk until uniform.
- Pour wet mixture over dry and combine to moisten. Boil ½ cup water and pour into batter slowly. beat with hand mixer or stand mixer on medium-high until batter is smooth and glossy.
- Use a one- or two- ounce scoop to portion mounds of batter (spaced 1-2 inches apart) onto prepared sheet tray.
- Bake the cakes: Bake large cakes for 11-13 minutes and small cakes for 6-7 minutes, rotating trays once, until cakes are puffed and tops feel firm when pressed lightly. Cool completely before filling.
- Make the filling: In a large bowl whip heavy cream until it forms medium peaks - they’ll hold their shape briefly before drooping.
- In a small bowl, use a hand mixer or whisk to beat cream cheese until soft and fluffy. Add cream cheese to whipped cream, and continue beating on high speed until it forms stiff peaks.
- Sift in confectioners sugar and drizzle in 1 tablespoon hibiscus syrup; beat to combine. Add more hibiscus syrup 1 tablespoon at a time until desired color is reached.
- Fill the cakes: Match up cakes of similar size and shape into pairs. Using a heaping tablespoon for small cakes and about 2 tablespoons for large ones, mound filling onto flat side of one cake, and cover with flat side of other cake, pressing gently to adhere. Continue with remaining cakes.
- Serve: Arrange whoopie pies on a platter or serve on individual plates, and garnish with hibiscus syrup.
**If you don't have superfine sugar, substitute 60 grams (scant 5 tablespoons) granulated sugar. If possible, grind it in a spice grinder first so it dissolves more easily.
***If your flour mix doesn’t contain xanthan gum, add a heaping ¼ teaspoon.


[…] The ginger-hibiscus mixture will be sufficiently steeped by now, so go ahead and strain the liquid into a saucepan. Add the sugar and a pinch of salt, and simmer until reduced by two thirds. It will take about 8-10 minutes, but keep an eye on the pan to watch for boil-overs. (For more detail and photos on the syrup process, see here.) […]