In case you haven’t figured it out by now, I love Meyer lemon. We’re at the end of the season, so this may be my last opportunity to feature this glorious fruit until next year (sob). A couple of weeks ago I made a fantastic Mile-High Meyer Lemon Meringue Tart to celebrate Pi Day, and when I posted the photos on social media I received multiple requests for the recipe, so here we are!
A meringue pie or tart requires three distinct components: a crust, a creamy (typically custard-based) filling, and a meringue topping. Unless you happen to have some filling hanging around in your fridge and a frozen crust ready to go, this is not a dessert you can throw together at the last minute, particularly since the crust needs to be par-baked and completely cool before filling it. Even so, I promise you it’s worth the time to make this incredibly delicious, show-stopping dessert.
First up is the crust. Feel free to use a store-bought one, or make my Flaky Gluten Free Pie Crust. The key is to partially bake the unfilled crust. This ensures that it will be sturdy enough to hold up to your curd and meringue, and won’t get soggy on the bottom. For a store-bought option I recommend following the suggested par-baking time on the package. If you’re using my crust recipe, bake it for 35 minutes, then cool completely before filling.
You can make this in a standard 9-inch pie pan or a 10-inch fluted tart pan. I actually prefer to do it as a tart since you’re covering the edge with meringue anyway, but it’s up to you.
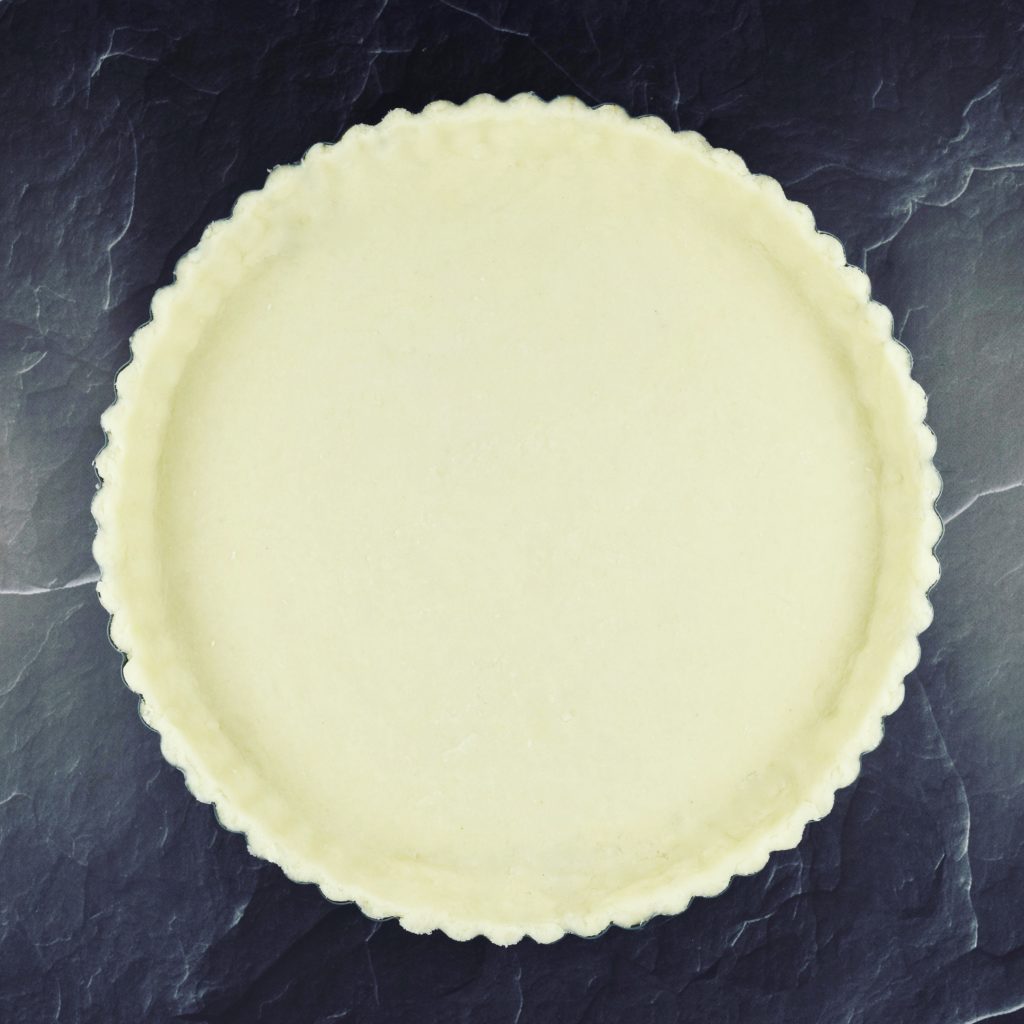
Here’s a 10-inch tart crust ready to be baked.
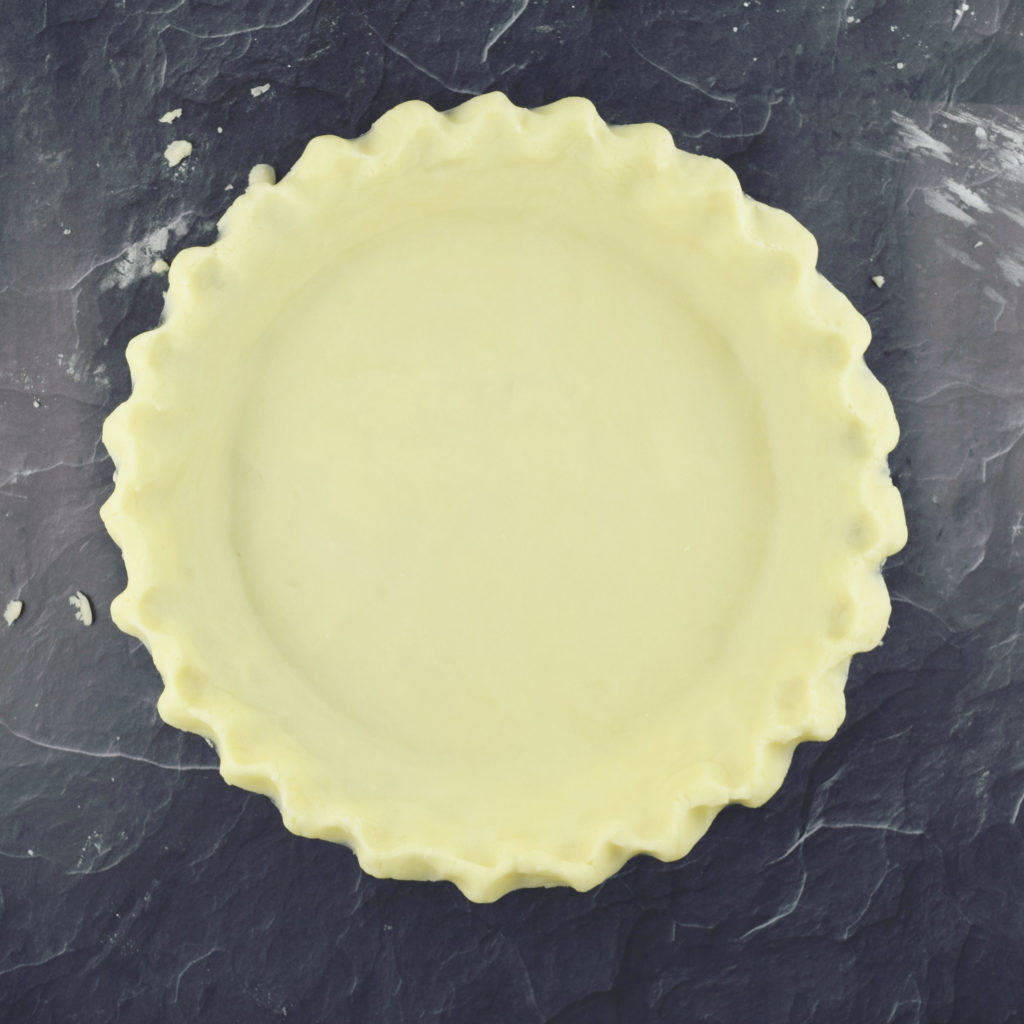
Here’s a crimped 9-inch pie crust ready to be baked. Works for either one!
Once the crust is baked and cooling on a rack, you can tackle the curd. This is another component that I’ve already featured in a different post, but I’m including the recipe and a few photos here as a refresher. For the complete blow-by-blow, see here.
This silky, creamy, stovetop Meyer lemon curd is made with whole eggs, egg yolks, sugar, the juice and zest of Meyer lemons, butter, salt, and some arrowroot starch to prevent it from weeping when it bakes. It’s not a complicated process, but it does require attention and patience – you need to cook it low and slow so it will thicken properly without scrambling the eggs. The cooking part of it only takes 8-10 minutes, so stay close to the stove for that short period of time and you’ll be fine. (Before you start the curd, preheat the oven to 325°F so it will be ready to bake the filled pie.)
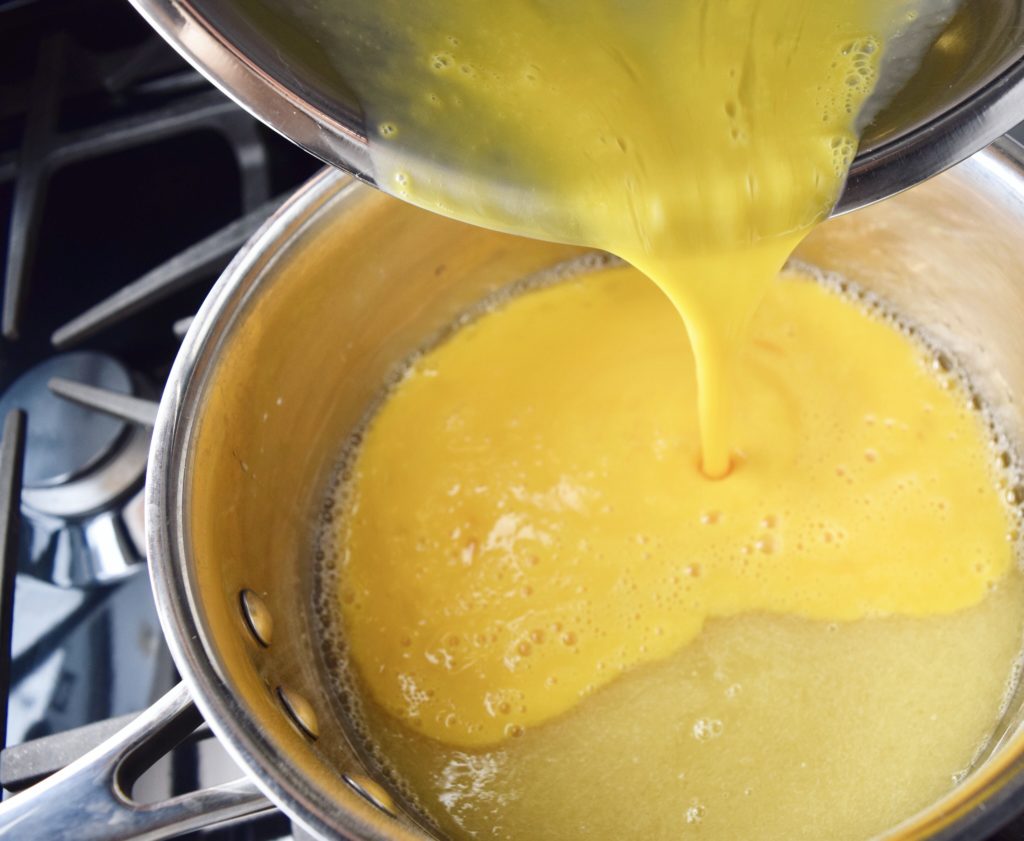
Add the sugar, arrowroot, and salt to the pan and stir to distribute, then whisk in the lemon juice. Now whisk in the beaten eggs and yolks until the mixture is smooth, and stir in the lemon zest. (See how I beat the eggs and yolks pretty well before adding them to the pot? Makes it much easier to incorporate them into the other ingredients.)
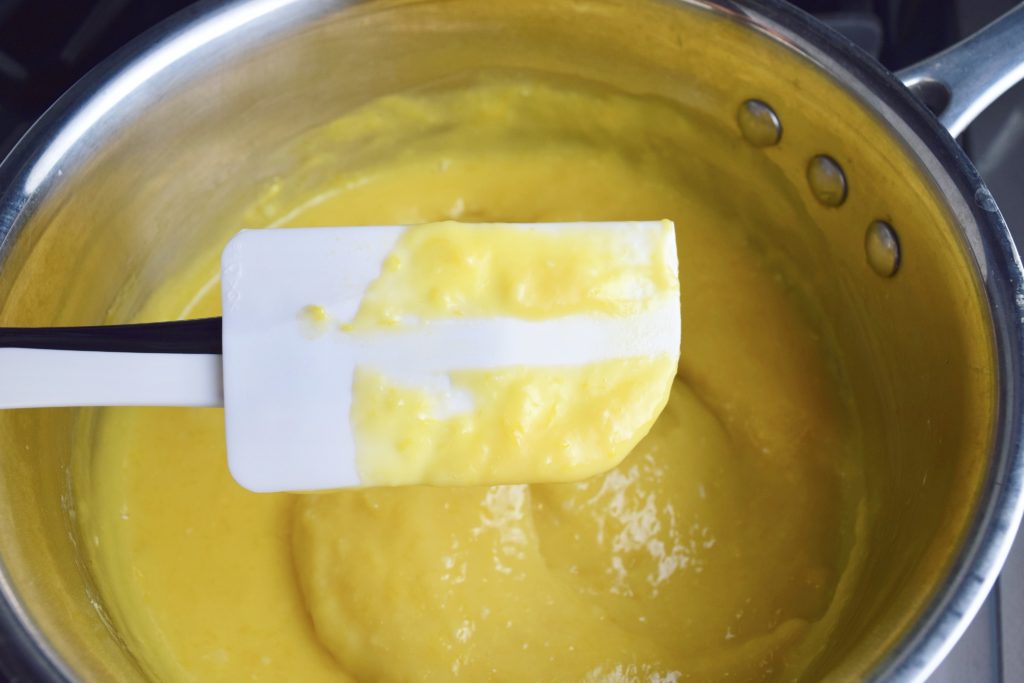
Set the pan over medium-low heat, and use a wooden spoon or firm rubber spatula to stir as it cooks. While you’re stirring a curd you want to be sure to scrape the utensil agains the bottom and sides of the pan to ensure even cooking. As it thickens it tends to stick to those surfaces, and you want to make sure you blend it all together into a smooth, cohesive mixture. If you have a cooking thermometer, use it to keep an eye on the temperature of the curd – you’re aiming for a final temperature of 155°F. No thermometer? Not to worry. Once the mixture thickens enough to coat the back of your spoon or spatula, use your finger to swipe a line through that coating. If it leaves a clean trail behind and the curd doesn’t run/seep back into the are you cleared, you’re done. The best indicator that you’re getting close is the appearance of steam rising up out of the mixture as you stir. Once that starts to happen you’re in the final minute.
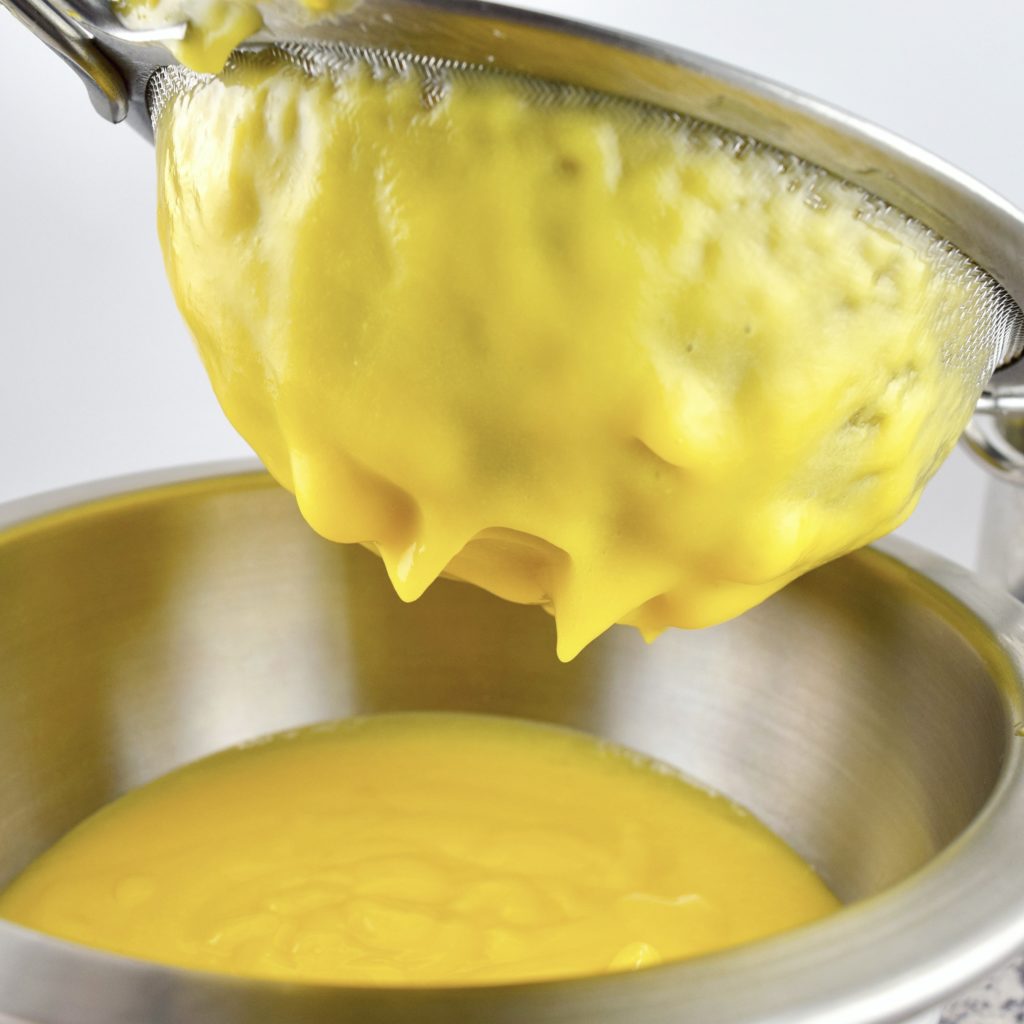
There’s the trail test. It’s holding perfectly, so it’s done. Set a fine-mesh sieve over another saucepan, and use your spoon or spatula to scrape the curd into the sieve. Don’t add too much at once, you’ll do this in stages. Use your utensil to push and scrape the curd against the bottom and sides of the sieve, working it through the mesh to the pot underneath. Repeat this with the remaining curd.
There’s always a layer of curd hanging out on the bottom of the sieve, and we don’t want to waste a drop of this stuff. Wipe off your spoon or spatula first, then scrape that curd off there and into the pot. Discard the solids that were left behind inside the sieve.
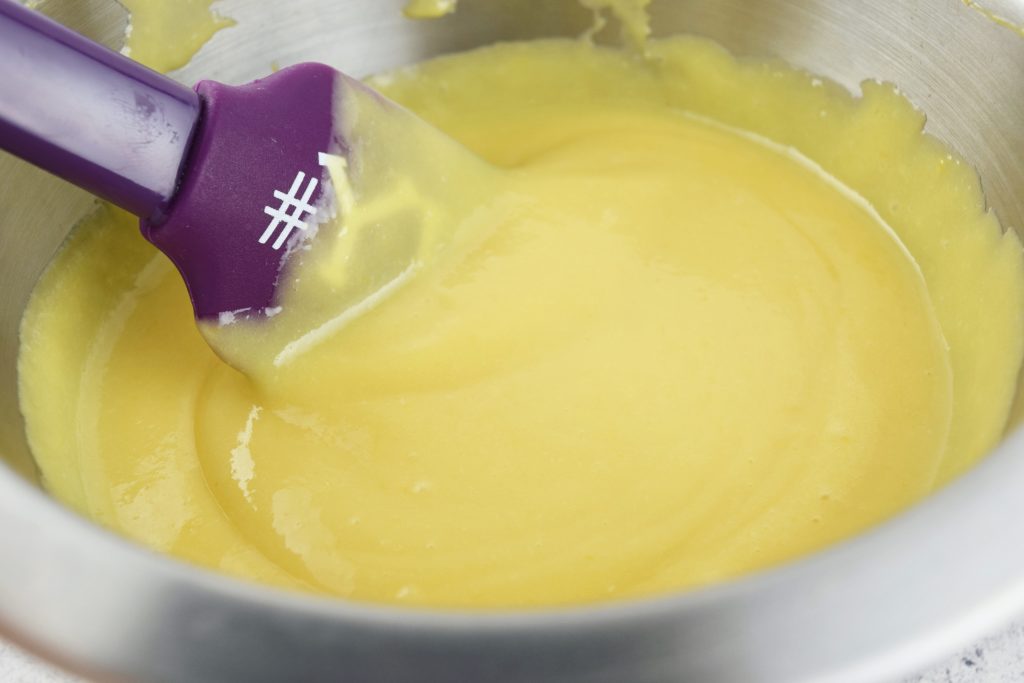
Stir the cubed butter into the warm curd until melted and uniform, then cover the surface with a piece of plastic wrap and set the pot aside while you get your meringue going.
Okay, I know meringue freaks some people out, but it’s not difficult at all. As long as you use a stand mixer or electric hand mixer and the right ingredients, you can make a beautiful meringue. Your biggest enemy here? Fat or grease of any kind. Before you get started, make sure your bowl and whisk attachment are squeaky clean without a trace of greasy residue from previous use.
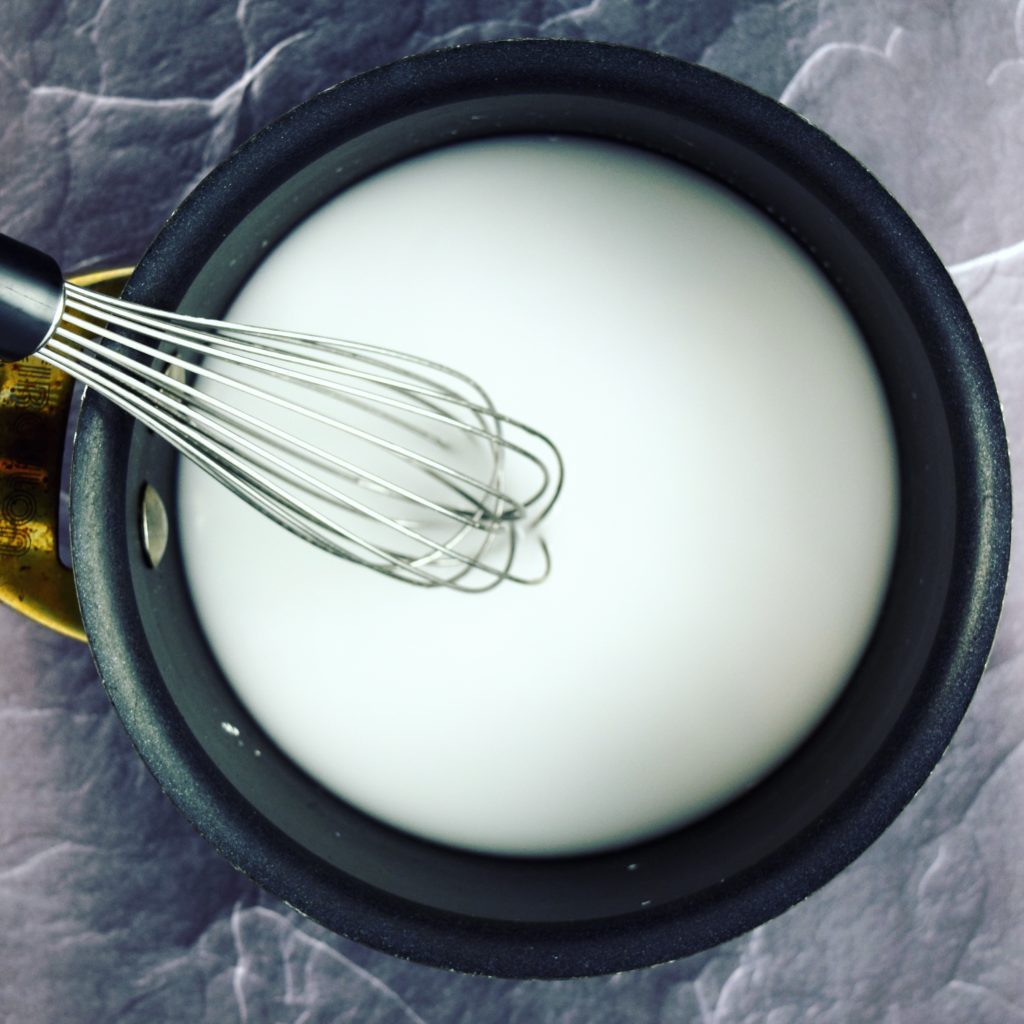
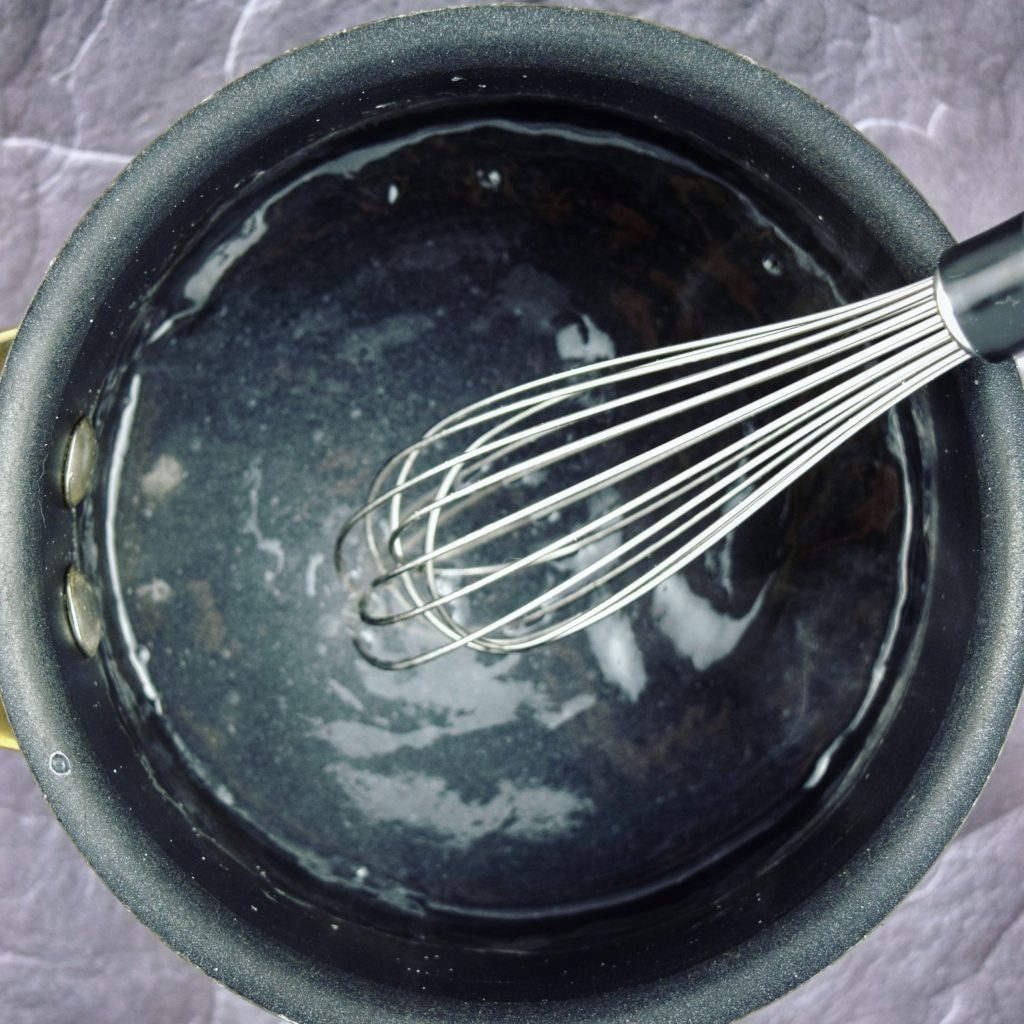
Add the cold water and arrowroot to a small saucepan that has a lid, and whisk it to dissolve the starch until you have a mixture that resembles watery skim milk.
Set the pan over medium-low heat and cook the slurry for about 2 minutes, whisking occasionally, until it turns from that opaque white slurry into a runny translucent gel. Turn off the heat and let the gel cool slightly in the pan on the stove. You don’t want it to get too cool or it will firm up on you, so if it’s cold in your kitchen, pop the lid on the pot once the mixture is no longer releasing steam.
You should have four egg whites reserved from when you made the curd, so drop those into the mixer bowl now, and add the cream of tartar.
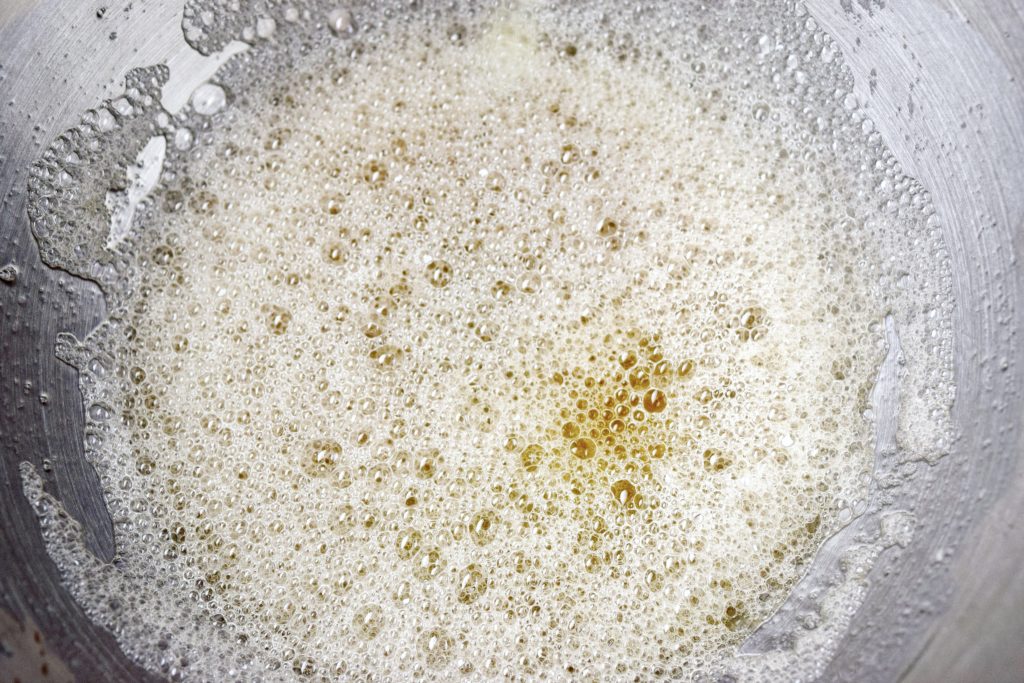
Using the whisk attachment, whip the egg whites with the cream of tartar for about 2 minutes, just until the mixture gets foamy. Add the vanilla extract and mix it into the foam. (You can see from the color of my foam that I took this photo after adding the vanilla. By the time you add the sugar and gel and create all that volume from whipping, your meringue will look white.)
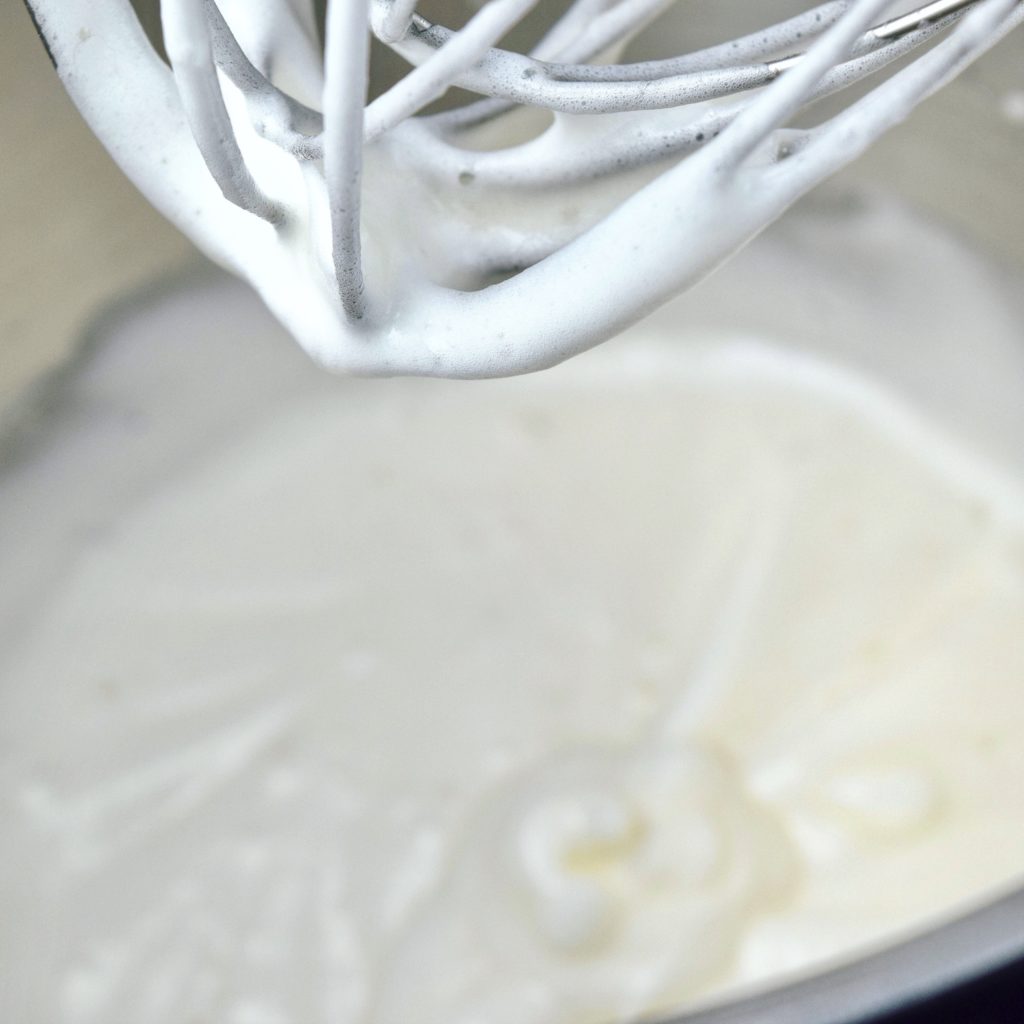
Increase the mixer speed to medium-high and add the sugar to the bowl a tablespoon at a time, waiting a few seconds between each addition. Try to pour the sugar down the side so it runs between the whisk and the side of the bowl. Once you’ve added all the sugar, let the mixture whip for about 2 minutes until it becomes soft and billowy. You want it to look cloud-like, but it should be soft like lightly whipped cream.
See? Just a thin layer of the meringue clings to the whisk at this point because it’s still very soft.
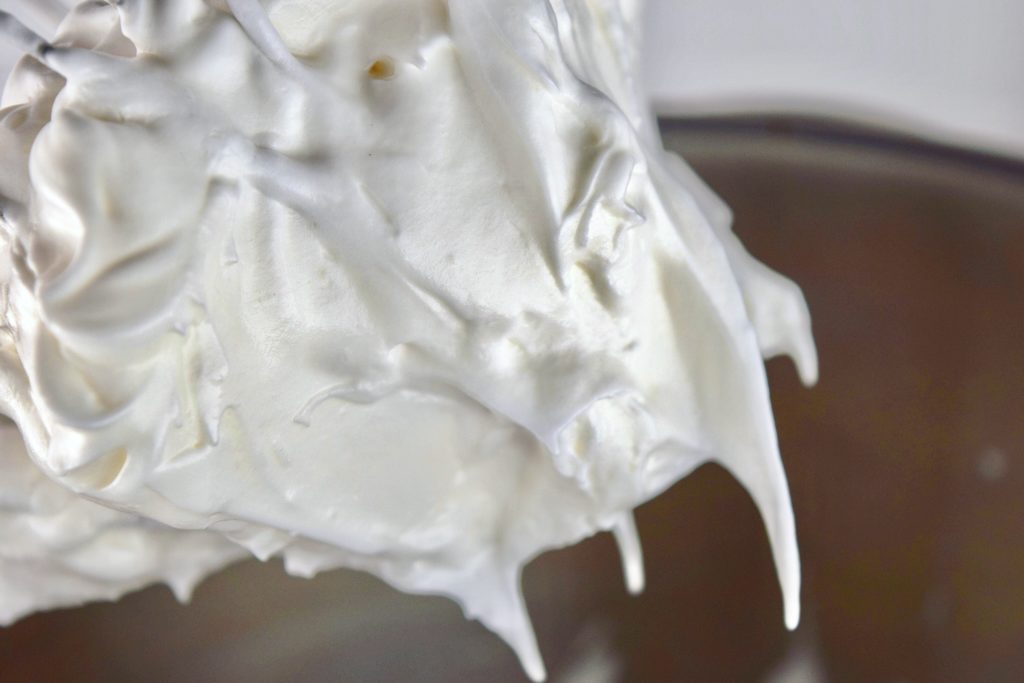
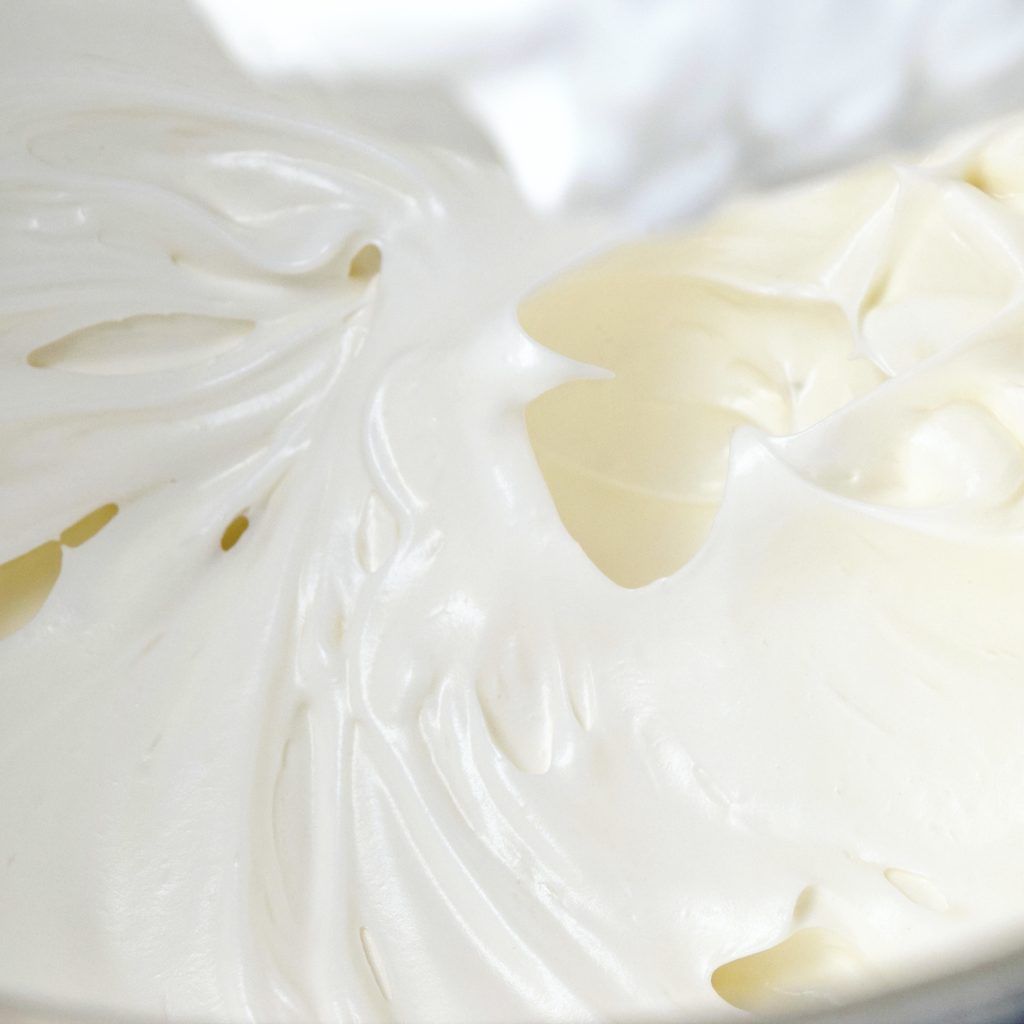
Keep the mixer running and slowly pour the arrowroot gel down the side just like you did with the sugar. I like to use a small rubber spatula to scrape the gel out of the pot. Once all the gel is added, let the mixer run until the meringue whips up into glossy, stiff peaks. This will take about 3 minutes. I usually stop the mixer a bit before the 3-minute mark to get a sense of how stiff the meringue is. You’re looking for it to be very shiny, and when you scoop some of the meringue out of the bowl with the whisk, it should hold its shape without drooping at all. You can also test this by turning the bowl upside down, but I don’t recommend it unless you have a little meringue experience and can tell when it will stay put. I’d hate for you to try it and end up dumping it out of the bowl!
How gorgeous is that?? You can see how all the peaks are sticking straight off the whisk and holding firm. That’s a perfect stiff peak. Stop the mixer when you achieve this – it is possible to take it too far and you don’t want to dry out your meringue.
Here’s a shot of the bowl after I pulled that whisk full of meringue out. You can really see here just how glossy and firm it is.
We’re ready to assemble! Set your par-baked crust back on a sheet pan, and grab that pot of warm curd. If the curd has cooled, reheat it VERY gently over a low flame just until warmed through. You actually want the curd to be warm when you plop the meringue on top – it prevents weeping and shrinking.
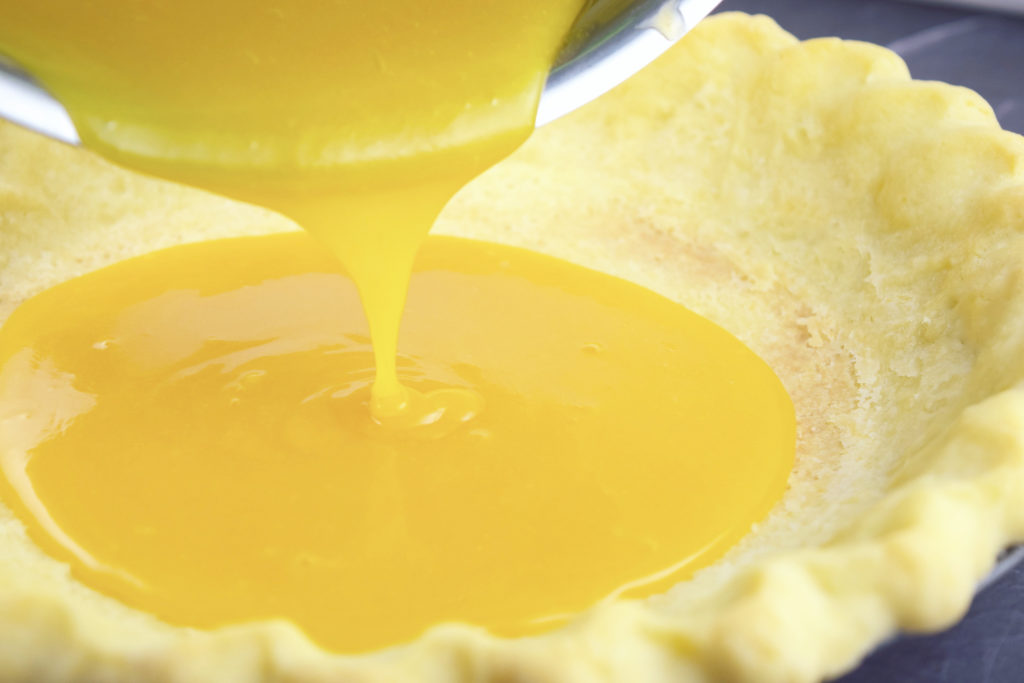
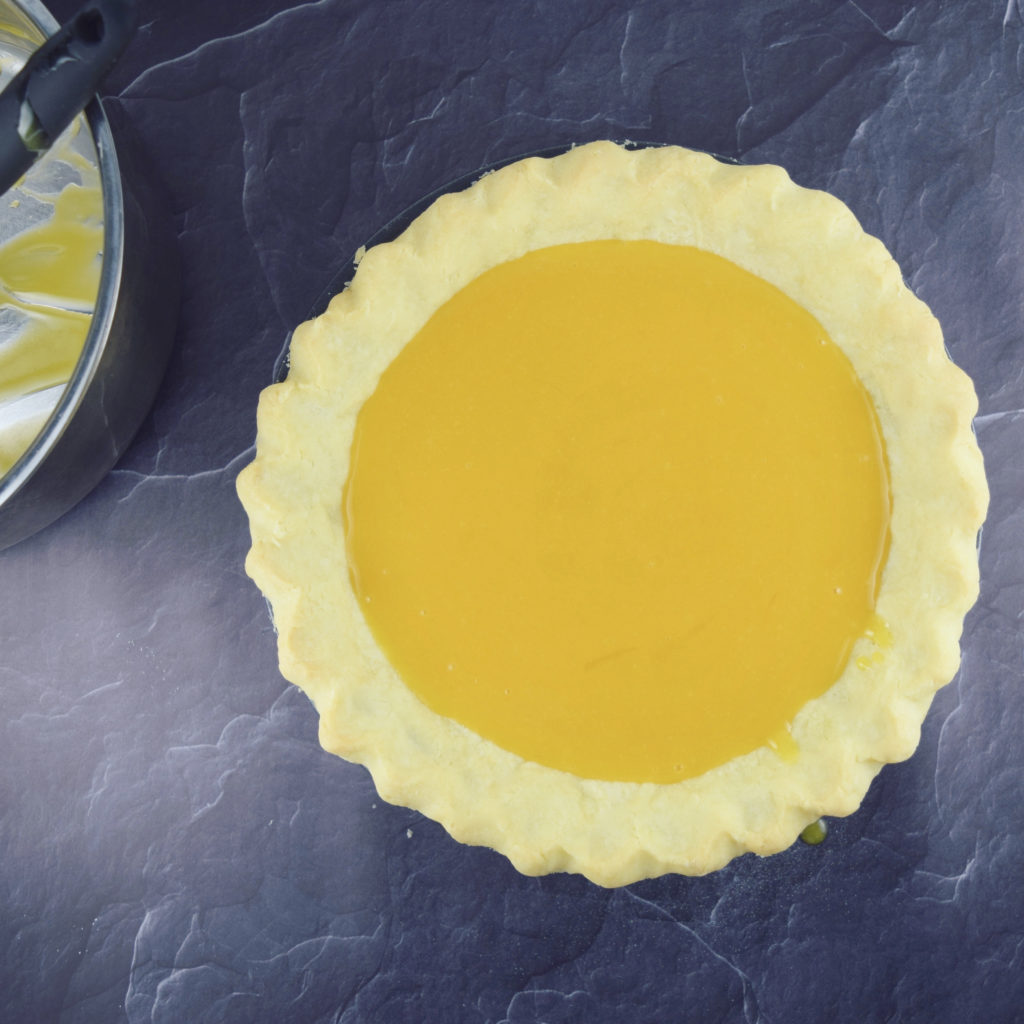
Carefully pour the warm curd into the crust, and smooth it out with a rubber spatula or gently tilt the pan until it’s evenly distributed.
It’s okay if you end up with a few random drips on the crust – you’ll cover them with meringue anyway.
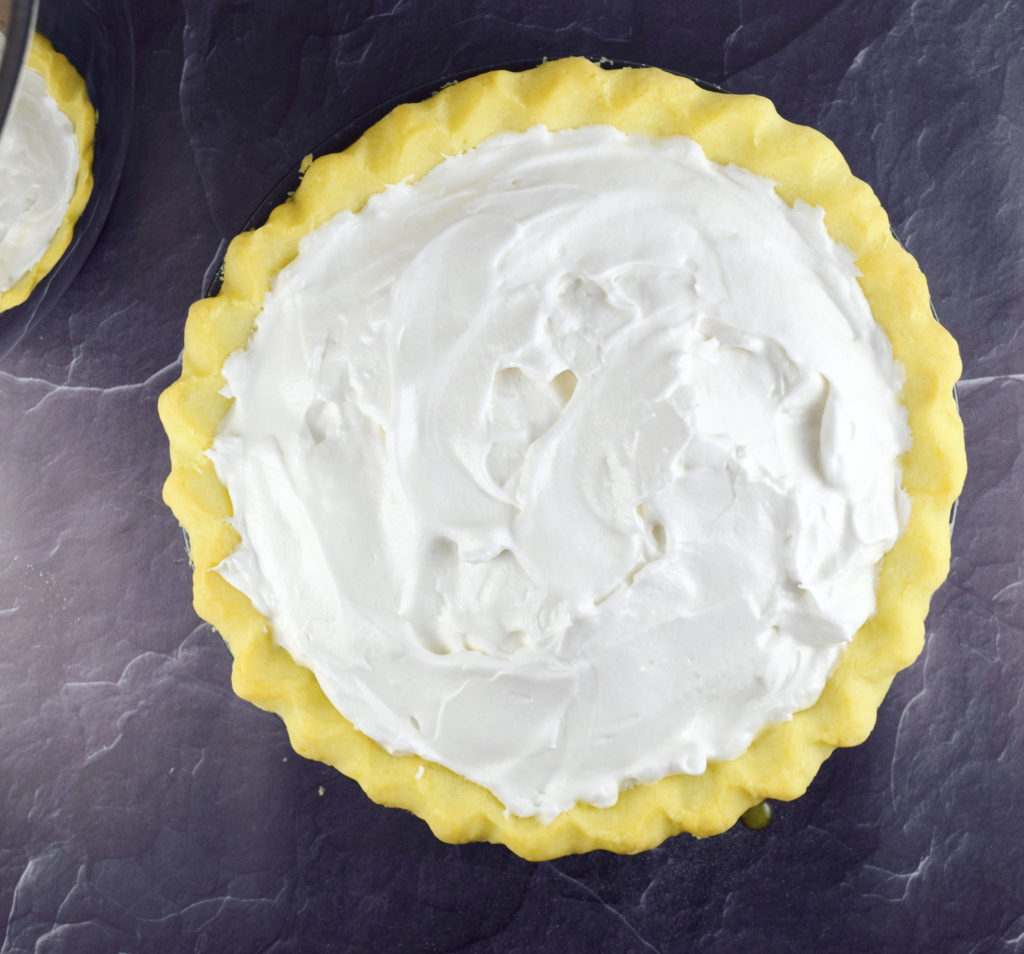
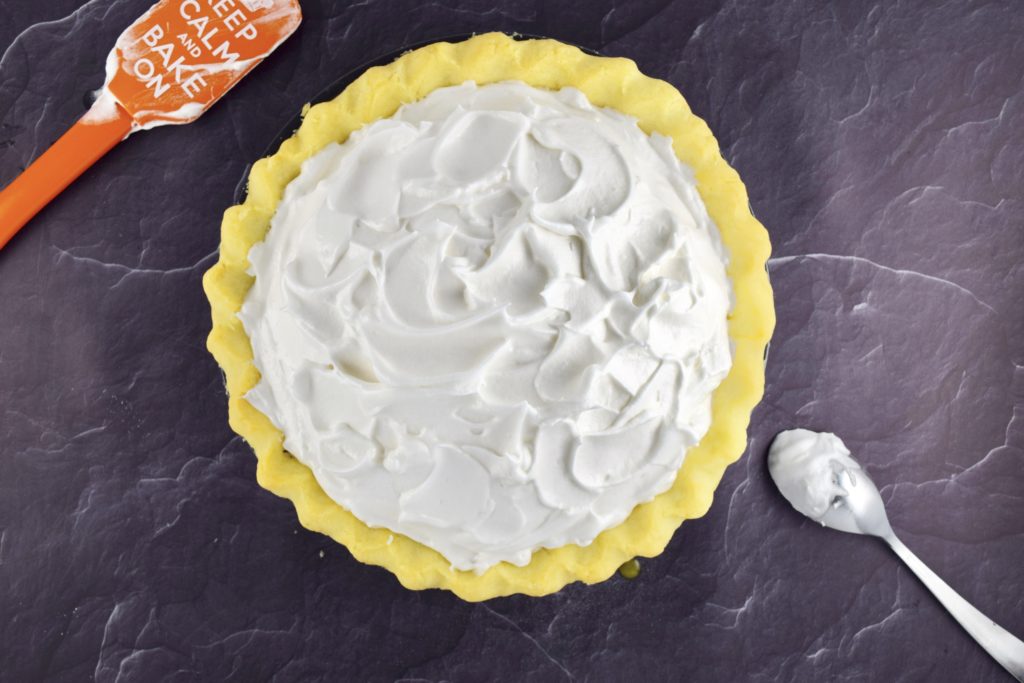
Now scoop about two thirds of the meringue onto the curd, and use a rubber or flat metal spatula to spread the meringue over the curd. Work from the center and drag it out to the perimeter, and be sure to spread the meringue all the way to the crust so it’s adhering to it all the way around. Once it’s sealed completely around the edge, spoon on the remaining meringue and spread it out so it slopes slightly downward from center out to the sides. You’re looking for a domed mound of meringue that’s highest in the middle.
Use the back of a spoon to create peaks by swiping it against the meringue in random places and various directions. There’s no true pattern or method here, just have fun swooping and swirling the meringue into peaks all over the pie. Once you’ve created all your peaks, bake the pie in a preheated 325°F oven for 20 minutes, rotating halfway through, until the peaks are lightly and evenly browned and the meringue doesn’t really jiggle when the pie is moved. Transfer it to a rack and let it cool for at least 3 hours to ensure that the meringue and curd are completely set before slicing.
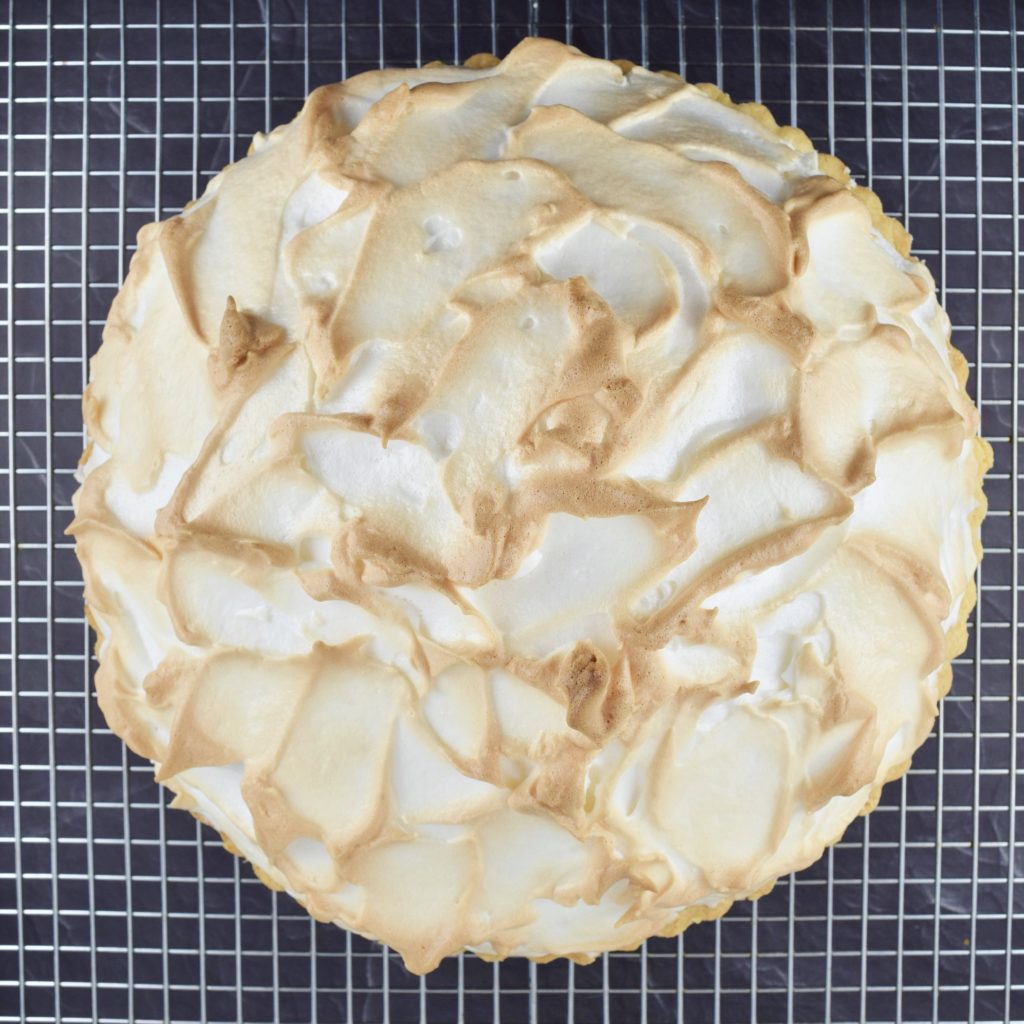
That, my friends, is a perfectly browned meringue! This one is the 9-inch pie.
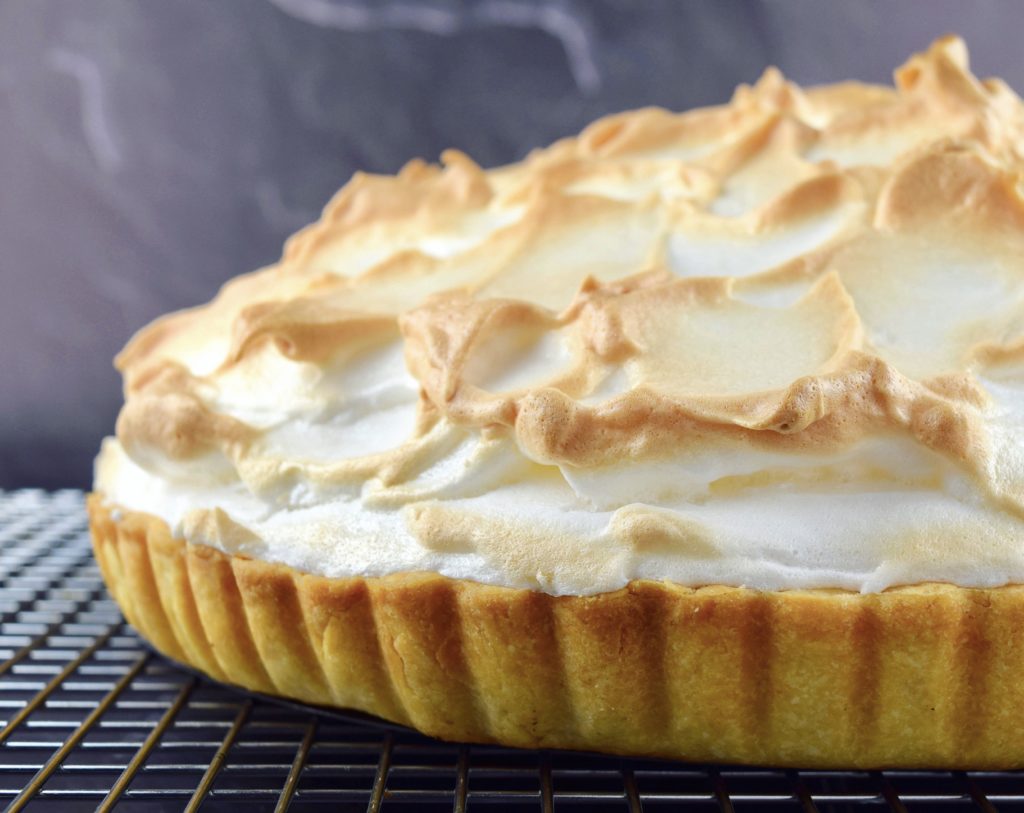
And here’s the 10-inch tart I made for Pi Day.
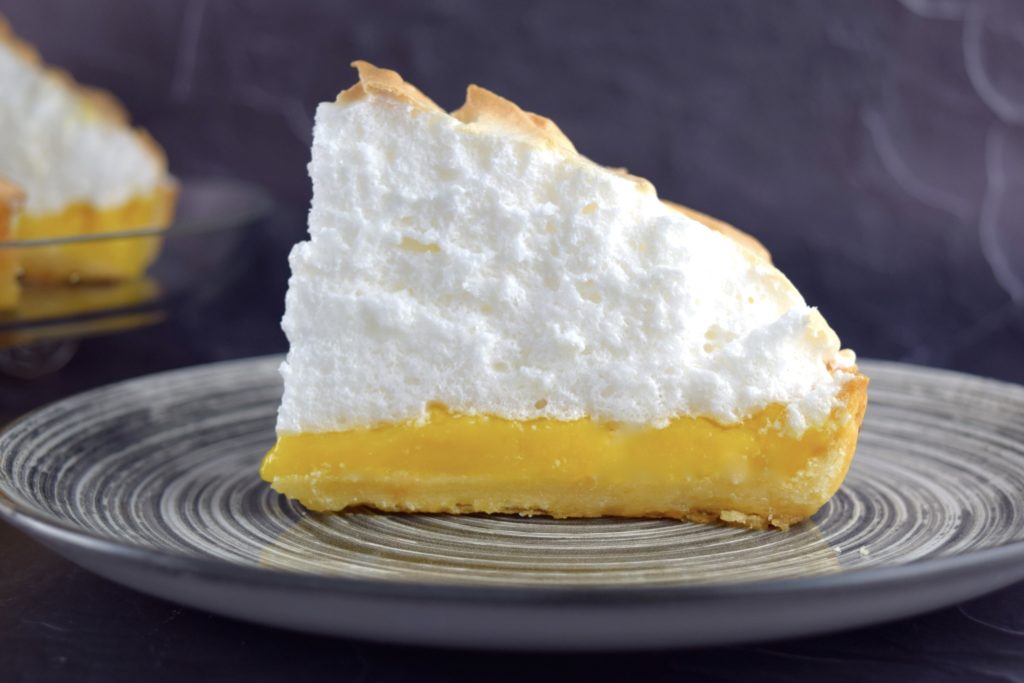
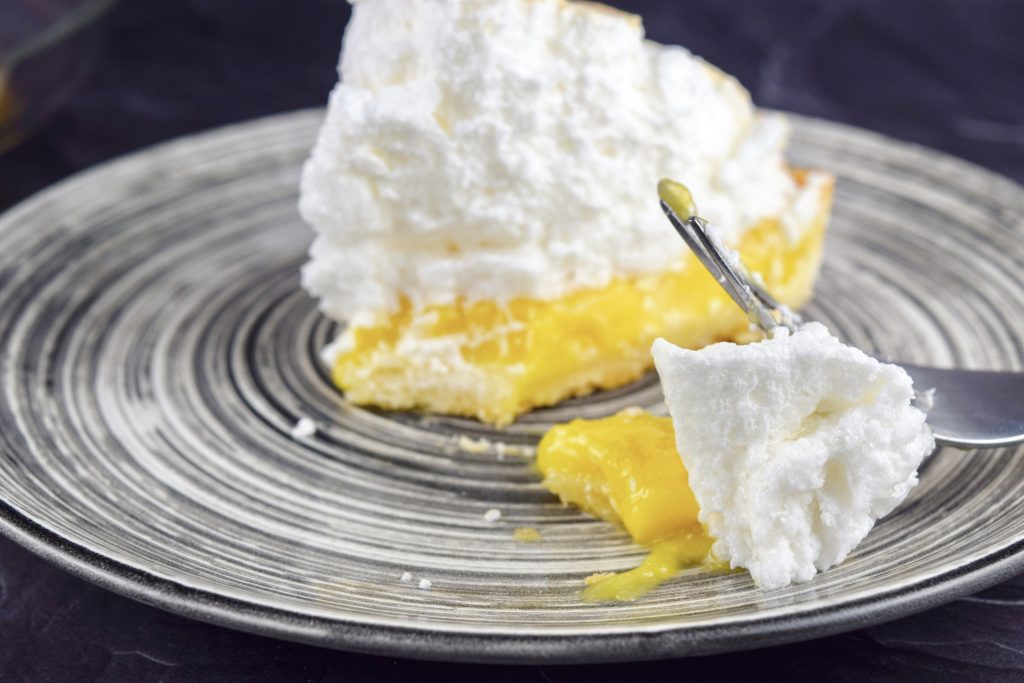
Pillowy clouds of meringue, smooth and creamy curd bursting with Meyer lemon flavor….
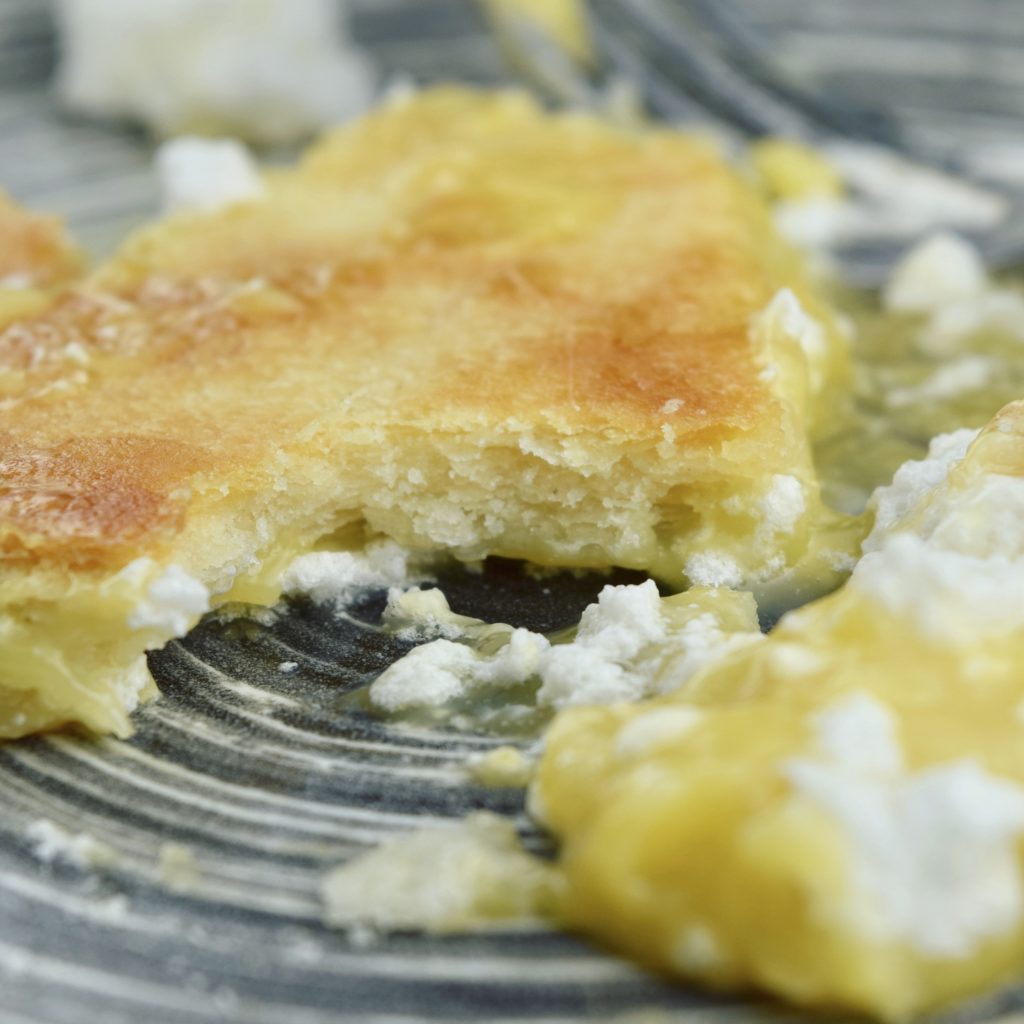
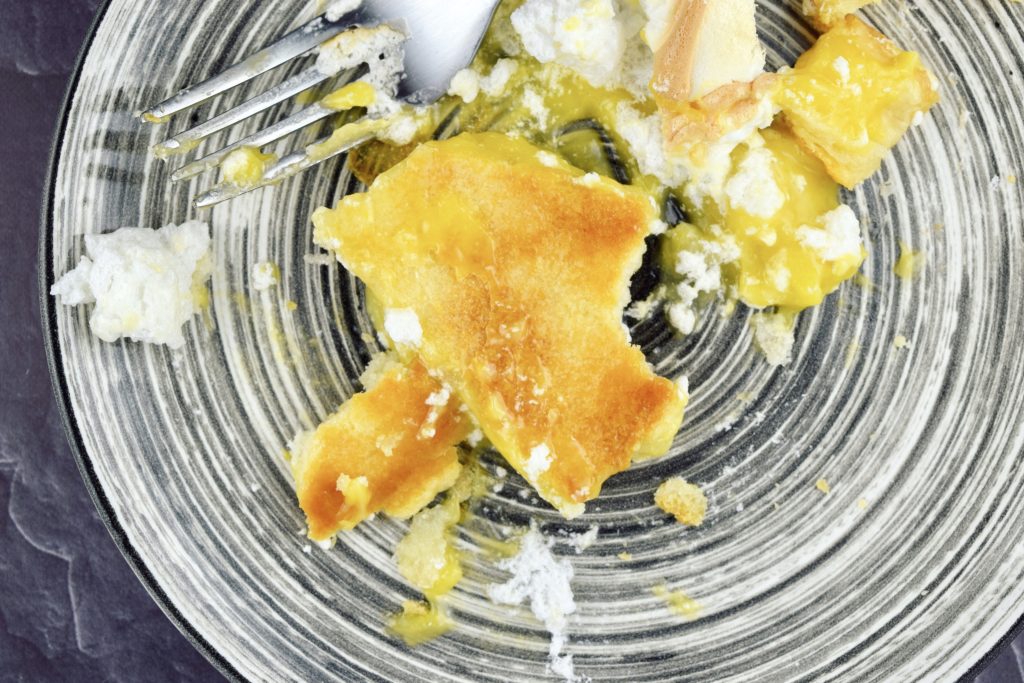
…and perfectly crisp, flaky crust. Look at that gorgeous browned underside. No soggy bottoms here!
Now wipe that drool off your chin and go bake a pie.
Note: Since you have the option of either using a pre-made crust or baking your own from my recipe (or someone else's), crust prep is NOT included in the times listed for this recipe. If you're baking the crust from scratch, allow for the appropriate additional time.
- One 9-inch pie crust or 10-inch tart crust, par-baked and cooled*
- For the curd
- 132 g (⅔ cup) granulated sugar
- 12 g (4 tsp) arrowroot starch
- ¼ tsp salt
- Zest from 1 lb (5-6) Meyer lemons
- 180 ml (¾ cup) fresh-squeezed Meyer lemon juice (about 1 lb lemons)
- 4 large eggs, lightly beaten
- 4 large egg yolks, lightly beaten (reserve whites for meringue)
- 56 g (¼ cup or ½ stick) unsalted butter, softened and cut into cubes
- For the Meringue
- 80 ml (⅓ cup) cold water
- 10 g (1 generous Tbsp) arrowroot starch
- 4 large egg whites (reserved from curd preparation)
- ¼ tsp cream of tartar
- ¼ tsp vanilla extract
- 55 g (¼ cup) superfine/caster sugar**
- Make the curd: Set a fine mesh sieve over a small saucepan and place next to stove.
- In a separate medium saucepan whisk together sugar, arrowroot and salt to combine. Zest and juice the lemons, and whisk in the lemon juice. Add the whole eggs and yolks and whisk until smooth. Stir in the lemon zest.
- Cook over medium-low heat for 8-10 minutes, stirring gently and frequently with a wooden spoon or stiff rubber spatula and scraping along the bottom and sides of the pot as you stir, until the mixture reaches 155°F. If you don’t have a thermometer to check the temperature, it should be thick enough to coat the back of the spoon/spatula, and when you swipe your finger through it, the cleared trail you left on the spoon should remain.
- Remove the pan from the heat and scrape the curd into the sieve set over the other saucepan. Working it against the sides and bottom of the sieve with your utensil, scrape and push the curd through the mesh into the pan, leaving behind the zest and any clumps of coagulated egg. Discard the solids left behind in the sieve.
- Stir the butter into the warm curd until completely melted, and lay a sheet of plastic wrap onto the surface of the curd. Set the pan aside.
- Make the meringue: Whisk the cold water and arrowroot together in a small saucepan until the starch is dissolved and the mixture looks like watery skim milk. Set the pan over medium-low heat and cook for about 2 minutes, whisking occasionally, until the mixture turns into a translucent, runny gel. Turn off the heat and leave the pan on the burner to let cool slightly; you don’t want it to get cold or it will firm up too much. (If your kitchen is cold, cover the pan with a lid once the gel is no longer releasing steam.)
- Using a stand mixer fitted with the whisk attachment, whip the egg whites and cream of tartar on medium-low speed until foamy, about 2 minutes. Stir in vanilla extract.
- Increase speed to medium-high and add the sugar a tablespoon at a time, carefully spooning it down the side, between the whisk and the bowl. Once all sugar has been added, let the mixture whip until it looks cloud-like but still very soft, about 2 minutes.
- With the mixer running, slowly scrape in the arrowroot gel a tablespoon at a time. Let the meringue continue to whip until it holds glossy, stiff peaks, about 3 minutes.
- Assemble: The curd should be warm when adding to the crust, so reheat very gently over low flame just until warmed through if needed. Carefully pour the curd into the crust and spread or tilt to distribute evenly.
- Spoon two thirds of the meringue onto the curd and carefully spread evenly over the entire surface, making sure it attaches to the entire perimeter of the crust, creating a seal. Add remaining meringue, and spread into a domed shape so it's slightly higher in the center. Use the back of a spoon to create random peaks and swirls all over the meringue.
- Bake:Transfer pan to a preheated 325°F oven and bake for 20 minutes, rotating halfway through, until peaks are lightly and evenly browned.
- Cool the pie or tart for at least three hours before slicing, to ensure that both the curd and meringue are completely set.
- Serve: Slice with a clean, sharp knife, wiping the knife between cuts. I don't recommend greasing the knife as some other chefs do, but if you're concerned about meringue sticking to the blade, dip it in hot water and wipe it dry before each slice to help cut through cleanly.
**Superfine (aka caster) sugar dissolves more easily than standard granulated sugar, ensuring a silky meringue without a hint of grittiness. If you'd like to use granulated sugar instead, I recommend giving it a quick buzz in a food processor, blender or spice grinder to mimic the finer texture of caster sugar.


Leave a Reply