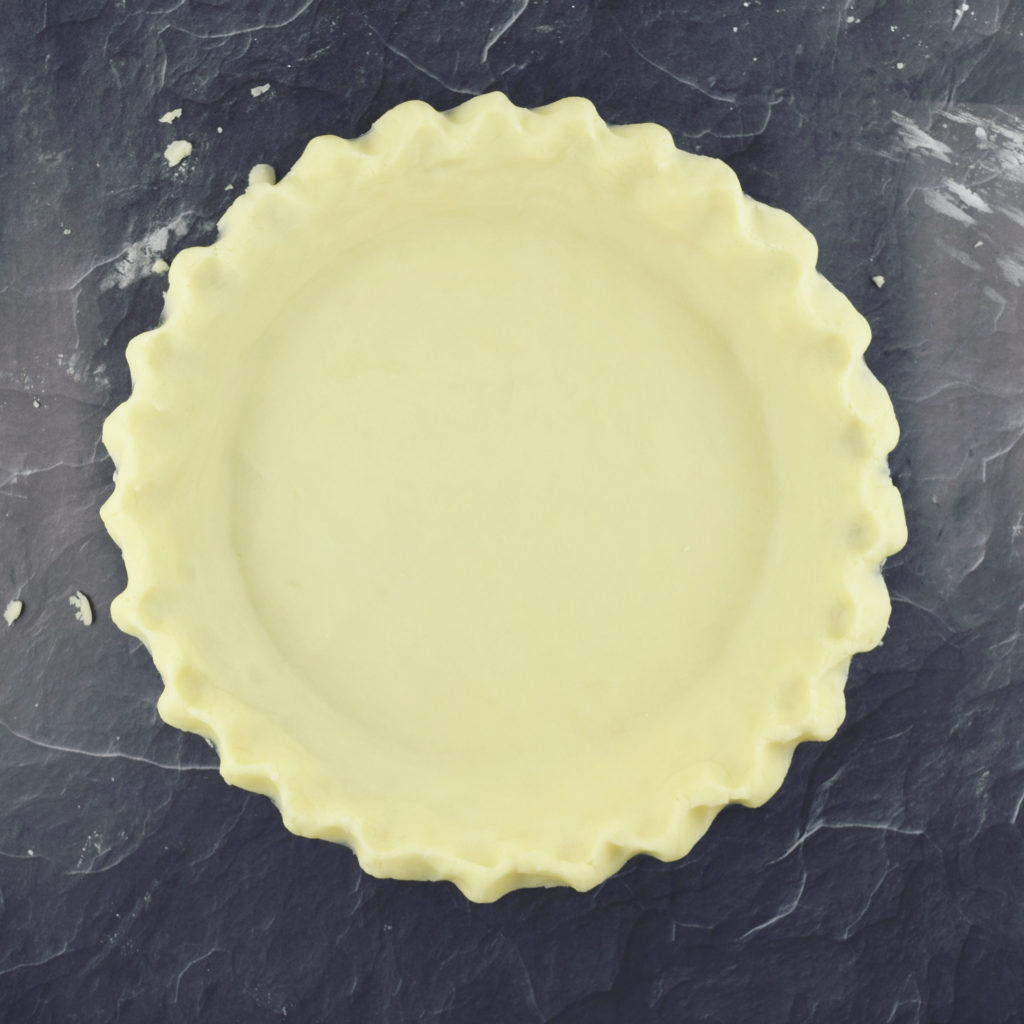
Flaky Gluten Free Pie Crust
Prep time
Cook time
Total time
It’s taken me a long time to work out the perfect basic gluten-free pie crust, but I believe I’ve finally done it! The dough is easy to handle and can be used for cutouts, latticework and top crusts. It bakes up with buttery-yet-mild flaky layers and a crisp golden exterior, and will complement any filling you choose, from Thanksgiving pumpkin to summer fruit.
Note: I promise this recipe doesn't require 2 hours of active prep time! The dough needs to chill on two separate occasions and those periods are included in the prep time, so much of it is actually waiting.
Note: I promise this recipe doesn't require 2 hours of active prep time! The dough needs to chill on two separate occasions and those periods are included in the prep time, so much of it is actually waiting.
Author: Good Health Gourmet
Recipe type: Baking, Pastry
Yield: One 9-inch pie or 10-inch tart crust
Ingredients
- 89 grams (7 Tbsp) high-quality* unsalted butter
- 70 grams (½ cup) superfine** brown rice flour
- 70 grams (½ cup) sweet white rice flour (aka Mochiko)
- 47 grams (scant ⅓ cup) potato starch
- 23 grams (3 Tbsp) tapioca starch, plus more for dusting
- 12 grams (1 Tbsp) superfine sugar
- 11 grams (1 ½ tsp) xanthan gum
- ¼ tsp baking soda
- ½ tsp kosher salt
- 80ml (⅓ cup) cold buttermilk
- 30ml (2 Tbsp) cold water, only if needed
- Small piece of butter (about ½ teaspoon) for greasing foil
Procedure
- Dice the butter into ¼-inch cubes, add them to a small bowl, and refrigerate until needed.
- Sift flour, starches, xanthan gum, baking soda and salt into a large bowl and whisk to combine.
- Add the butter cubes to the dry ingredients and toss to coat. Using your hands, rub each butter piece between your fingertips to flatten into a thin sheet, working your way through all the chunks in the bowl. Give everything a quick toss, and wash and dry your hands.
- Drizzle the buttermilk over the bowl, and use a fork to fold/mix it all together until clumps of shaggy dough start to form. If it’s very dry and you see a lot of unmixed flour settled at the bottom of the bowl, drizzle in the cold water a teaspoon at a time until it comes together.
- Use your hands to work/knead the dough briefly into a relatively cohesive mass; it’s okay if there are a few errant bits. Tip the dough from the bowl onto a sheet of plastic wrap. Shape and pat it with your hands into an even rectangular log shaped like a stick of butter, and wrap tightly in plastic. Refrigerate for at least 30 minutes before proceeding.
- Lay a sheet of parchment paper on your work surface and dust lightly with tapioca. Unwrap refrigerated dough, place on parchment, and let sit at room temperature for a couple of minutes before rolling. Sprinkle a light dusting of tapioca on the surface of the dough, and use a rolling pin to roll it out to a rectangle about 1 inch thick.
- Fold the right third of the dough into the middle, then fold the left third over it. Lift the dough off the parchment and rotate it 90 degrees (¼ turn) to the right, roll it out again, and repeat the folds. Do this two more times, for a total of three turns, dusting the dough, your rolling pin, and the parchment with tapioca as necessary to prevent sticking.
- Once you’ve completed three turns and roll-outs, fold the dough a final time and pat into a disc, then roll out into a rough circle that’s at least 1 inch larger than the widest edge of your pie pan.
- Gently roll the dough over your rolling pin to make it easier to transfer to the pie pan, and carefully unroll and drape the dough loosely into the pan, being sure it sits all the way in the crease around the base of the pan. (If you’re having difficulty with the rolling pin transfer, alternatively you can rest the pan face down onto the dough, slide one hand underneath the parchment, and hold the pan in place with the other hand as you flip everything over. Then peel off the parchment and tuck the dough into the pan).
- Smooth the dough up and over the sides of the pan, and tuck in the excess dough around the edge so it rests on the rim of the pan. To crimp the edge, come at the dough from the outside of the an and pinch a section gently between the thumb and index finger of one hand. Now coming at the pinched section from the inside of the pan, use the bent knuckle of your other index finger to press a divot into the center of the pinched dough. Repeat at regular intervals around the entire perimeter. Cover with plastic and chill for 30-45 minutes until firm.
- Preheat oven to 350°F while crust is chilling.
- When ready to bake, tear off a sheet of aluminum foil that’s a couple of inches larger than the pan, and grease the dull side with a bit of butter. Lay the foil in the pan greased side down, and gently smooth it out so it sits flush against the crust along the bottom and about ¾ of the way up the sides of the pan. Take care not to smash the crimping work you did! Fill the foil with pie weights, dry beans or rice, granulated sugar, or clean pennies, and let the excess foil hang loosely over the edges of the crust. (If you'd prefer to skip the weighting process, dock the bottom of the crust all over with the tines of a fork, and bake for the desired complete time, rotating once halfway through.)
- Transfer the pan to an aluminum baking sheet and bake in the center of the oven for 20 minutes, rotating halfway through.
- Remove the pan from the oven, carefully gather the edges of the foil together and lift the weights out of the pan; transfer the contents to a bowl to cool.
- Use the tines of a fork to dock the crust, gently pricking the bottom all over. Put the crust back in the oven and bake for another 15-20 minutes for a par-baked crust, or about 30 minutes for a fully baked crust. If par-baking, you want a center that’s still pale or barely gold and just firm to the touch, edges that are lightly golden. If baking completely, the center should be lightly browned and the edges nicely browned.
- Cool completely before filling.
Notes
*Use a good European-style butter for this if you can afford it. I recommend Kerrygold, Plugra, or Lurpak. If those options are too expensive for you feel free to use one of the standard American-style butters like Land O’ Lakes, Challenge, or a store brand, but you may find that the butter is very firm and crumbly until it warms up to room temperature.
**Superfine flour is essential for the proper texture here. Standard rice flour is a coarser grind, and tends to be gritty. My go-to brand for superfine flour is Bob's Red Mill.
**Superfine flour is essential for the proper texture here. Standard rice flour is a coarser grind, and tends to be gritty. My go-to brand for superfine flour is Bob's Red Mill.
Recipe by Good Health Gourmet at https://goodhealthgourmet.com/flaky-gluten-free-pie-crust/